


Hypertufa Sag Pots
These are called 'sag' because you make them on a piece of cloth strung like a hammock, sagging, or what I use is just a piece of thin poly film lining a hole in a garden bed - best times to make these are in the fall, in your vegetable garden. They're great motivation to get your garden cleaned up so you can make them.
The hole can be virtually any size; shallow and smaller just means that you don't have to mix as much hypertufa, and if you've been making smaller projects, you'll have a pretty good idea of how heavy and how much work it is to mix it properly.
Shallow pots are great for hardy succulents; that's as good an excuse as I need to deliberately make flatter dishes with this method.
Line the shallow hole with thin poly film, then carefully start adding your mix - make sure that each handful of it is thoroughly smushed up against the previous ones (that's a highly technical term) and also make sure that it is stiff enough so it doesn't just slump down and run into the bottom of the pot.
You can check the depth of the mix on the bottom, and spread it upwards a bit if it's too thick. Aim for an even 3/4" thick. Poke your finger down to the plastic film in the bottom for a drain hole - this will require a bit of carving to clean it out once the pot dries.
Cover it, and leave it alone except for sprinkling some water on it periodically - I try to leave it for at least a week, if you can stand it. If you decide you just can't wait any longer, be warned; at this stage, hypertufa is very crumbly and brittle. Keep spraying it and keep it covered; the longer the better.
Two weeks is usually adequate for curing; you can take it out of the sag and brush it for more texture, or just rub it with your hands to remove any rough edges.
Plant it with Sempervivum, Sedum or any other succulents. Enjoy!
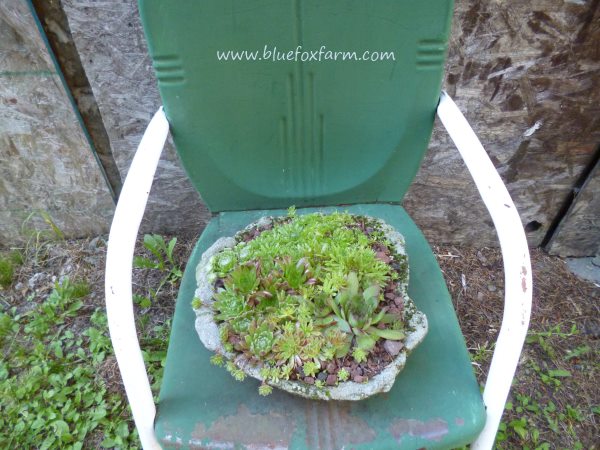
Mixed Sempervivum (hens and chicks are the perfect planting in the rustic looking flat dish.
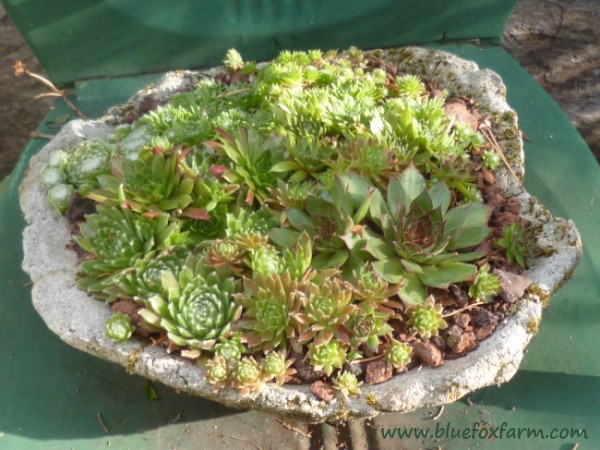
A closer view of the plants, happily growing in the shallow soil.
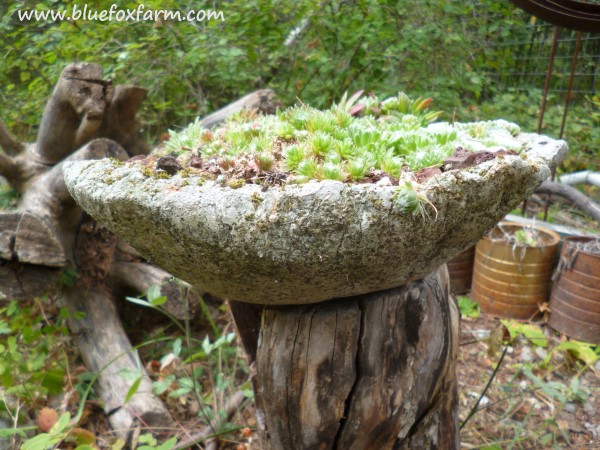
Side view of the same sag pot, showing the depth - total size is about 13" across and 3" deep.

Want more details about this and other DIY projects? Check out my blog post!
Comments
Join the conversation
3 of 18 comments
-
I love every ones Idea and the rough natural look from Ruth will blend in like it belongs there,I am eager to get started here in Florida!
-
I am excited to try this! I love the random look it creates! I made a hyper tufa mushroom out of a small bowl and a tall plastic cup for the base, then I covered it with broken china. Thanks for sharing your cool idea!


Frequently asked questions
Have a question about this project?