


Elegant DIY Fall Pumpkin Topiary

by
Pam Hoepner
9 Materials
$50
4 Hours
Medium
Make your own elegant fall pumpkin topiary. It's September and I have seen pictures of gorgeous pumpkin topiaries popping up in magazines and all over Pinterest lately, and I WANT one. So, this is how my husband and I made our own.
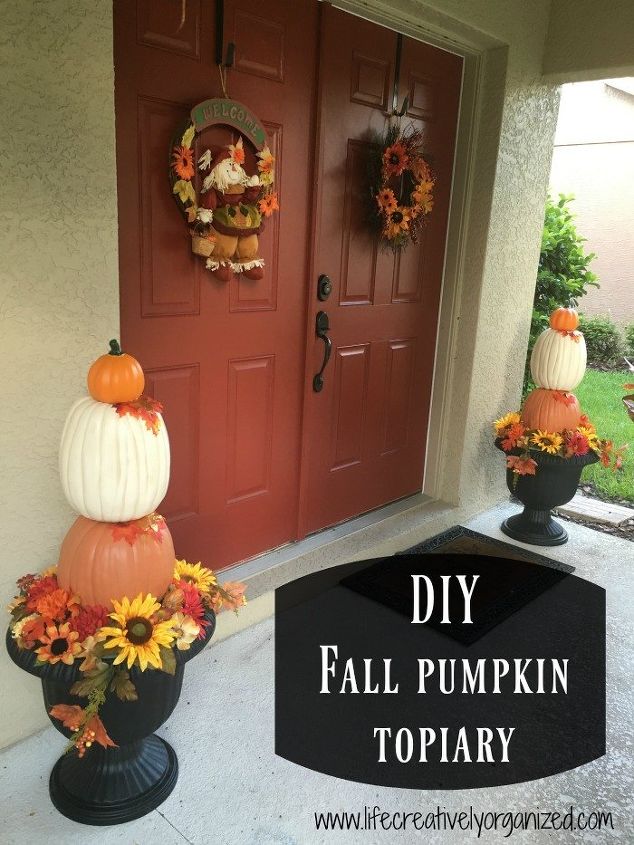
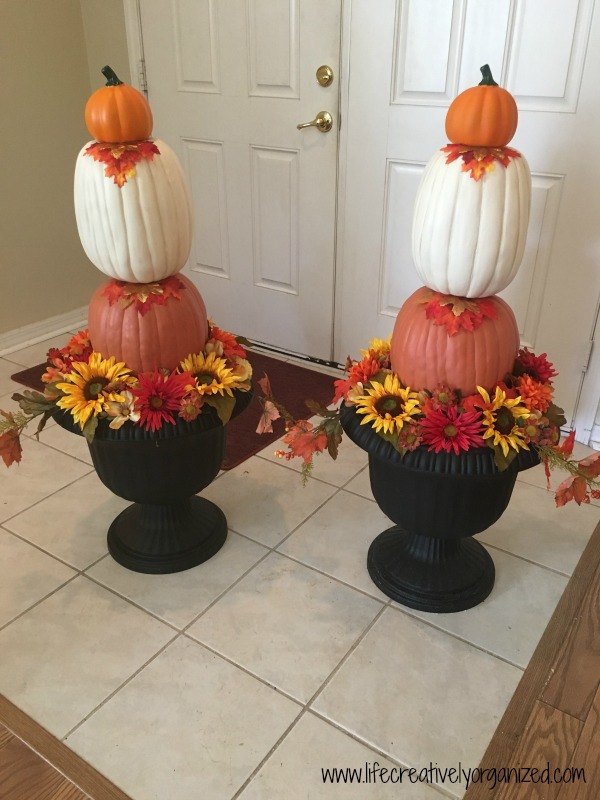
Fall decorating with pumpkin topiaries.
These are our finished Fall pumpkin topiaries. Is it beginning to feel like fall in your neck of the woods? Well, we don't have fall here in Florida, so we just kind of pretend. ;) If we put out real pumpkins or gourds they would rot within a few days, so we use lots of faux plastic decorations here, which is why I was so glad to be able to use plastic pumpkins and silk flowers. These will last all season and, better yet, for years to come!
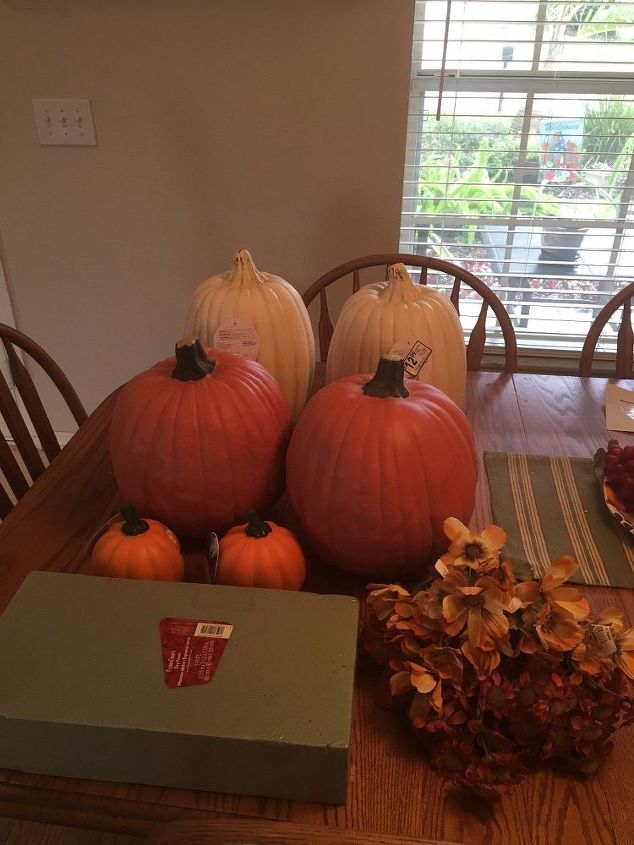
Pumpkin topiary supplies.
Supplies included 3 different sized pumpkins, floral foam, silk flowers and (affiliate link) large planter urns filled with potting soil.
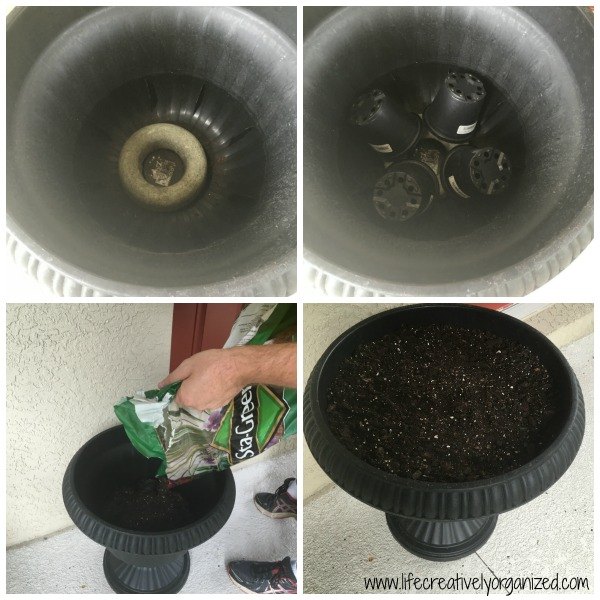
Sprinkler donut and empty pots at the bottom.
I added a sprinkler donut to the bottom of the pots to give them some weight. I added some empty flower pots to take up some volume, then filled them up the rest of the way with potting soil.
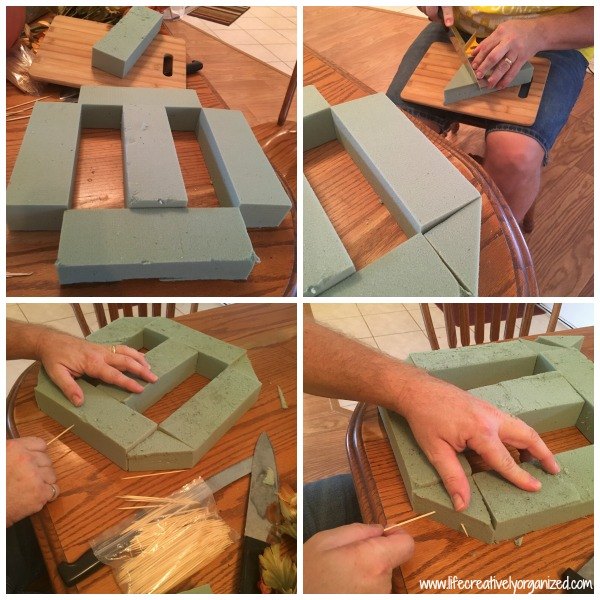
Toothpicks hold foam pieces together.
(affiliate link)The floral foam came in 6 rectangular blocks. We cut each piece in half lengthwise. Then we used long toothpicks to skewer the pieces together so they fit nicely in the pot.
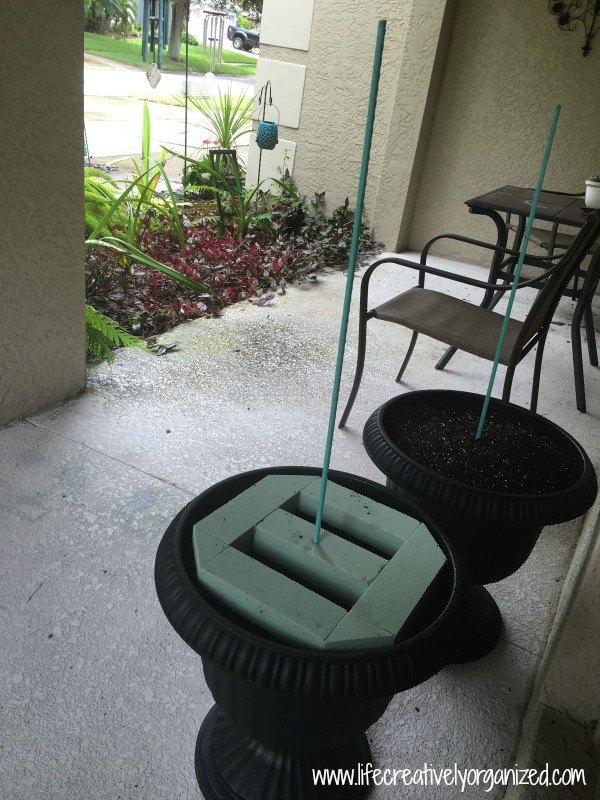
The pumpkins will stack on tomato stakes.
We poked a tomato stake through the foam and all the way to the bottom of the pot. This is what will hold the pumpkins in place.
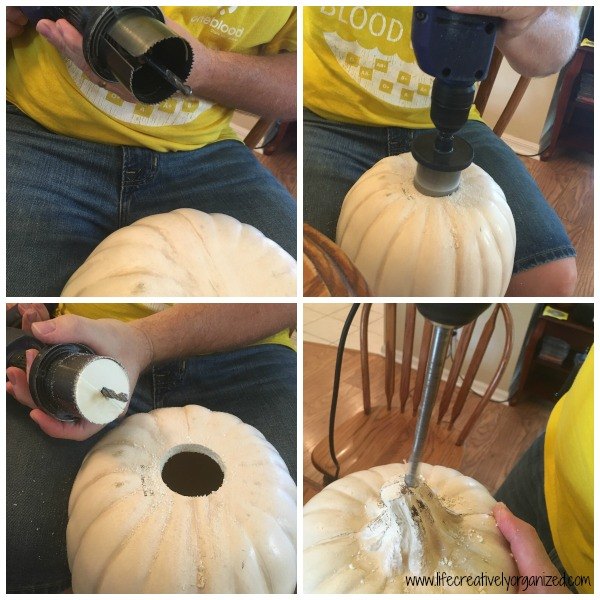
Use a drill bit & hole saw for the holes.
We just used a drill bit to make the holes in the top and bottom of the bottom pumpkin. We didn't want to cut off the stem of the bottom one so it would be more stable, so we used a hole saw to make the hole in the bottom of the middle pumpkin.
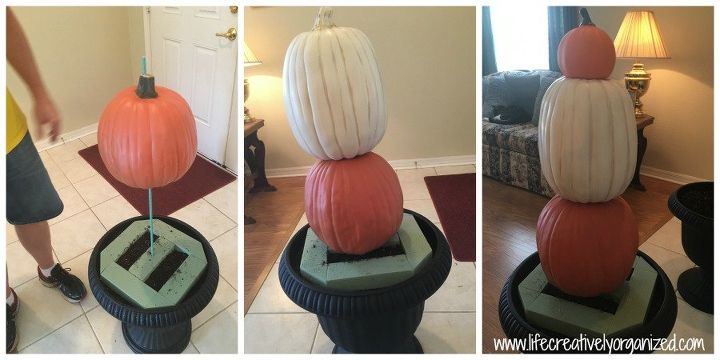
Sturdily stacked pumpkins.
We stacked the pumpkins on the stake. The stake was about an inch too tall for the smallest pumpkin to sit flush on the middle pumpkin. So we used tin snips to take the stake down to the correct height.
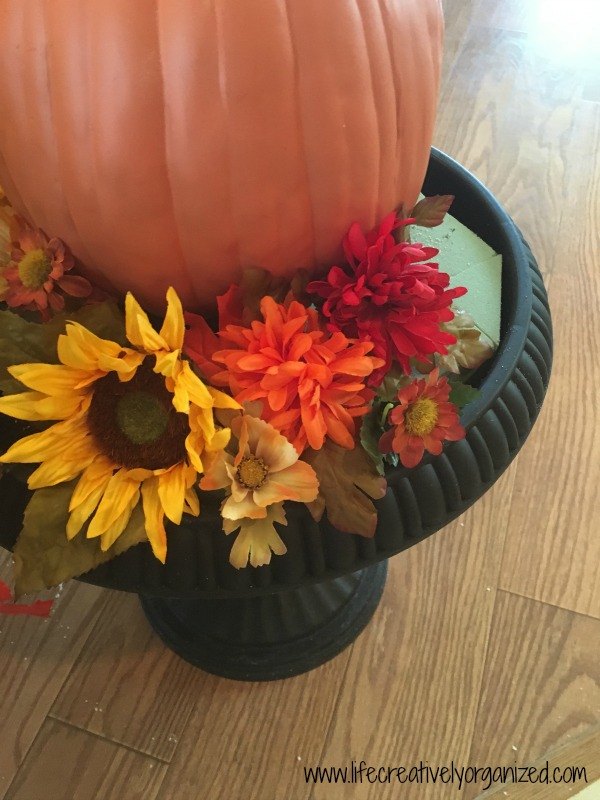
Attaching flowers to floral foam.
Next I cut apart the flowers, leaving 2" stems. I arranged the flowers by poking the stems down into the floral foam.
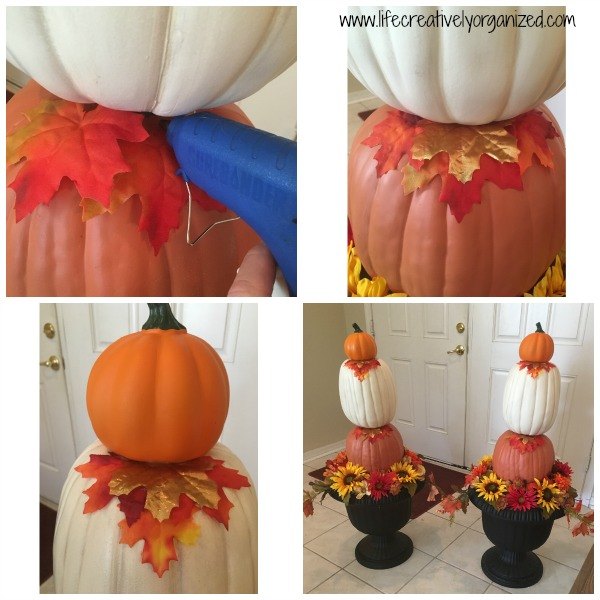
Hot gluing leaf decorations.
I then hot glued a few silk leaves in between the pumpkins. I also hot glued the small pumpkin to the middle one for more stability.
Finished pumpkin topiaries!
These are the finished topiaries. I did not do the flowers exactly the same, so they are not perfectly identical, but they are similar. I just like them better that way. :)
Resources for this project:
See all materials


Any price and availability information displayed on [relevant Amazon Site(s), as applicable] at the time of purchase will apply to the purchase of this product.
Hometalk may collect a small share of sales from the links on this page.More info
Want more details about this and other DIY projects? Check out my blog post!
Comments
Join the conversation
4 of 198 comments
-
Very nice harvest tones. I've done similar before then after the season changes you can paint the pumpkins white and add on to make snowmen out of them. it is a big hit and frugal!
-
looks great! thx


Frequently asked questions
Have a question about this project?
Love this, know I now what to do was those planters I have never thrown out ! 😁
because you drilled through the pumpkins does this cause them to rot faster (kind of like when you carve too early), or will it last a while ?
Why are tou using potting soil? Why not newspapers or other choices? These isnt any living plant that needs potting soil.