


Make a Paper Mache Beaded Chandelier
3 Materials
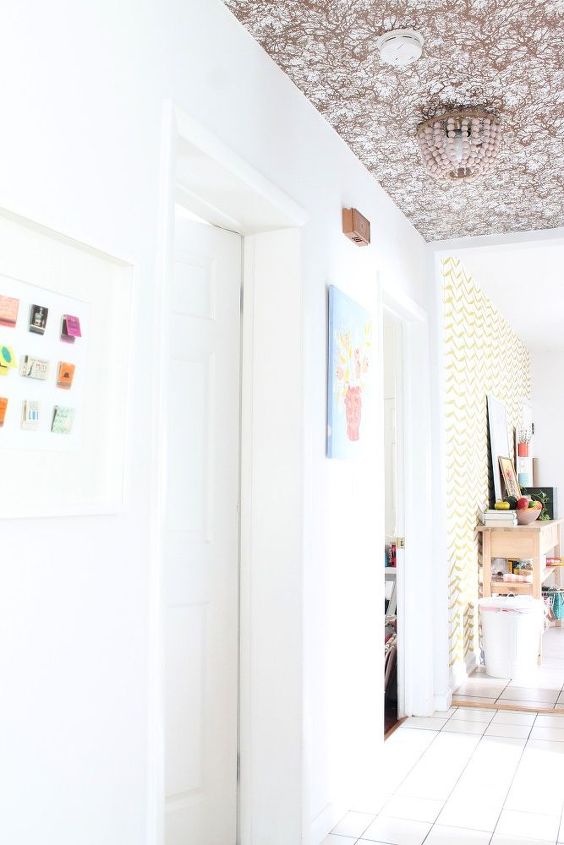
Use this chic renters hack to cover those blah flush mount lights. After removing the glass orb and lightbulb I decided to replace the standard bulb with a globe LED from Ikea that puts out 1000 lumens (that's bright). I installed this fun removable wallpaper on the hallway ceiling-- It draws the eye upward to the fun new fixture and creates fun pattern play with my hand-painted walls in the kitchen. It only took about 45 minutes to install by myself and was forgiving when it needed to be repositioned or I needed to cut around the smoke detector and light fixture.
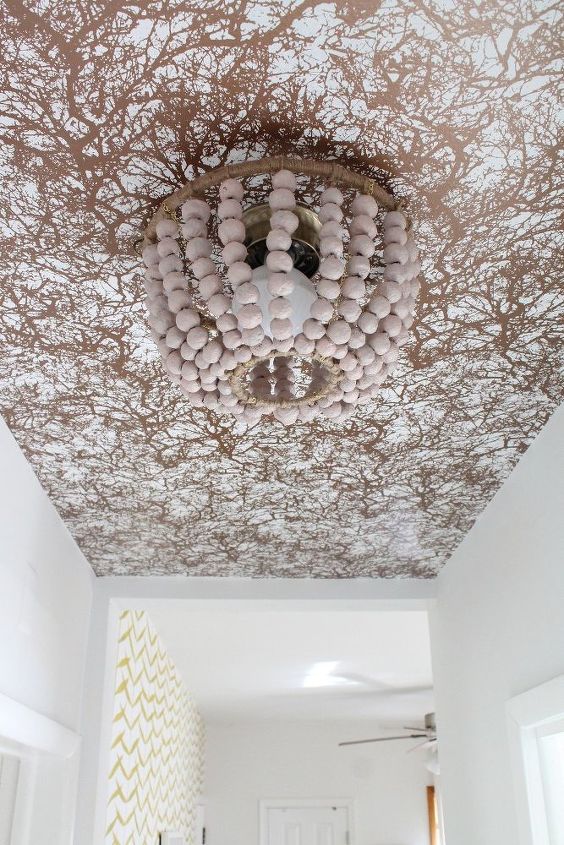
REDO! I tried this project a second time because sometimes it takes lots of prototypes to get a DIY right! Ever had a DIY turn out looking too homemade? I couldn't be happier with my newest attempt!
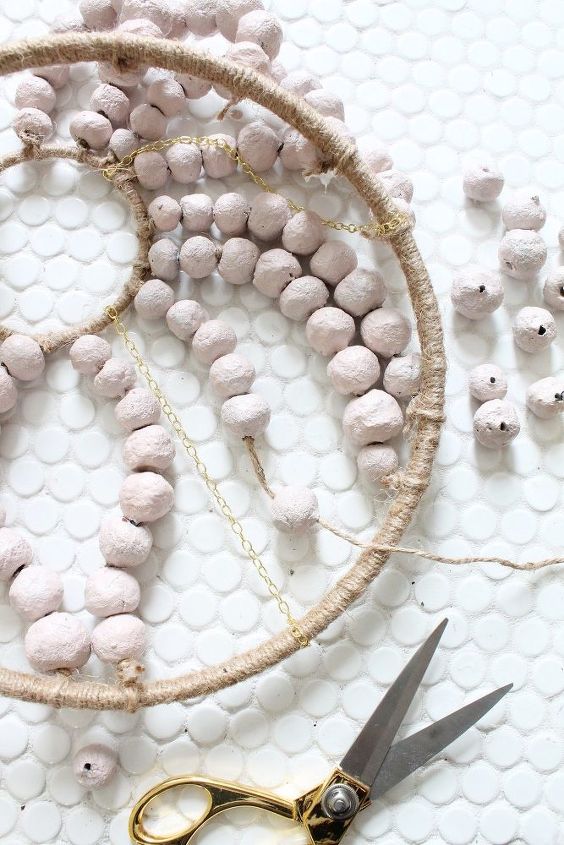
This paper mache bead chandelier takes a few days to make but can create a WOW moment in an otherwise ordinary hallway (Even with a move in your near future you can take it with you when you leave)! The first version of this chandelier was saggy and wasn't quite the right scale--see how I perfected the frame in the full post!
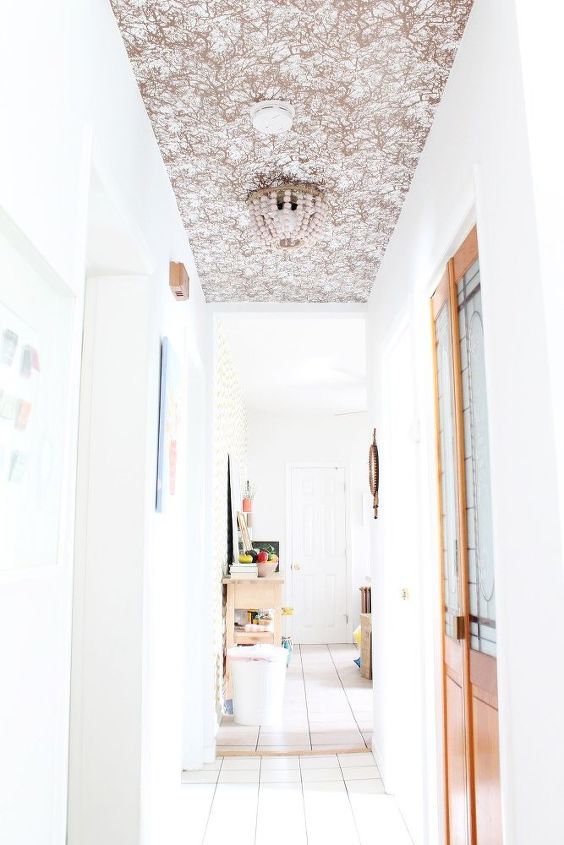
Use screw in hooks or wire to secure your finished chandelier over the pre-existing light fixture or pendant--and let there be light!
I love hunting for unique renter friendly lighting! I'm working on installing gorgeous sconces in our bedroom for a little bit of an elevated look--stay tuned!

Want more details about this and other DIY projects? Check out my blog post!
Comments
Join the conversation
1 comment
-
OMW that's beautiful, both the beaded chandelier and the wall paper you used on the roof. So stunning


Frequently asked questions
Have a question about this project?