


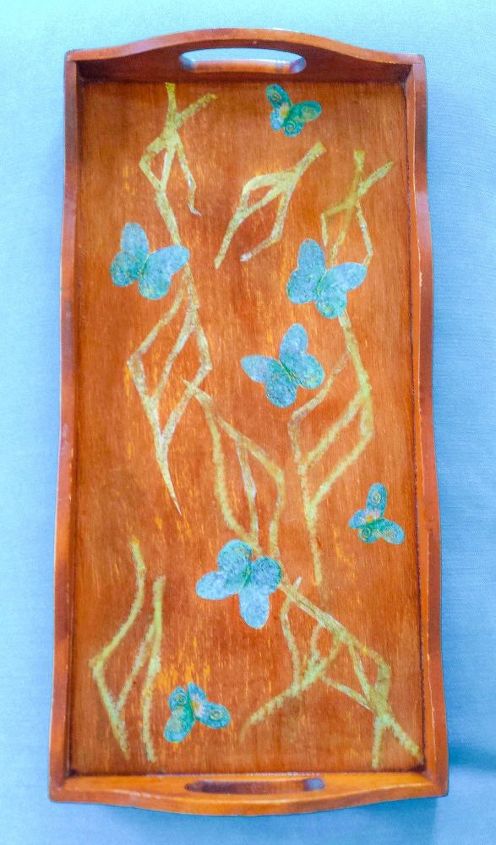
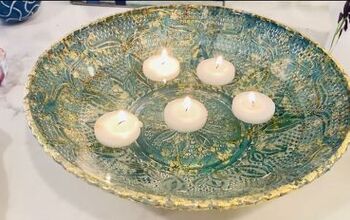
Decoupage On A Wooden Tray
What can you do to a dull and old wooden tray? There is a way to pretty up that tray and it is a very easy Diy project. Decoupage is the answer.
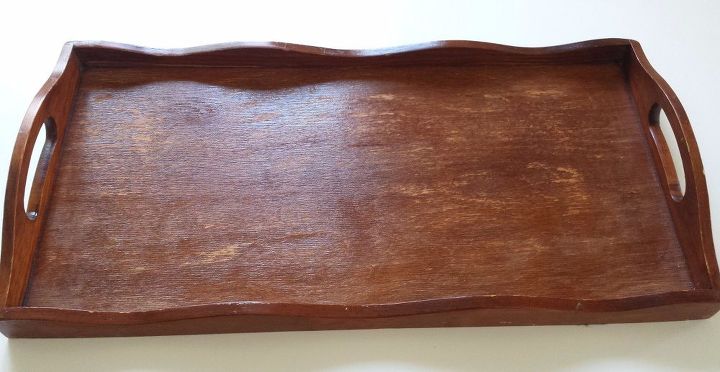
Clean the surface of your wooden tray. Make sure it is free from dust,grime or stain.
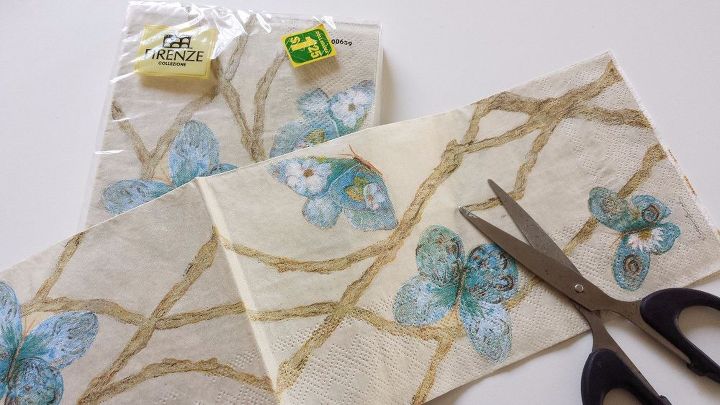
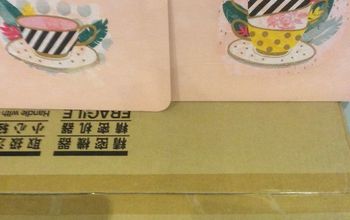
Use any printed table napkin you already have. I bought a very inexpensive one at Dollar store.
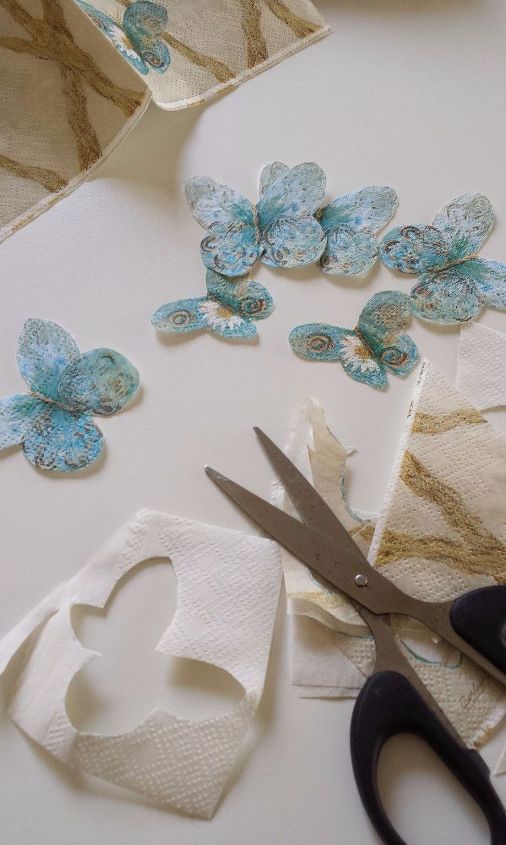
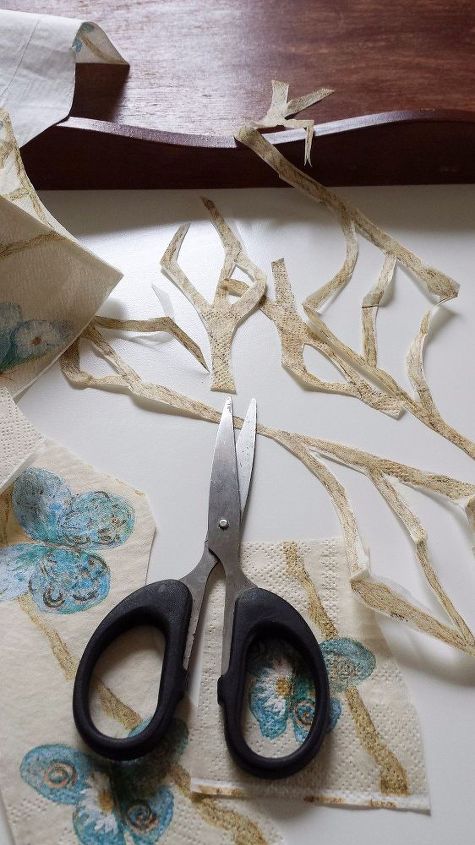
Cut out the images you want. For the tray, I wanted the butterflies and the twigs.
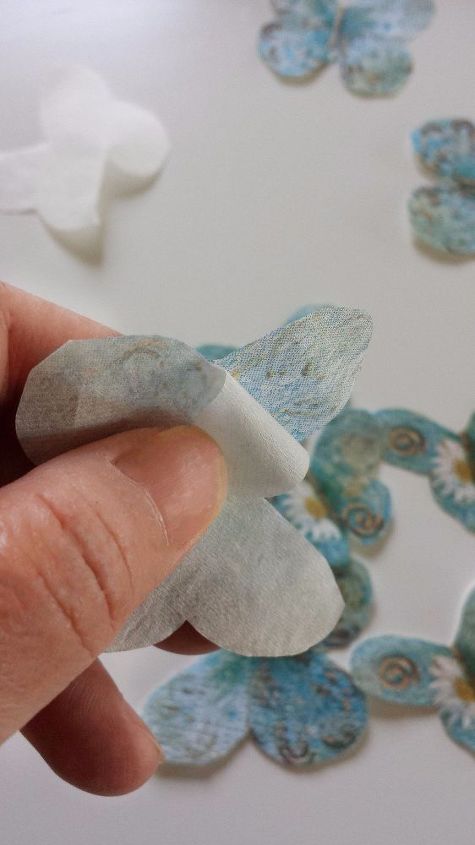
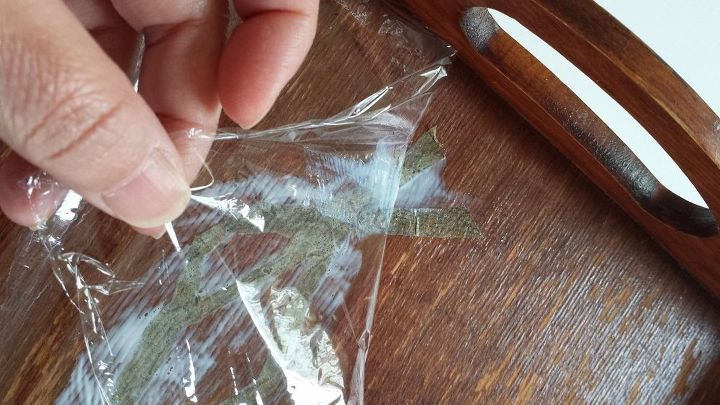
After cutting out the images, gently remove the second ply from the napkin. You would want to use only a single ply so if your napkin has 3 ply, remove the rest and leave out only the one with the print.
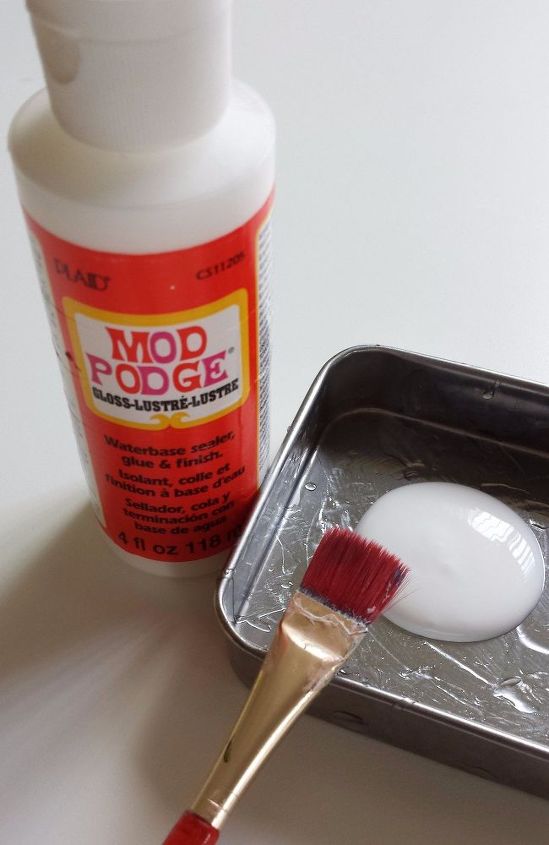
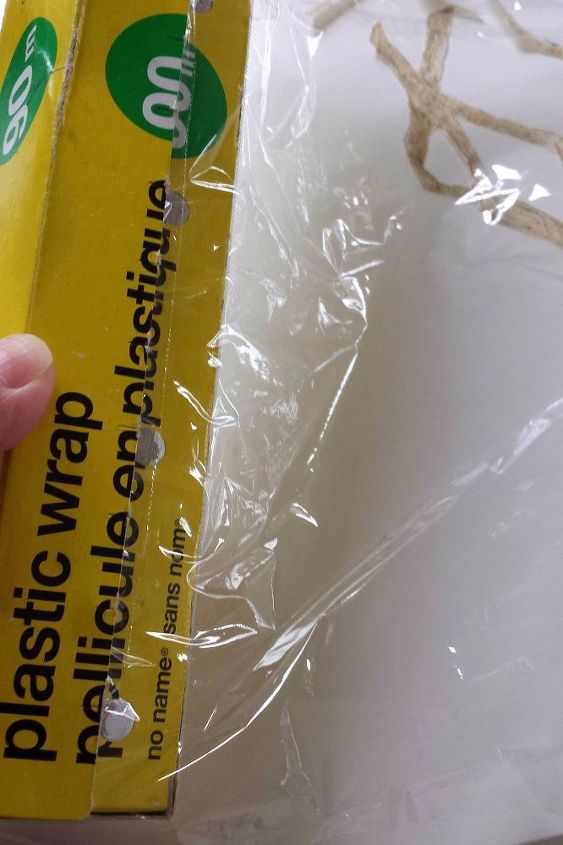
Prepare your Mod Podge, paintbrush or sponge brush and plastic wrap.
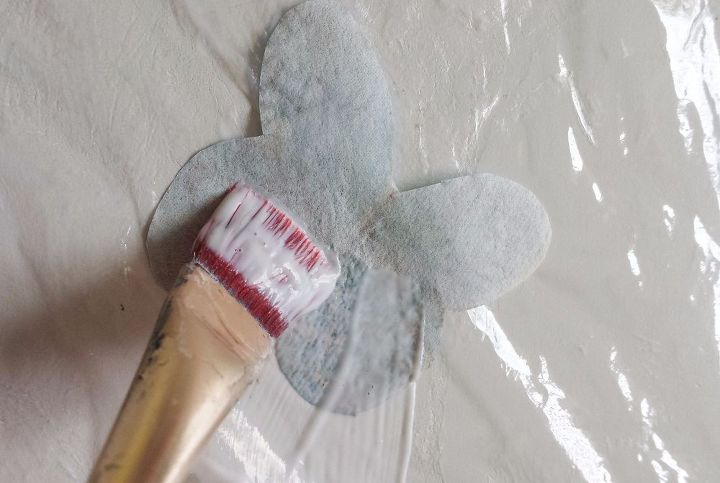
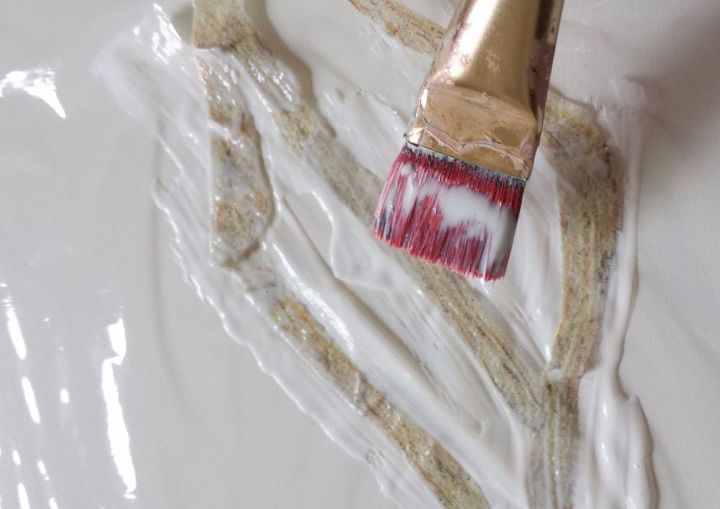
Once you’ve made up your mind then,place the cut-out with the print facing down on the plastic wrap. Generously spread Mod Podge at the back of your cut-outs.
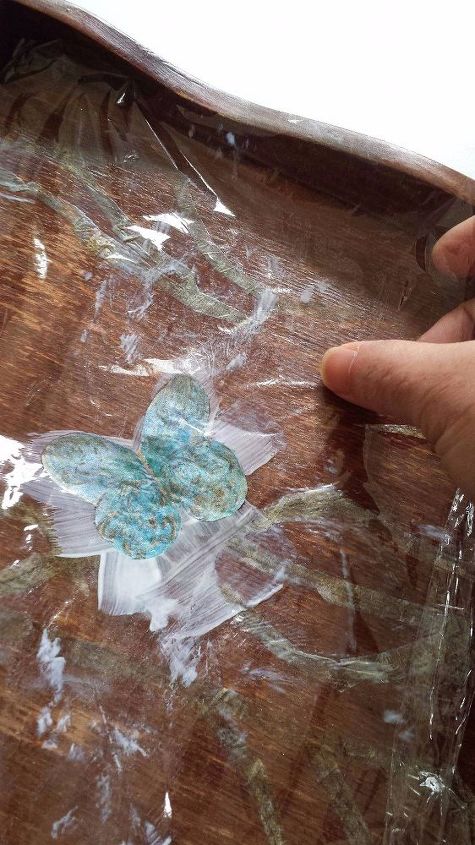
Gently place the plastic wrap with the podged image on the tray.
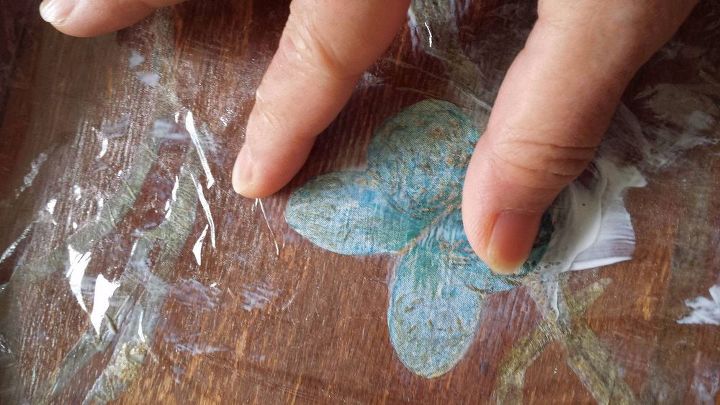
Use your index finger and thumb to press the image on the tray, making a motion from inside toward the outside of the image. This will remove air bubbles and flatten the image .
Carefully peel off the plastic wrap.
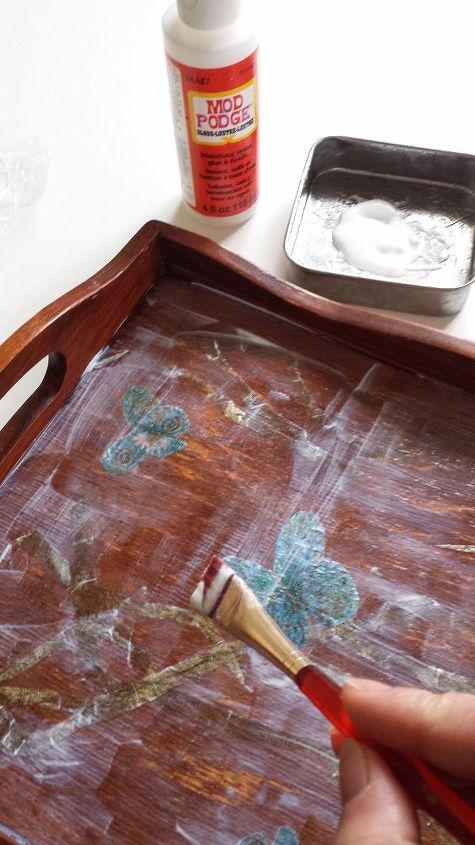
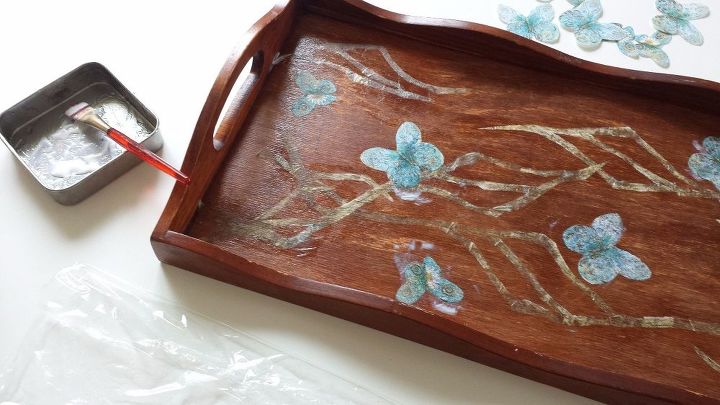
Spread a full coat of Mod Podge on the whole surface once the images thoroughly dry. Dry the first coat and then apply a second coat. A third coat won’t hurt since this tray may experience spills in the future. Do not allow liquid spills to stay on the tray too long,though. When you do,you will notice the top layer of podge becoming opaque but if you allow it to dry then it becomes transparent again. You may want to use a varnish on the tray instead of Mod Podge to make it really water proof if you will often use the tray for serving drinks.

Want more details about this and other DIY projects? Check out my blog post!
Comments
Join the conversation
2 of 26 comments
-
delicate


Frequently asked questions
Have a question about this project?