


Painting Kitchen Counters and Back Splash Makeover

Hello there! I wanted to give you a update!
Giani Can Be Used On:
- Formica countertops and vanities
- Laminate countertops and vanities
- Corian countertops
- Butcher block countertops
- Tile with grout lines
- Cultured marble vanities
- One piece sink and counter vanities
- Primed or painted wood
- Primed or painted drywall
- Cabinet inlays
- Table tops
- Mantels
- Granite
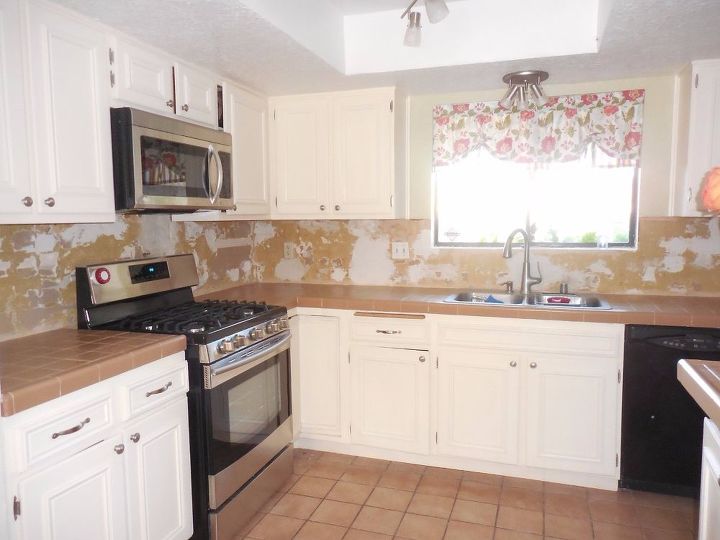
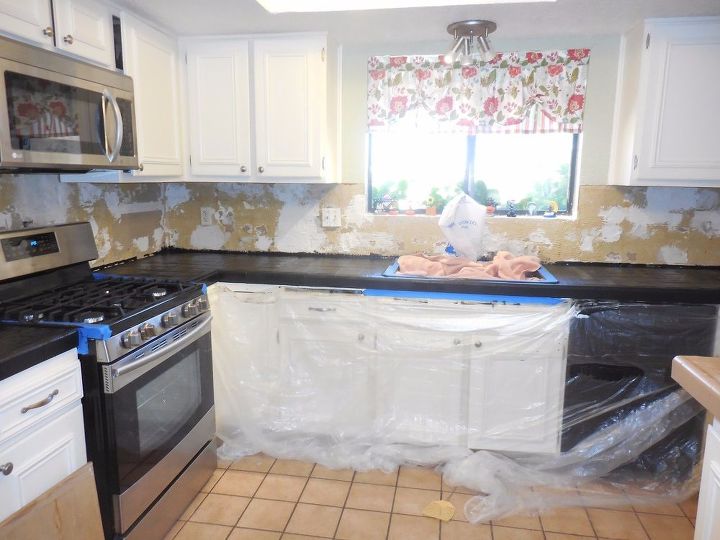
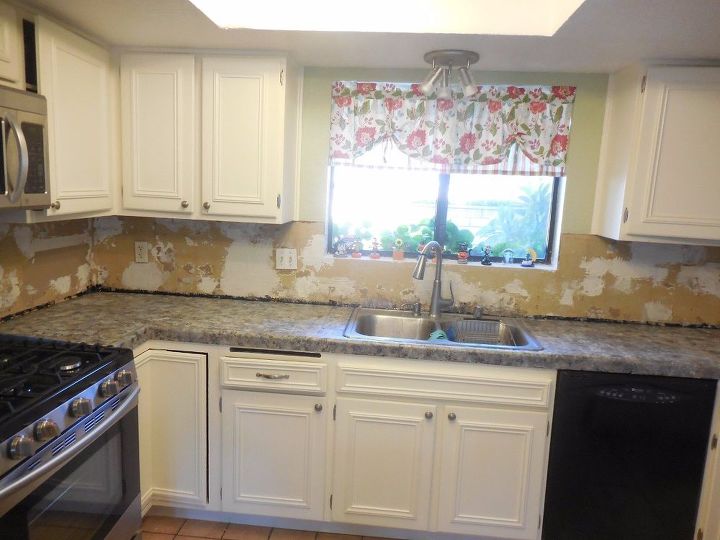
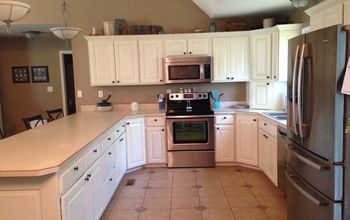
The countertop is awesome. I no longer am pampering it. ( I was doing that at first) I love how it is holding up! Perfect! If you remember I finished my bathroom vanity remodel. If you missed it....You can see here: https://kelleysdiy.com/2016/10/05/bathroom-vanity-makeover/?iframe=true&theme_preview=true Now it is kitchen time!!!! As you can see in the picture, I broke out the back splash tile. It was the same as the counter top. 4" square tiles.I got 3 estimates , it costs so much to put in Quartz counter tops. I decided to paint them! What you see in the pic is just half of the kitchen. You can use the Giani Kit on Formica Counter tops as well.
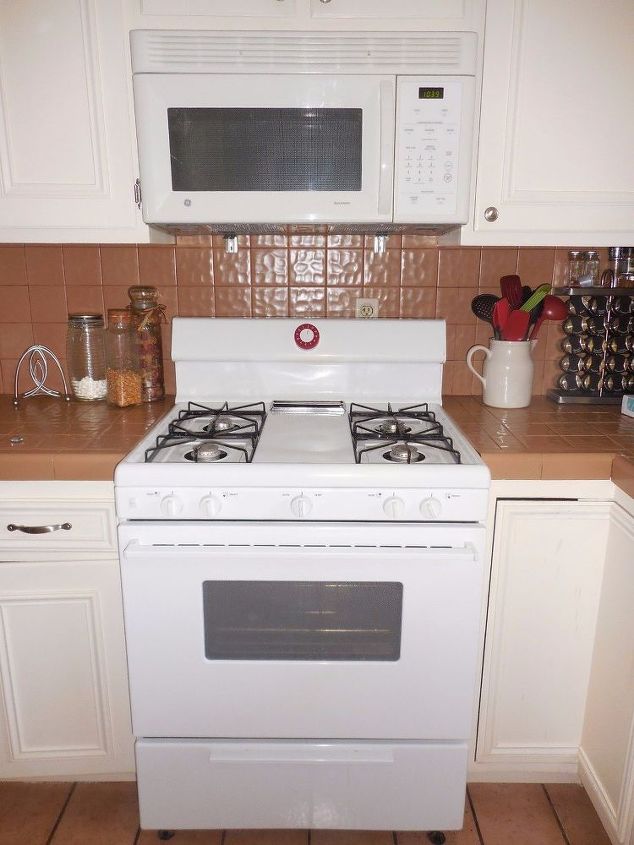
Since the bathroom makeover went so well, I decided to use the same product as I did in the bathroom. Everything is included in the kit...roller, 2 covers, sponge, cd, paints, and practice sheet. This is how the kitchen looked after I took off the backsplash. The counter top is like the back splash.....4" tiles.
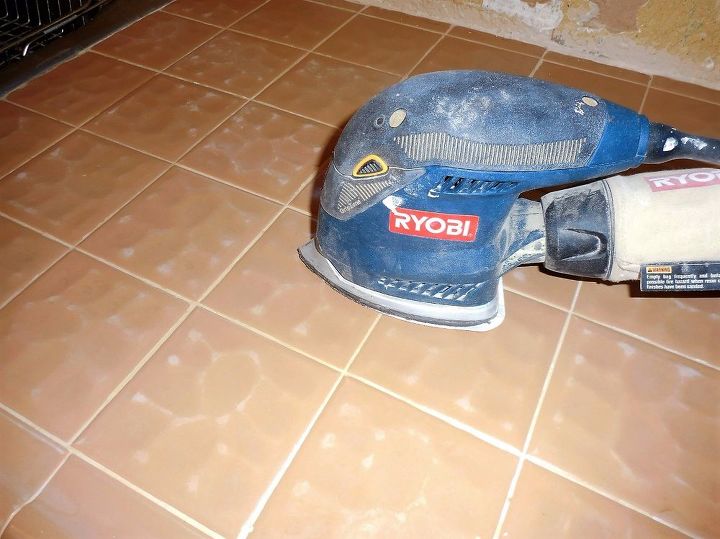
Now, my tiles are in excellent shape...if yours are loose, you need to get a bit of thinset to put them on tightly. If you have formica , and it's coming up on the edges, etc, be sure to glue them down. So I started with the primer....I started by tapping off and covering the sink and new faucet. I also put plastic over the cabinets to protect and the new stove. Then I sanded the counters to rough them up a bit. Love the little corner sander...really inexpensive and is tough. I sanded down my kitchen cabinets with this little guy!
After I removed any dust from sanding, Here is the can of primer and one of the rollers that come with the kit! The kit comes with everything you need to paint.
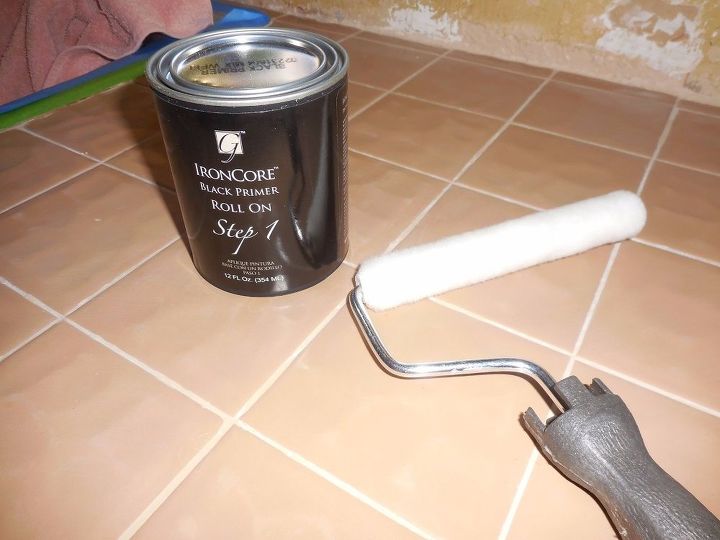
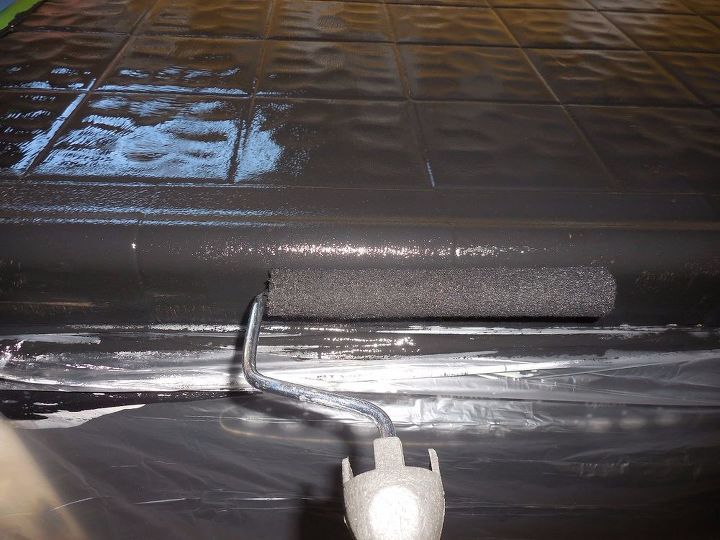
I did in single strokes, starting from the back of the counter to the front and over the edge.
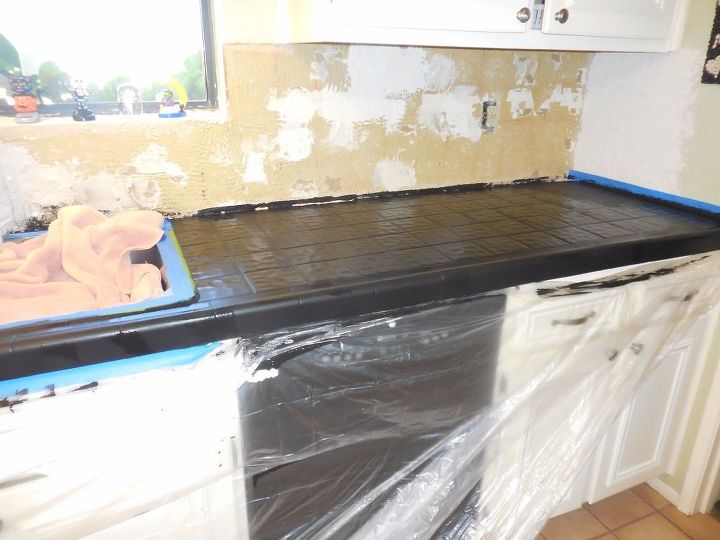
I started putting the primer on. Notice I put the painters tape around the sink edge, and tape on the wall at the ends of the counters. I put a plastic bag over the faucet to protect...then to cover the sink, I used a towel
. I let it set for 24 hours. Then added the first color, your like stamping the counter with the sponge that is provided.
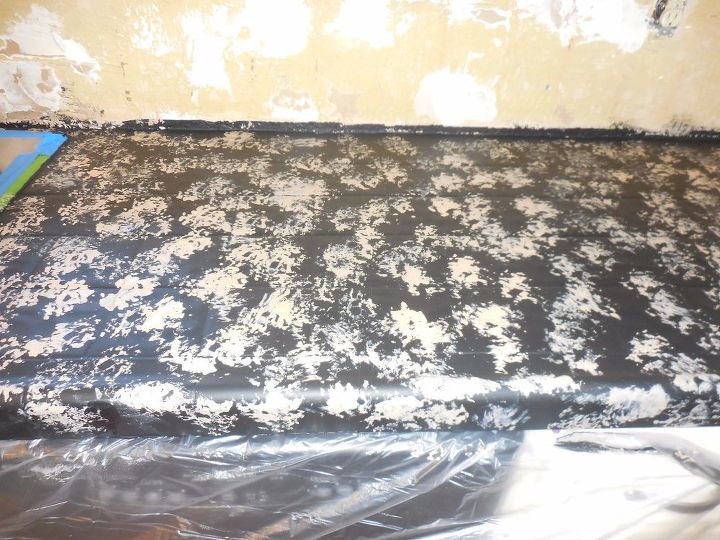
You are randomly stamping on the first color with the sea sponge provided. Then you stamp on (pounce) the second color....then the third. Now mine doesn't look like the picture how its supposed to turn out. I blended my colors.
This is the backsplash I chose.....I just love how well they go together. The back splash added so much sparkle! For more instructions...check out my blog....kelleysdiy.com
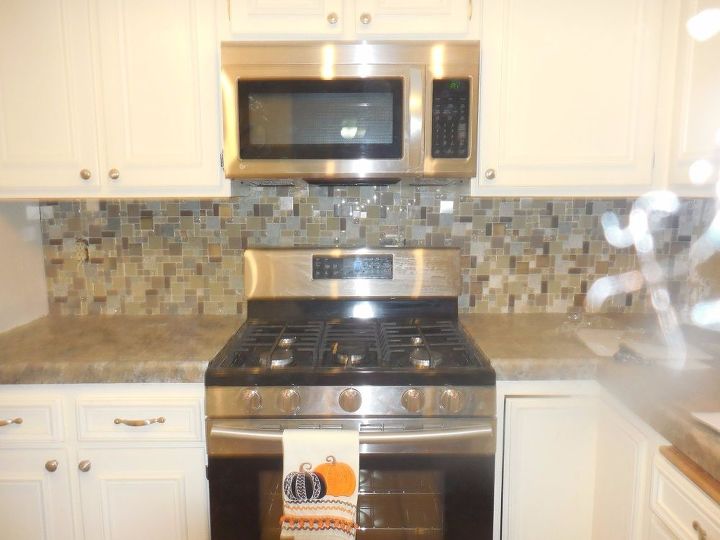
I just absolutely love my new kitchen!! It looks soo pretty! You can see the full tutorial with more pics at my website.. http://kelleysdiy.com/2019/04/22/giani-kitchen-countertop-makeover/
Resources for this project:


Comments
Join the conversation
-
Kitchen back splash!
-
Thanks Sharon!


Frequently asked questions
Have a question about this project?
Is this the same kitchen as you show two different cookers ?
Can I use this technique on my bathroom sink?
Can I use this technique on my bathroom sink?