


Thanksgiving Chandelier Decor
2 Materials
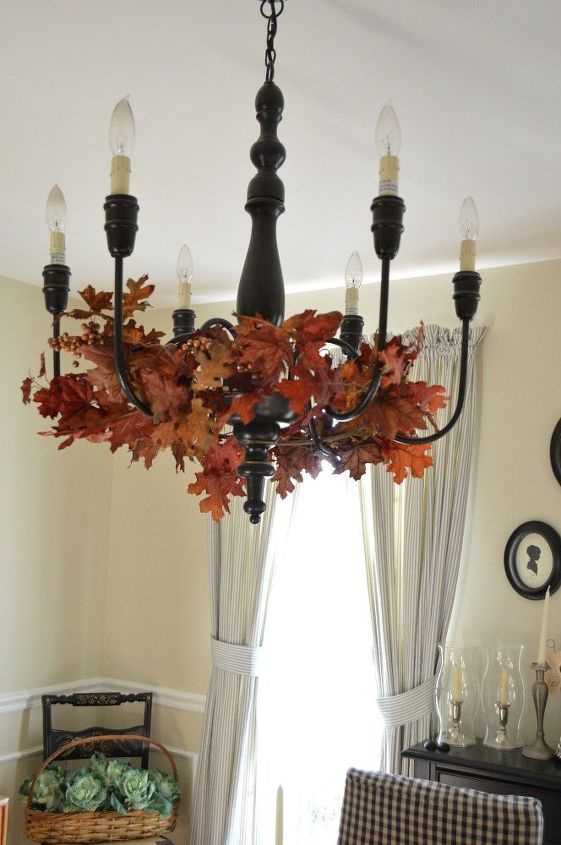
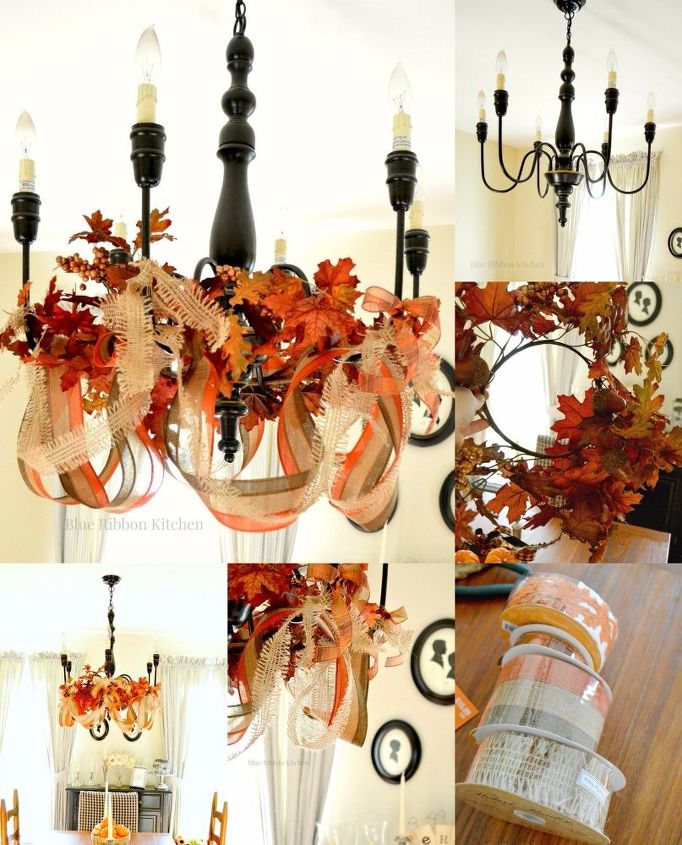
For just a few minutes of your time and a few dollars you can transform your everyday chandelier...into a holiday centerpiece that doesn't take up any valuable table space. Make your chandelier the star of the Thanksgiving celebration this year!!

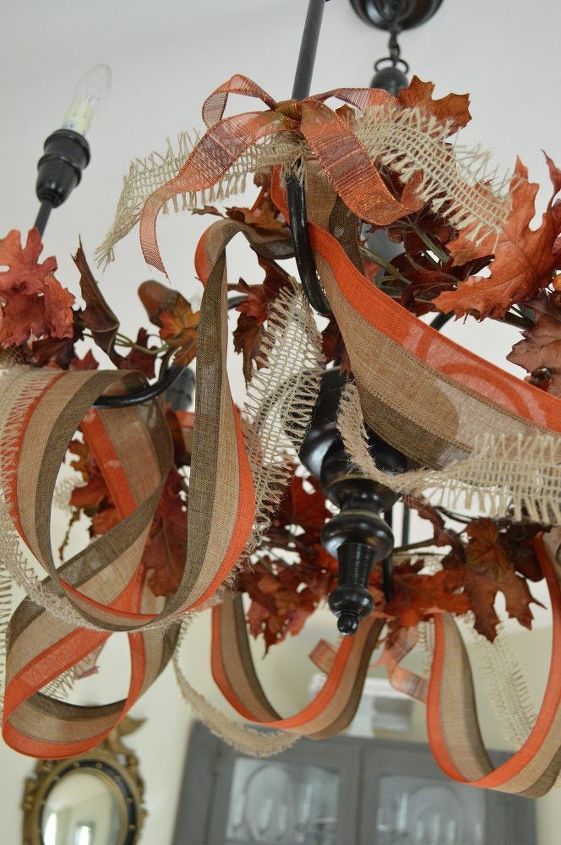
I used contrasting ribbon and candle rings made of faux leaves to pull off this autumn look.

Here, I started with our chandelier...

These are the ribbon colors I chose. Be sure to pick ribbon that is complimentary to your overall theme and appropriate for the season. I liked the tans and browns with a splash of orange...those colors go well with the faux leaves on the candle rings, and will work with my Thanksgiving decor.
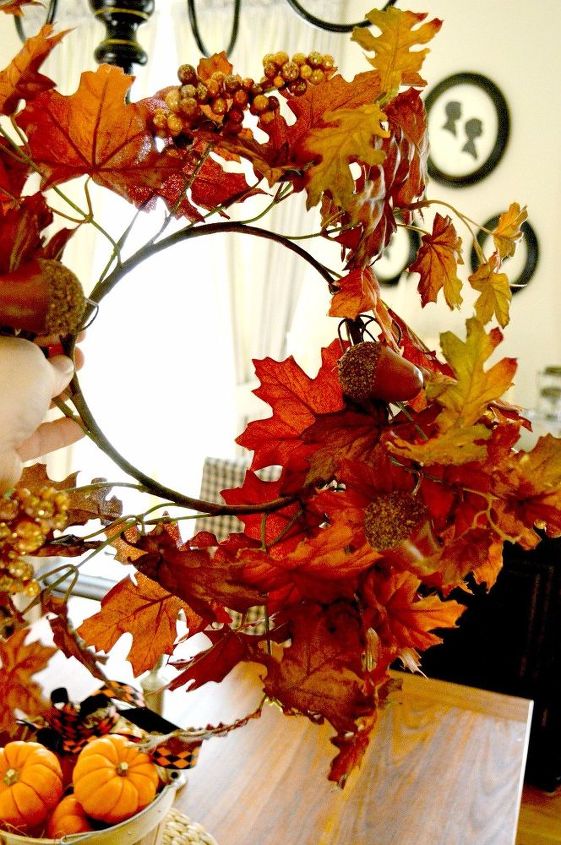
Snip the candle ring to create and opening. I used heavy wire cutters to make quick work of snipping the ring. I used two rings for my chandelier...you may need to use just one or maybe three depending on the size of your light fixture.
I rested the candle rings among the arms of the chandelier. I used a little fine gauge wire to secure the leaves to the chandelier. After the ribbon is on...no one can see that it is attached.
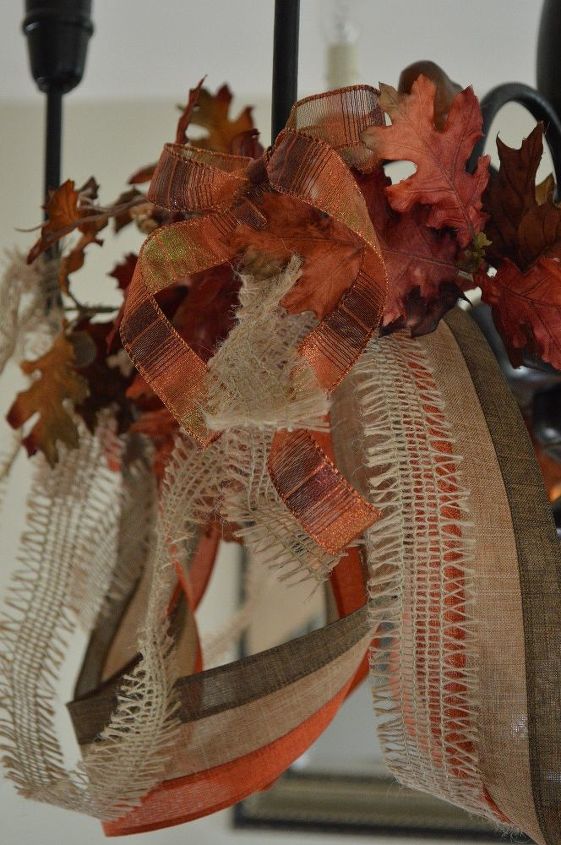
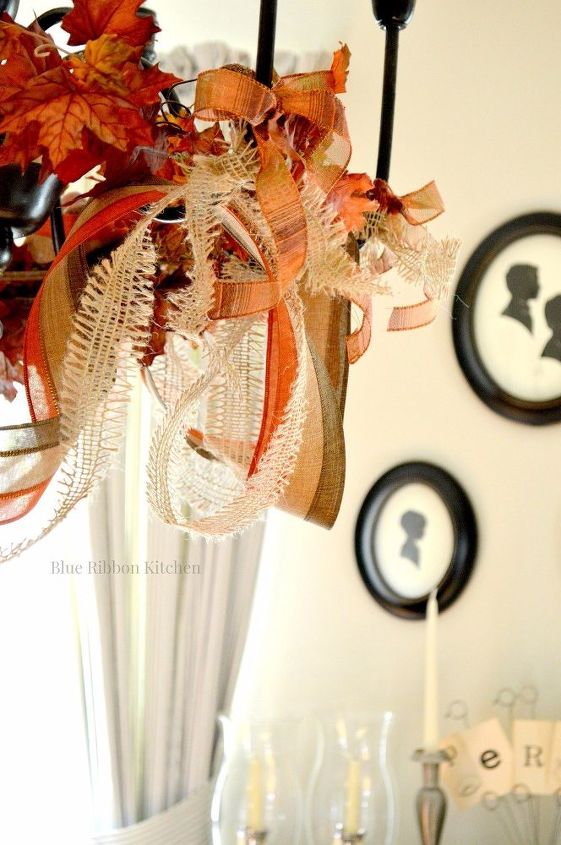
Next, I wove ribbon throughout the chandelier, creating a swag between each arm.
I repeated the process with a contrasting burlap ribbon.
For more information on this easy Thanksgiving project, please stop by my blog, Blue Ribbon Kitchen!! Thanks for stopping by and Happy Thanksgiving!

Want more details about this and other DIY projects? Check out my blog post!
Comments
Join the conversation
2 of 45 comments
-
Very pretty.
-
Its looks very nice going to try it out on my chandelier


Frequently asked questions
Have a question about this project?