


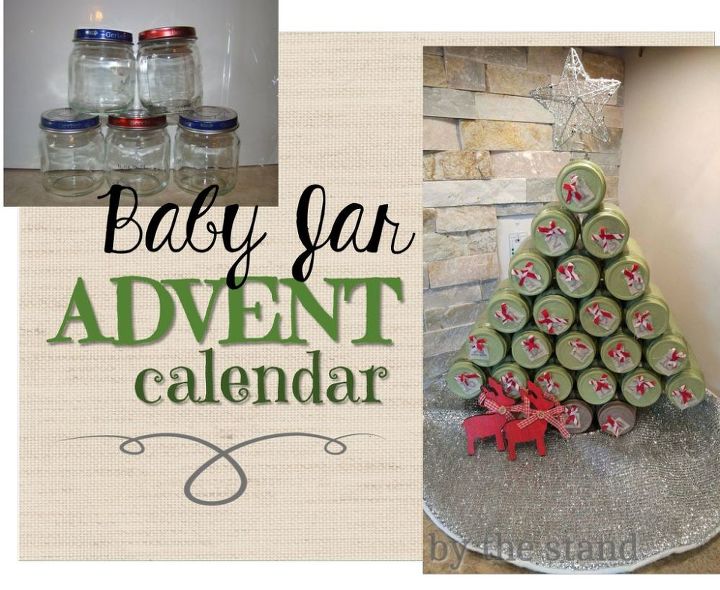
Baby Jar Advent Calendar

by
Holly Grace
My sister was guest posting over on my blog the other day and I thought I would share her post with you all! Here it is :
Hello! My name is Veronica and this is my very first post for By The Stand! If you have been to our Meet The Team page, you will have seen me there. I am Holly’s sister. I am super excited to share my first post with you guys!
If you don’t know, I have a son named Logan. He is going to be one year in January. We are at such a fun stage right now and he has been on solids for a little while. Like any mom knows, being on solids means lots and lots of baby food jars. I thought to myself that I should start saving all these jars. A couple weeks ago, I came up with the idea to upcycle the jars into an advent calendar.
Take a look and see how I did it!
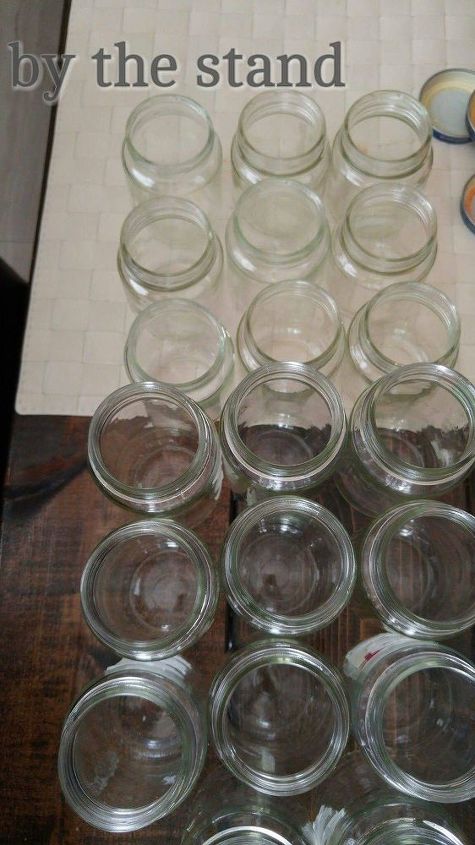
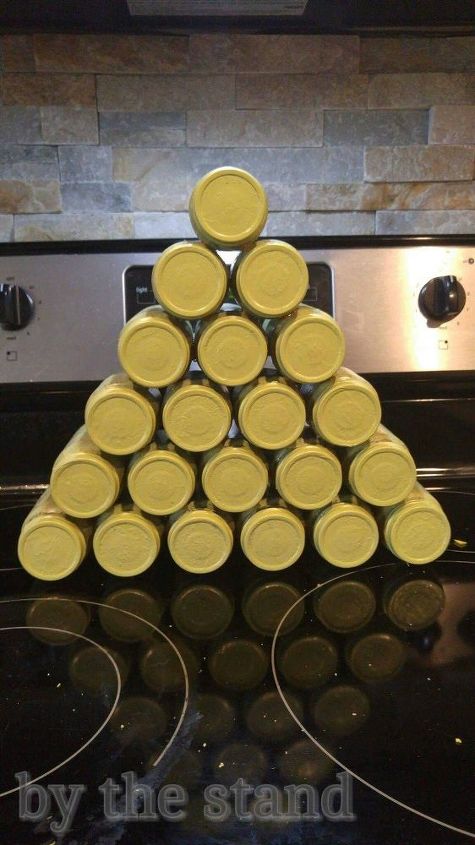
First, I removed all the labels and cleaned and washed the jars.
Before we go any further, I just want to let you know that I made this project with the stuff that I already had kickin’ around the house. So this is a perfect example of go with what you got. If you decide to recreate this project, I am sure that you will do things differently, but that is what is so great about DIY. YOU do what works for you!
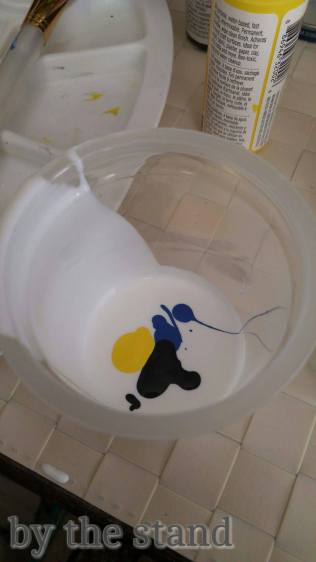
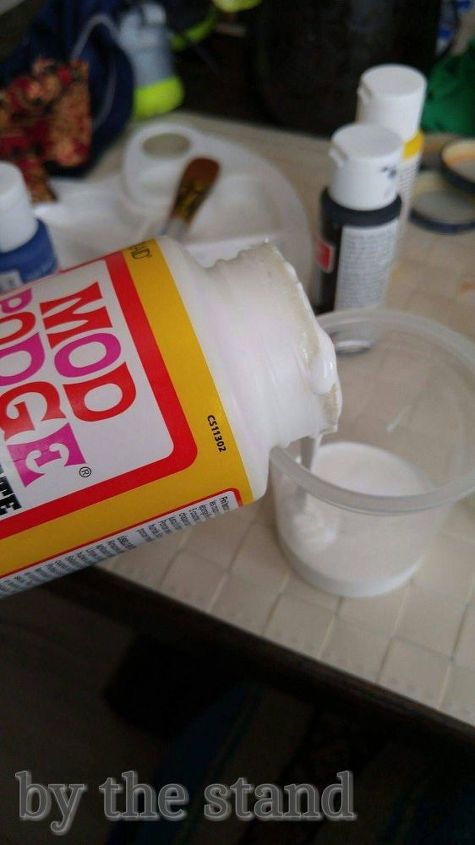
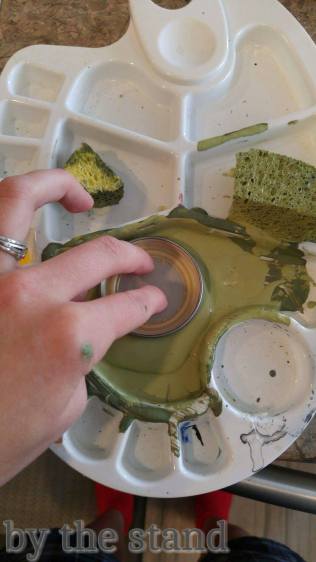
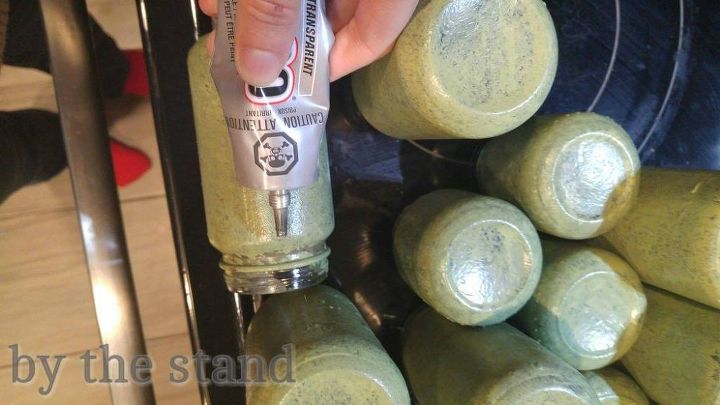
I mixed the paint into glossy Mod Podge because I wanted the jars to look really shiny.
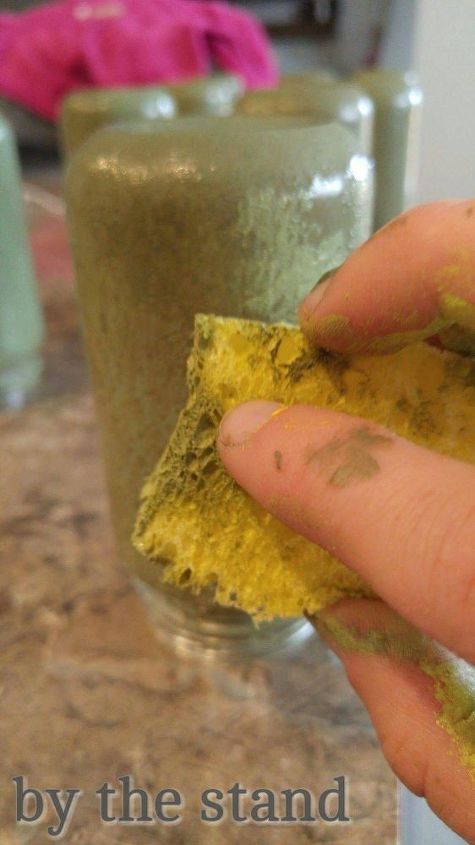
I have painted glass before and I can’t stand the streaky look and I don’t like how you have to do multiple coats to get a full finish, so I used a sponge to make a cool effect on the jars.
Well I was waiting for the jars to dry, I worked on the lids.
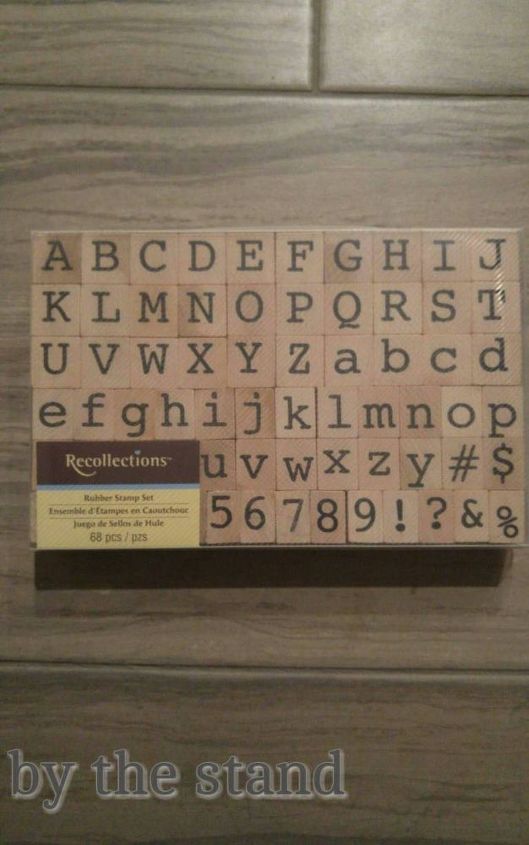
I got this stamping set from Micheal’s a while ago. It was on sale for dirt cheap. I think I paid like $4 for it. I used the stamps to stamp pieces of burlap style fabric sheets that I got from the dollar store.
Notice the three brown lids for the base of the tree.
Here is a side view — you will notice that some of the jars are larger. This doesn’t bother me because it is only noticeable from the side.
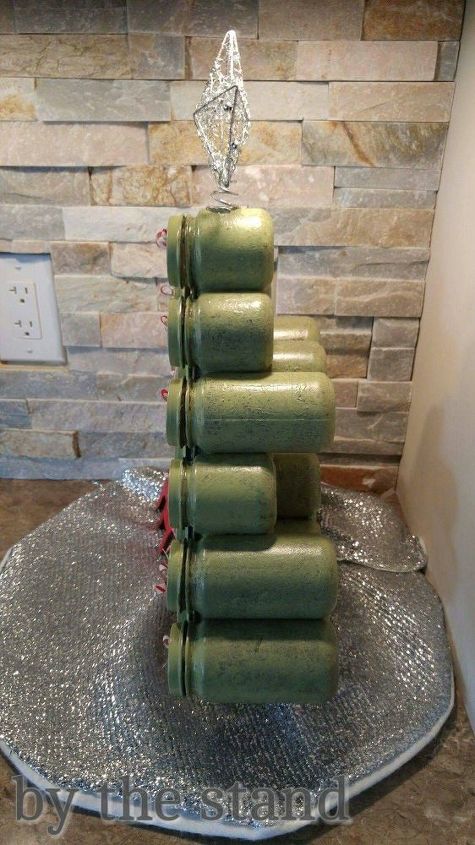
From the front you can’t even tell!
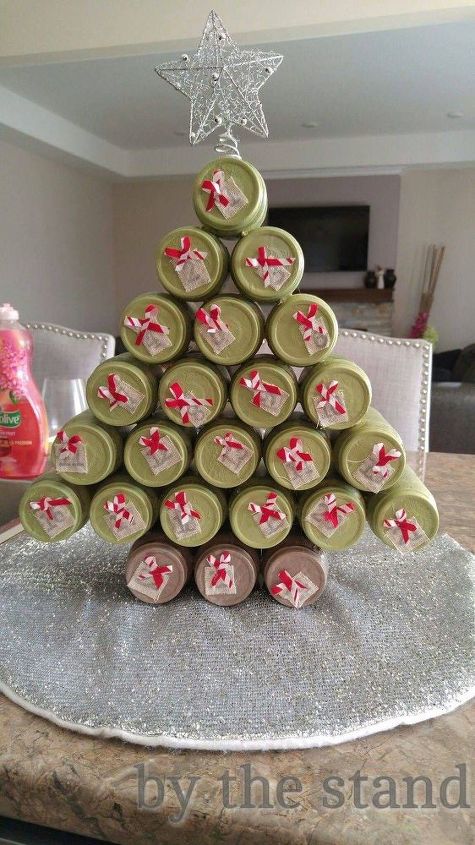
The star I picked up from the dollar store and used the E6000 to glue it to the top.
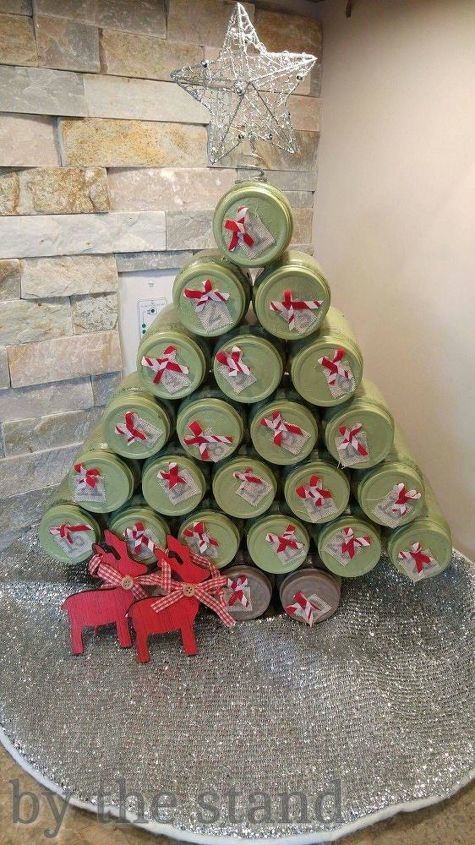
Those little reindeer are from the dollar store, too. I tell you, you just can’t beat the dollar store these days!
Want more details about this and other DIY projects? Check out my blog post!
Comments
Join the conversation
2 of 20 comments
-
You could use baby food jars for spices or odds and ends in bathroom or kitchen
-
I think this is awesome!! It caught my eye the minute I saw it!! Creative thinking and it looks great!


Frequently asked questions
Have a question about this project?