


One Unique Way to Give Your Christmas Cards a New Home
7 Materials
$0.00
1 Hour
Easy
I absolutely love getting Christmas cards in the mail and sending out Christmas cards in the mail every year. We like to include a little letter update about our past year and pictures of the kids on our card. It's a fun way to document our family's journey. When other people send us theirs, I love seeing how their families have grown, or simply enjoy the beautiful card with a sweet message.
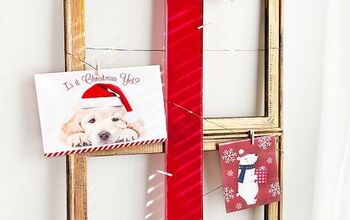
But, after Christmas is over, I am not sure what to do with all these sweet cards, letters, and pictures. It seems a shame to throw them all away! That's why it's great to have a specific purpose for these wonderful cards we receive every year. At the link at the bottom of this post you will find 40 different ideas of what to do with Christmas cards, and leftover wrapping paper.
Today, I'm showing you a fun, crafty, way to reuse Christmas cards by using them as the materials needed to create a beautiful little Christmas village.
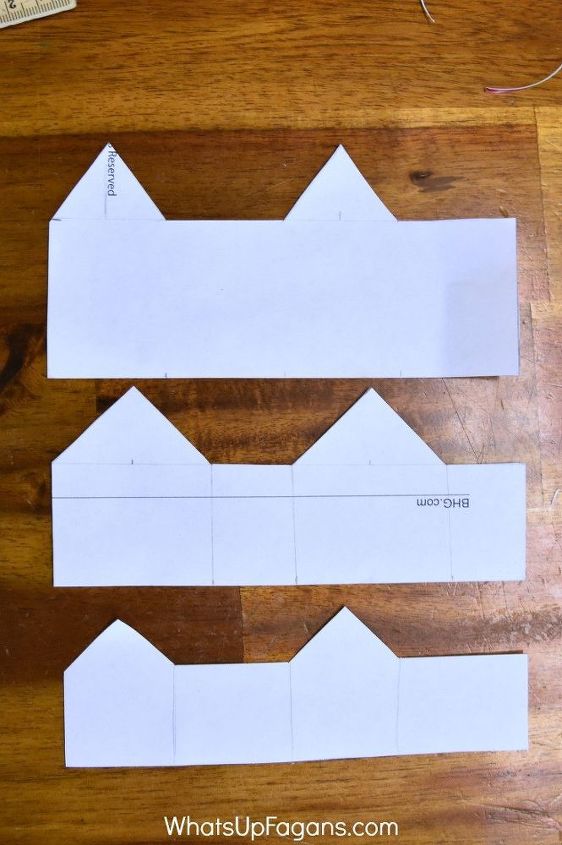
The bottom template is the BHG one.
This Christmas Village idea was featured over on Better Homes and Garden - http://www.bhg.com/christmas/crafts/christmas-card-projects/ - and I thought it was super cute and wanted to try it myself!
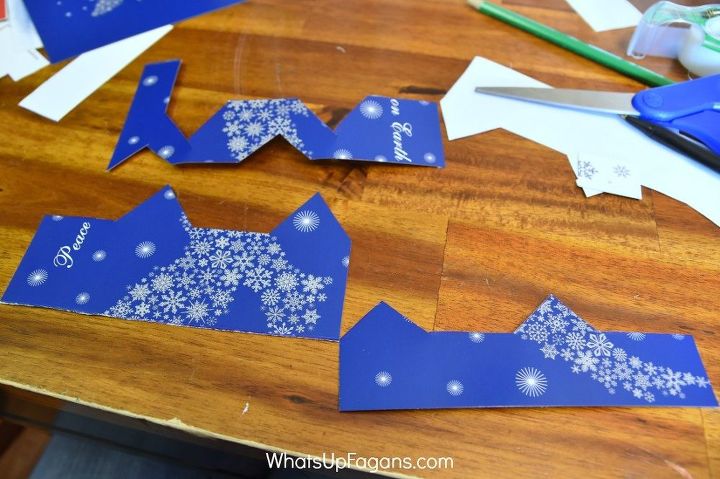
I overlayed the templates on Christmas cards, traced them, cut them out.
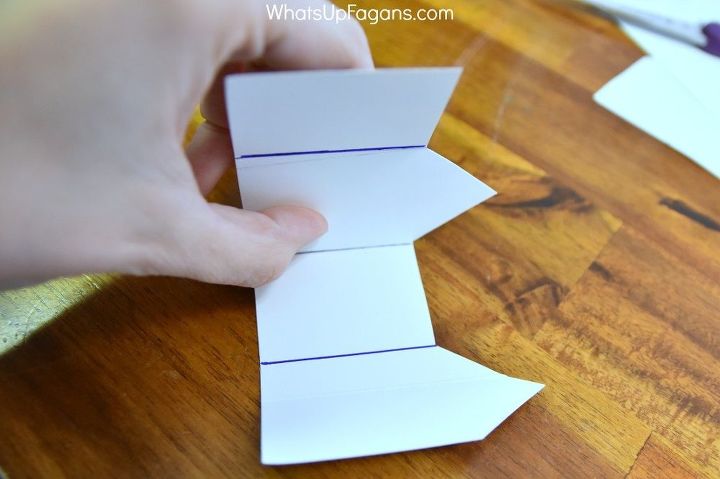
Then I flipped them over and scored them with a pen, against the straight edge of my ruler, then folded them where the corners of the buildings would be.
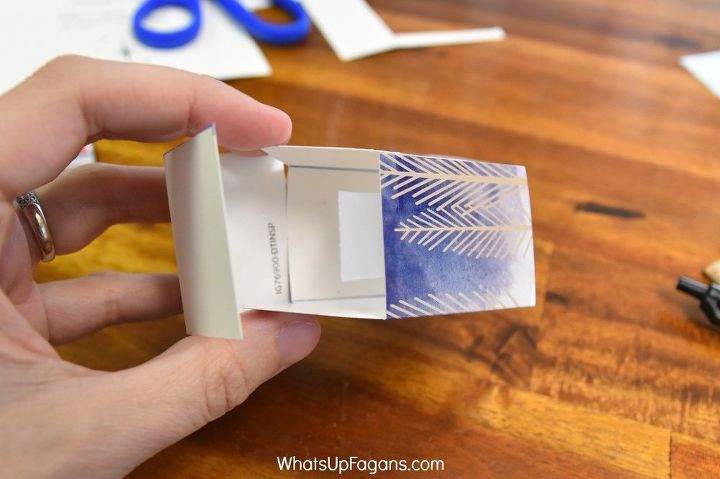
I used a small piece of tape or two and secured the corners of the house together. Then I cut out pieces for the roof, using measurements about 1/8" bigger than the length and width of the roof base. Then I taped it to the base of the house.
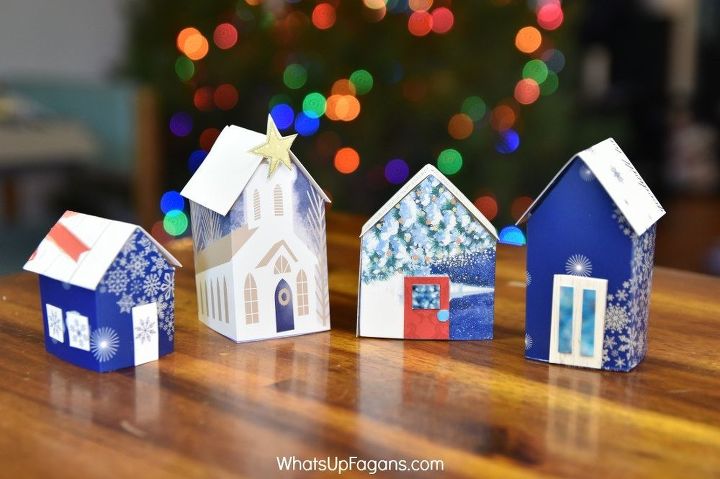
From here it is a matter of creating a few more homes using your templates and having fun embellishing them with pieces of other Christmas cards to create windows, doors, wreathes, stars, whatever you desire to make your Christmas Card Village truly unique and beautiful!
{
"id": "3661137",
"alt": "",
"title": "",
"video_link": "https://www.youtube.com/embed/mPrS-LdTsVk",
"youtube_video_id": "mPrS-LdTsVk"
}
{
"width": 634,
"height": 357,
"showRelated": true
}

Want more details about this and other DIY projects? Check out my blog post!
Comments
Join the conversation
3 comments
-
great idea! Thanks for the tutorial.
-
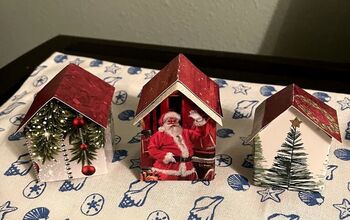
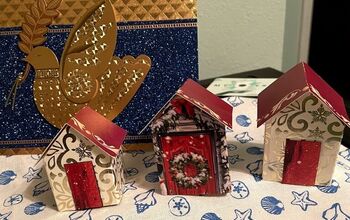
Saw this post earlier today... I have since made several little houses from old Christmas cards. Was really fun creating different themes and color schemes. Thanks for sharing your ideas...I just LOVE simple yet unique crafts, well done!!
Have attached a couple of my favorites...


Frequently asked questions
Have a question about this project?
Any suggestions for upholstery samples,,, 4×6. 8×10?