


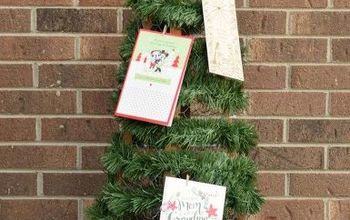
A Great Way to Re-Gift and Recycle Christmas Cards!
6 Materials
15 Minutes
Easy
I absolutely love getting Christmas cards in the mail and sending out Christmas cards in the mail every year. We like to include a little letter update about our past year and pictures of the kids on our card. It's a fun way to document our family's journey. When other people send us theirs, I love seeing how their families have grown, or simply enjoy the beautiful card with a sweet message.
But, after Christmas is over, I am not sure what to do with all these sweet cards, letters, and pictures. It seems a shame to throw them all away! That's why it's great to have a specific purpose for these wonderful cards we receive every year. At the link at the bottom of this post you will find 40 different ideas of what to do with Christmas cards (and leftover wrapping paper too).
Today, I'm showing you an easy way to recycle and re-gift Christmas cards! The Christmas card will become a cute box for putting in small gifts for others!
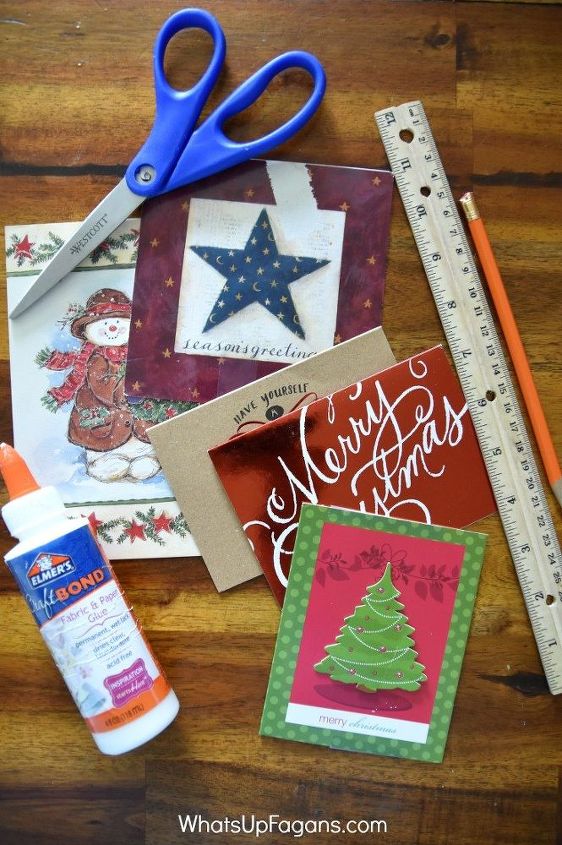
You'll need some cute Christmas cards you're ready to part ways with, some craft glue, a ruler, pencil, a pair of scissors and some tape.

Pick your card, separate the front of the card from the back, and then determine how deep you want your box to be (could depend on the object you intend to place inside too rather than the design of the card).
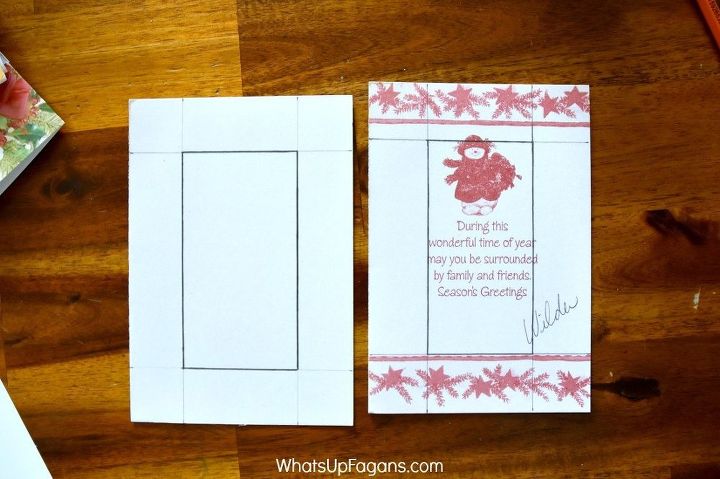
On the inside of your card/future box, measure off the same measurement on all sides, scoring the lines with a hard pen or pencil, so it'll be easy to fold.
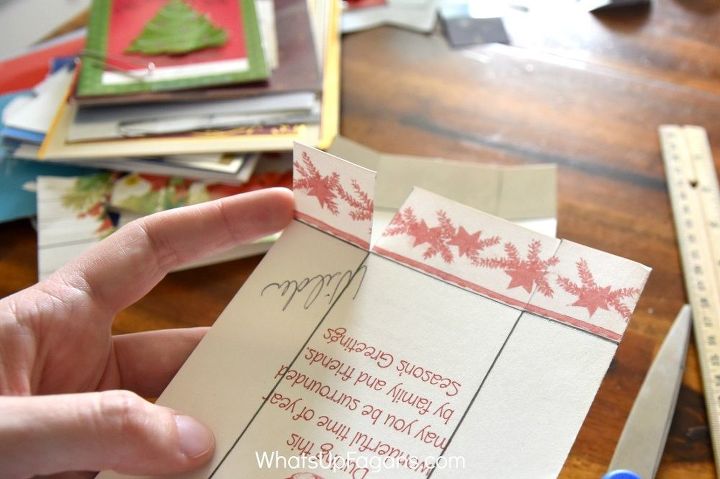
With scissors, cut just one side of each corner box you created, and fold along all the scored lines to form your box.
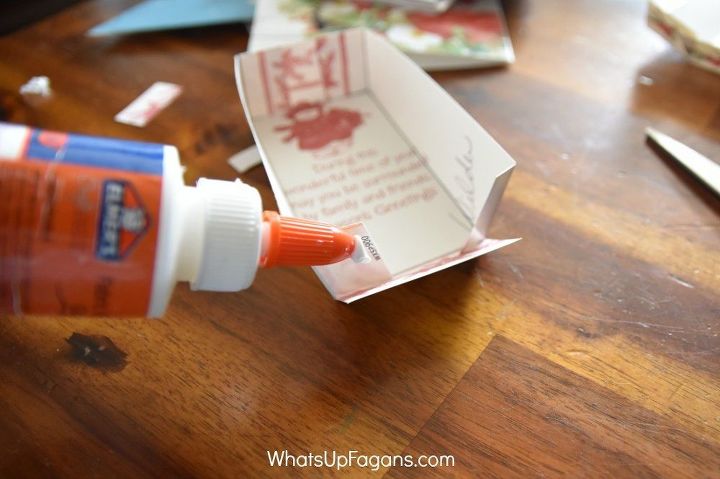
Glue the corner flaps to the ends of the box. Feel free to trim flaps that overlap. If you aren't using a craft glue, a paper clip can be used to help keep the flaps together as they dry.
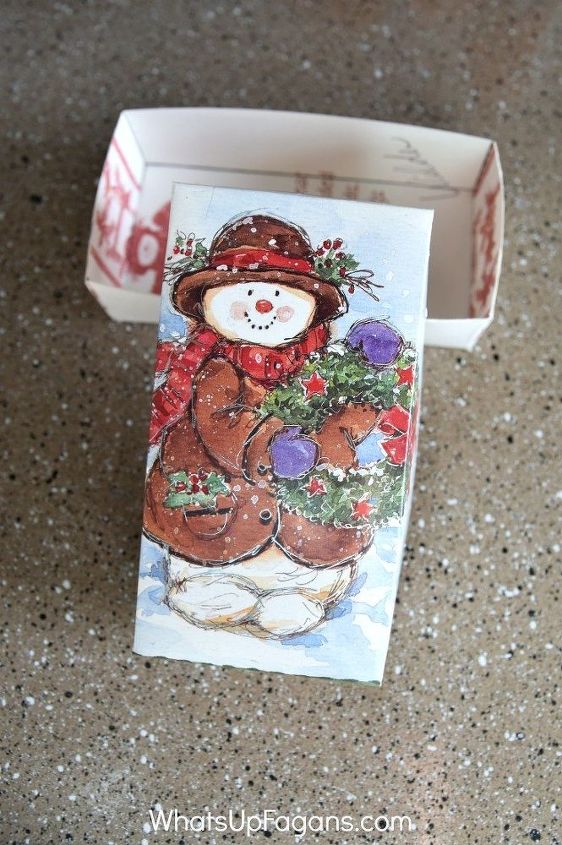
Once it is dry, fill your cute little box with something special! Candy, jewelry, gift card, cash, or whatever small trinket or goodie you wish to gift are perfect for inside these little Christmas card boxes!

Put the lid on, wrap a little ribbon around it, and you are ready to gift some old Christmas cards along with something special inside!

Want more details about this and other DIY projects? Check out my blog post!
Comments
Join the conversation
2 of 3 comments
-
These are just too cute and so very clever!
-
My Eastern Star group makes these, fill with candy & take to several local nursing homes. Makes cute boxes!


Frequently asked questions
Have a question about this project?
Thank you for such a clever idea. Wondering about the direction to score the bottom 1/16” longer. Would that not make the bottom larger than the top? Should it read “1/16” smaller”?