


HOW TO MAKE YOUR OWN TRAVEL MEMORY BOARD
6 Materials
Do you love to travel? Maybe you are the type to save all the ticket stubs, brochures, and keepsakes from your adventures?
Do you have trouble knowing what to do with all those things once you're home?
If so, then this is the project for you!
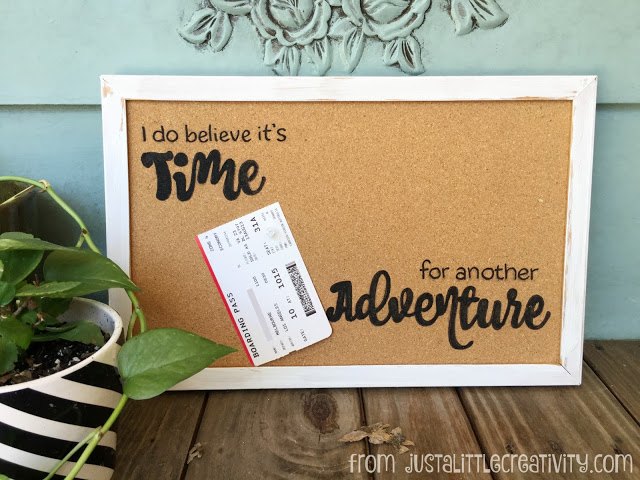
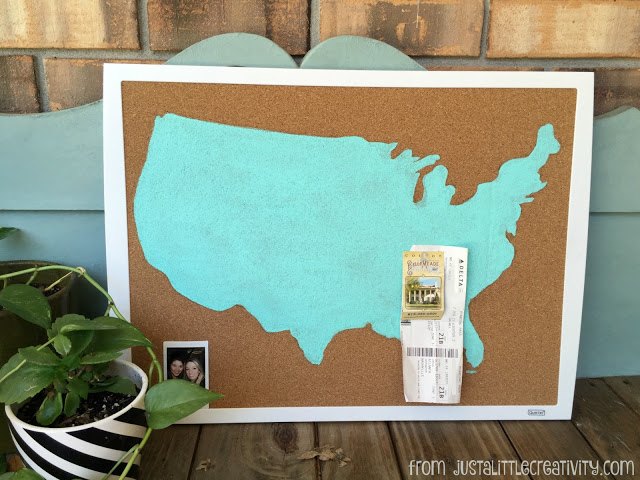
This DIY travel memory board is very easy, and will be the perfect place to display and organize your items.
Do you have trouble knowing what to do with all those things once you're home?
If so, then this is the project for you!
This DIY travel memory board is very easy, and will be the perfect place to display and organize your items.
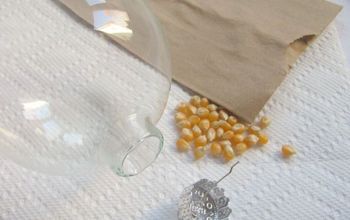
You'll need a few supplies.

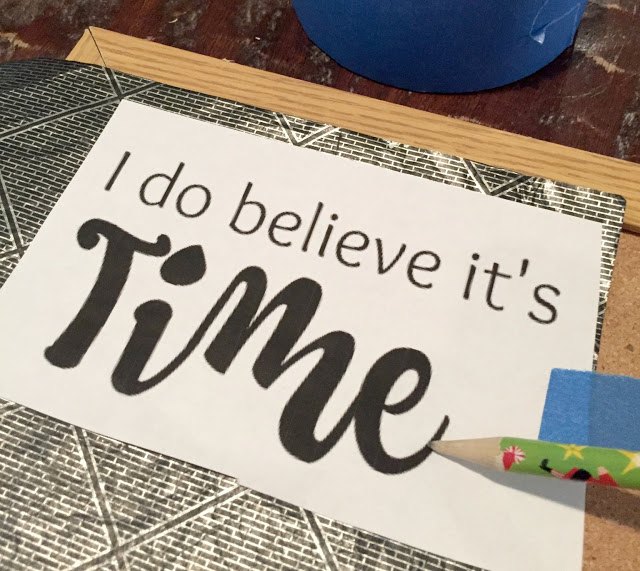
First, decide on your design. I've made these a few times with a map of the US and also just simple typography.
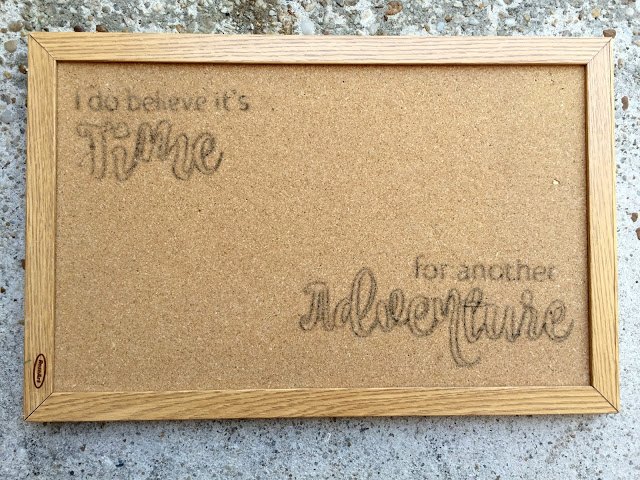
When you remove your paper and carbon paper, you'll see your design really well on the bulletin board.
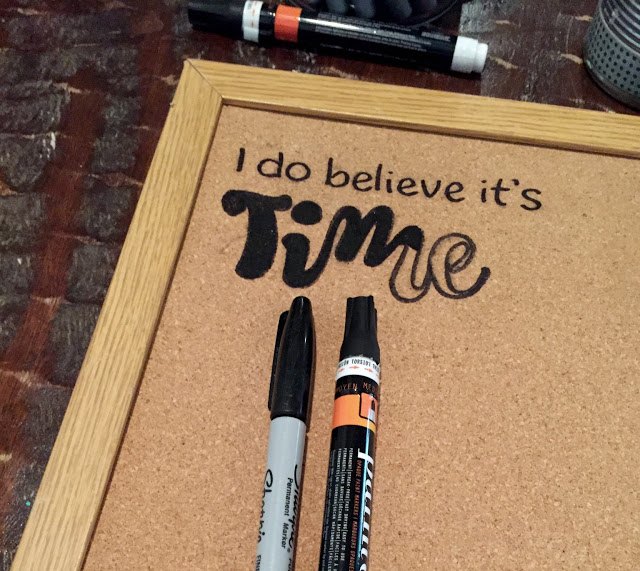
Next, using paint or a paint pen, simply fill in your design.
If you'd like the map design, but aren't sure how to size it to your bulletin board, just print it out on several sheets of copy paper, place them on the board, tape them into place. Then repeat the above steps for a perfect design!
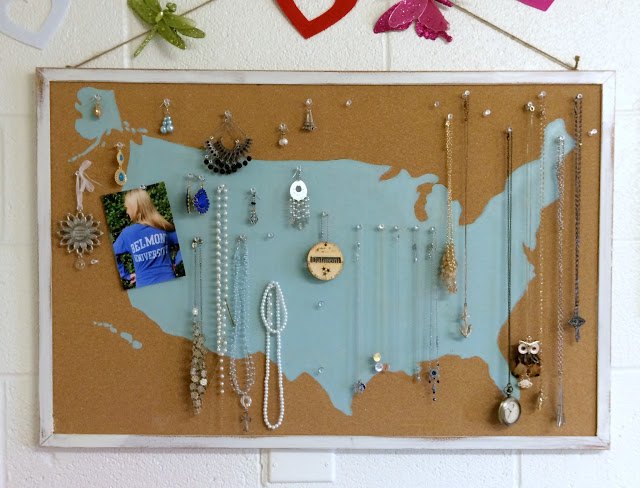
Of course, travel mementos aren't the only thing you can use this bulletin board to display.
You can find this original post on my blog http://www.justalittlecreativity.com

Want more details about this and other DIY projects? Check out my blog post!


Frequently asked questions
Have a question about this project?