


DIY Farmhouse Kitchen Island
5 Materials
$135
4 Days
Medium
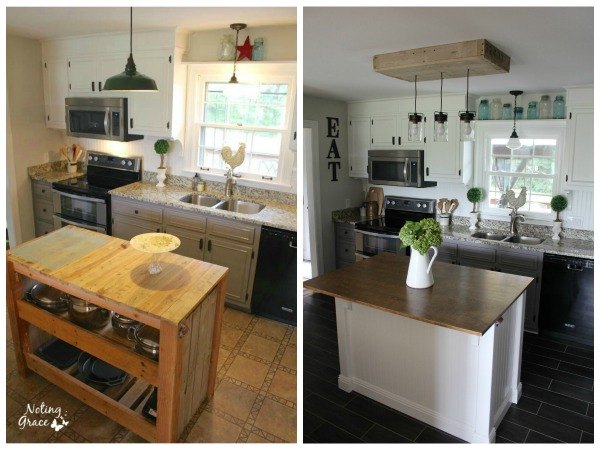
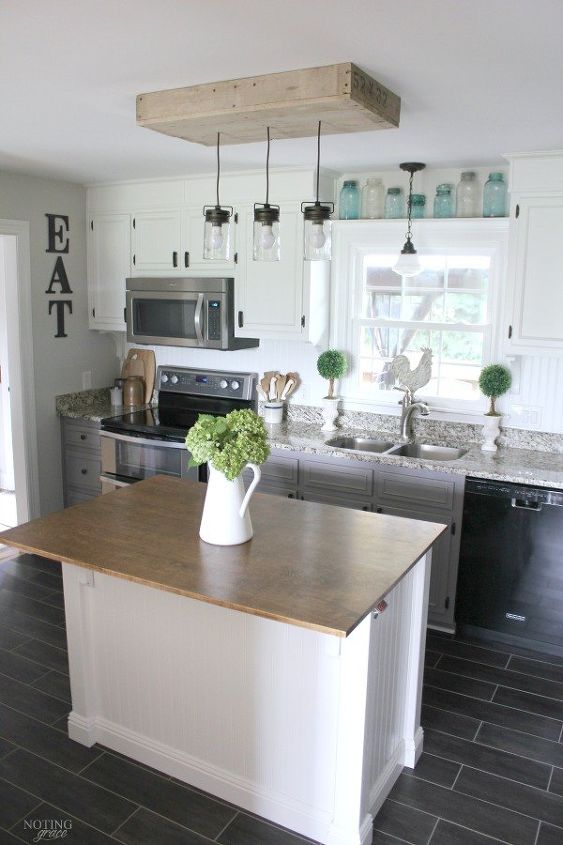
Prior to purchasing our Almost Farmhouse, we went through the grueling process of selling our Nevada home and moving to a rental before we made the big move back to Tennessee. Our rental lacked counterspace and cooking was tricky. Not wanting to invest money in a temporary situation, we created a budget friendly kitchen island from scrap and pallet wood to help our countertop situation. You can read all about how we built our Pallet Kitchen Island here on Hometalk. We brought it with us to Tennessee, and thought it would work nicely in our kitchen. Until the new floors were installed! That rustic kitchen island looked like someone wearing a gunney sack surrounded by belles at the ball. So this is how we took just a little bit of money and dressed up our kitchen island to fit right in.

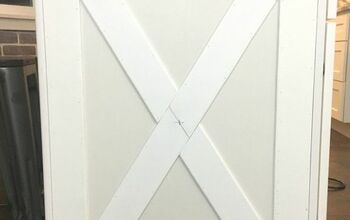
We stripped the kitchen island down to it’s bare bones. Our plan was to add beadboard to the sides where the pallet wood was to have it match our backsplash.
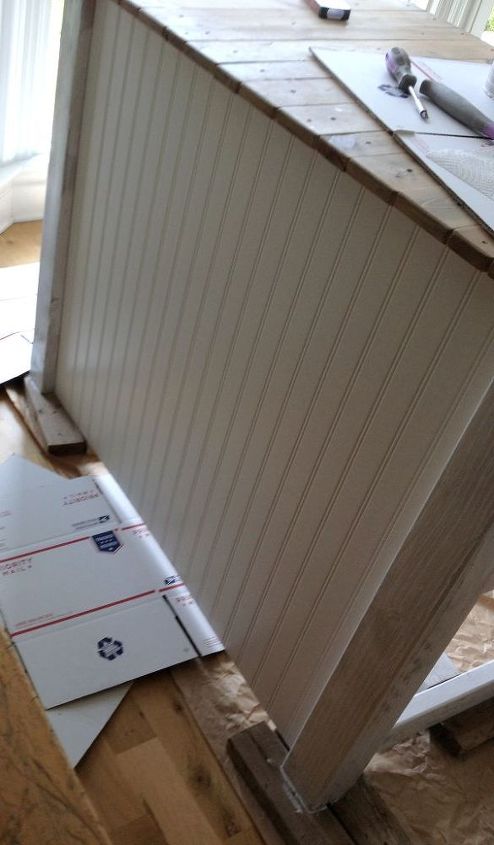
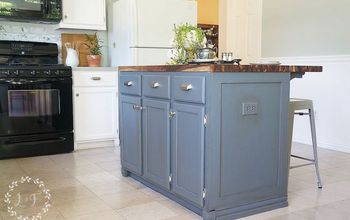
After painting the frame and inside shelves, we cut the 4 x 8 beadboard panel to cover the back and the sides, and then painted that. We used the same color used on our upper cabinets – Sherwin Williams Pure White SW7005. I love how the beadboard instantly gives it that Farmhouse feel.
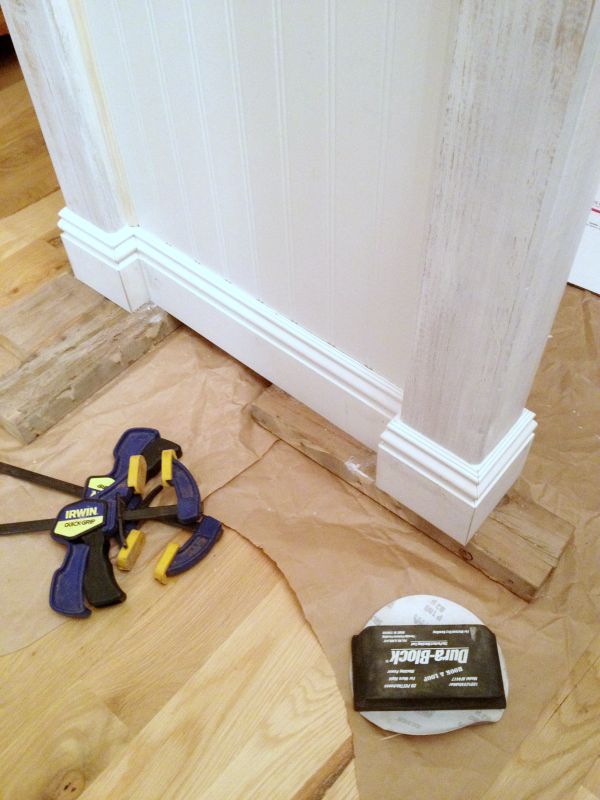
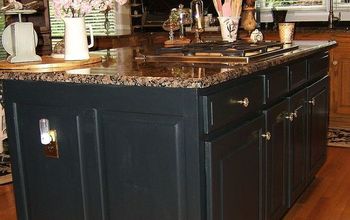
Next we added baseboard trim that we had leftover from another project around the bottom of the cabinet to give a look and feel of an actual built-in, even though it’s free standing. And lemme tell ya – the magic of caulk – it hides all errors, especially if corners didn’t quite line up.
After caulking the seams of the baseboard trim and applying a second coat of paint, we knew we needed to address the countertop. The wood slats were unique with the pallet wood frame, but we wanted a larger space to create an eat-in area. Plus – those little spaces between each board were a crumb magnet that made my OCD cranky, so it had to go. We repurposed the old top as the counter for our folding table in our Vintage Inspired Laundry Room.
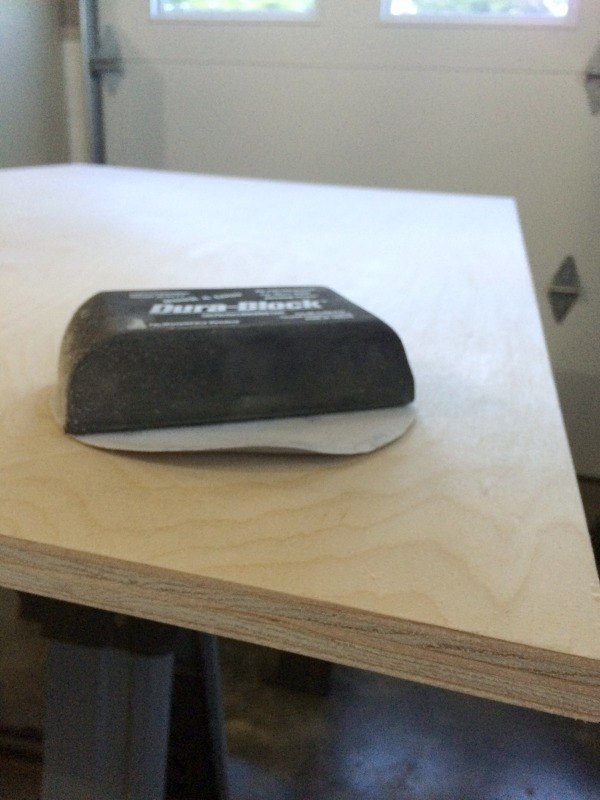
We purchased a 3/4 thick Birch piece of wood. This was the most expensive aspect of the project because of the type of wood. I’m sure there are cheaper options, but the thickness of the top and durability have been wonderful. We had the store cut the wood for us using their big saw. Our top measures 36 inches by 51 inches, and their big machines can rip right through the wood in seconds with really straight lines. We sanded the top to give the stain ‘teeth’ to adhere to. See that rough edge up there? We used iron on veneer strips to hide the ugly.
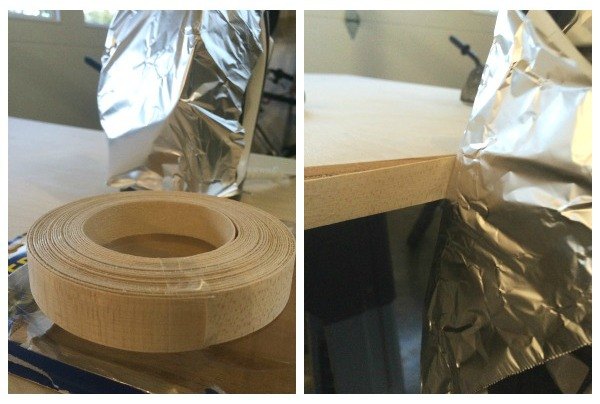
It comes in a neat little roll and is so easy to do! Cover your iron with some tin foil in case the glue seeps onto the ironing surface. Line it up and iron away. It took about 10 minutes to cover all four sides. My staining pictures were a fiasco – we couldn’t decide on a color and after trying different options, we went with a custom mix of stains we had on hand, so unfortunately, I don’t have any info on what our stain color is. One thing I will tell you about is the poly coat. This is a high traffic, heavily used area that I wanted to be able to wipe off easily, so I applied 3 coats of a wipe on poly in a Satin finish.
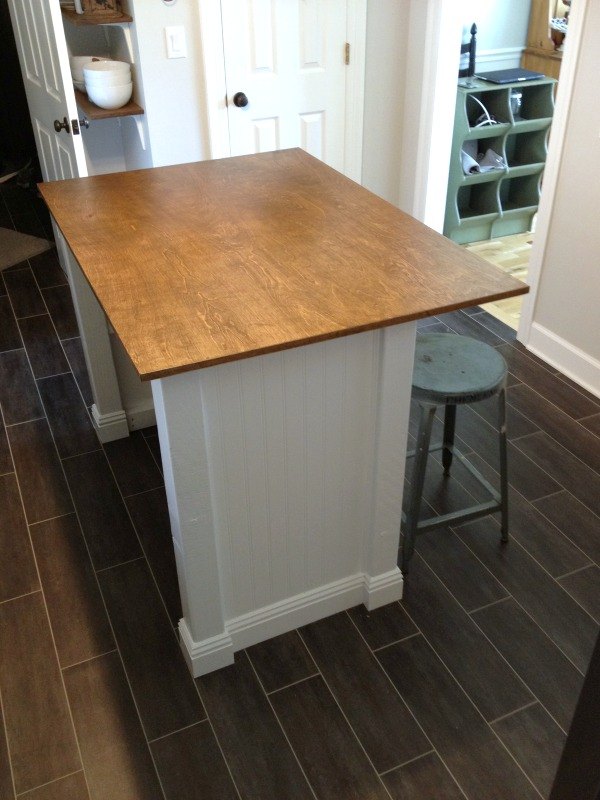
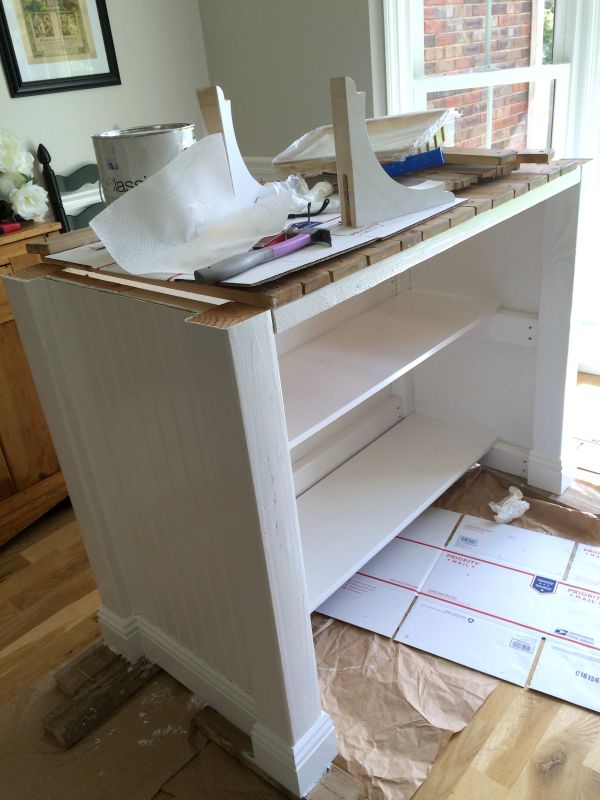
Once everything was dry, we moved the island in place and had to install the top.
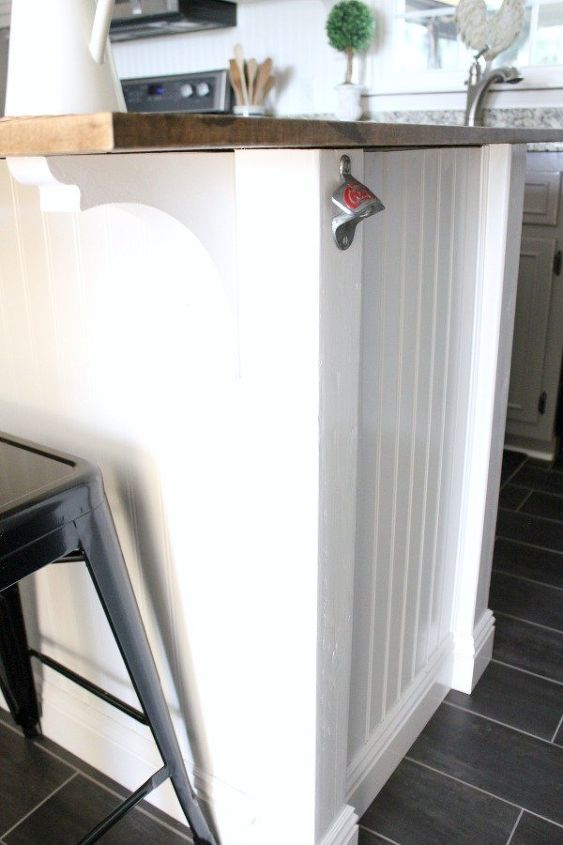
We used the same corbels we placed under our kitchen cabinets on the bar side to add additional strength to the overhanging edge.
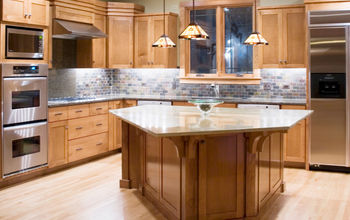
What a difference! She looks like she's been there the whole time!
The total cost for this Kitchen Island update only cost us $150!
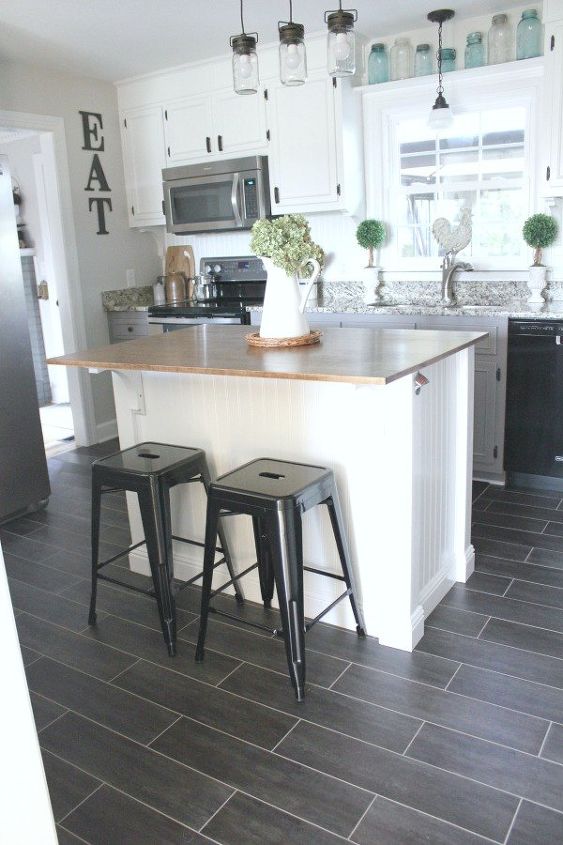
Add a few cute bar stools and she's done!! I'd love to know what you think! Be sure to stop by my blog to see how we updated our kitchen and floors!

Want more details about this and other DIY projects? Check out my blog post!
Comments
Join the conversation
3 comments
-
This is so stunning!
-
Love this!


Frequently asked questions
Have a question about this project?