


Shaggy Ottoman

by
Linda kelley
2 Materials
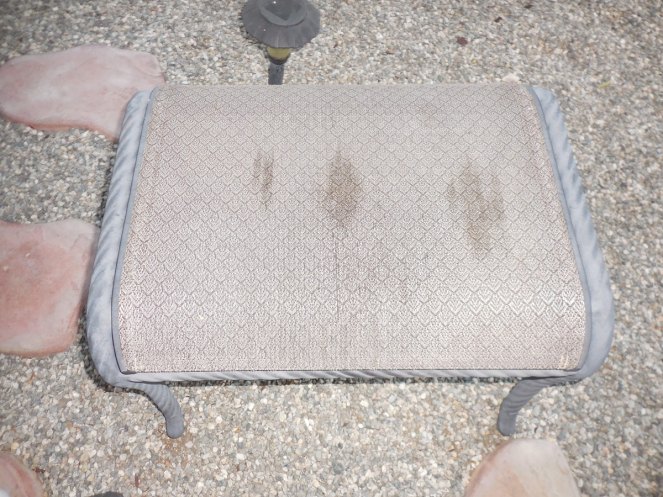
A few months ago, when taking my doggies for a walk, I found these outdoor foot stools discarded on the curb . My bestest friend in the whole world walks with me every night with her doggie. If you've been following my projects, then you KNOW, I love free finds. They were in good condition. I knew sooner or later I would do something with them. You should have seen it. I was walking two doggies, and trying to carry 2 foot stools, walking down the street....hahaaa

Well, I spray painted the whole thing with Rustoleum Oil Rubbed Bronze Spray paint....you can see it here...
amazon.com/images/I/41XtR02gjlL._AC_AC_SR98,95_.jpg
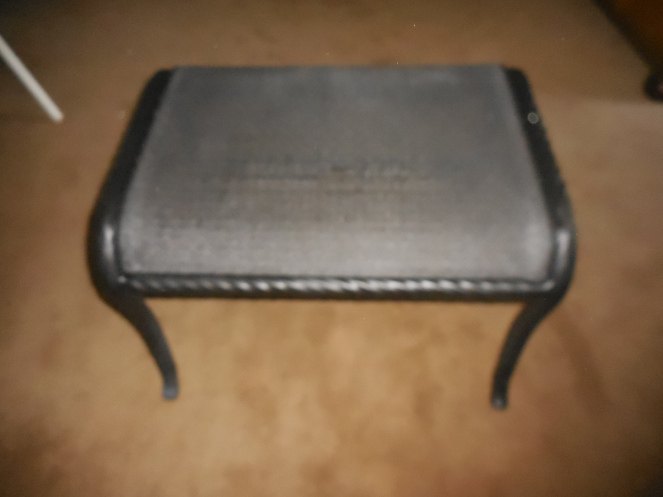
This Oil Rubbed Bronze is the same color as most outdoor furniture nowadays
My swing is the same color as my patio furniture. So, guess what I did next?
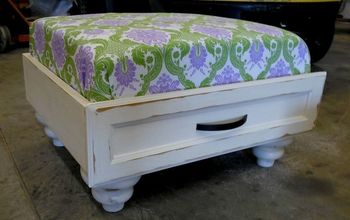
Do you see my precious little Gidget on the couch...Ahhh! You could paint a old ottoman, or wrap a old one like below with fabric, and add this on top.
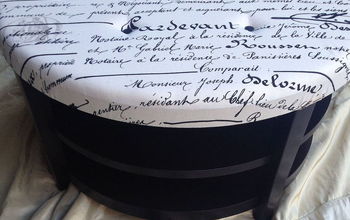
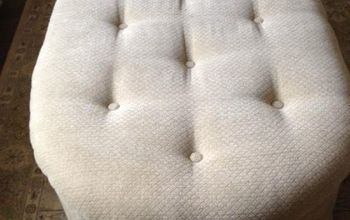
This one is in my bedroom. I did it months ago. Its just one of those ottomans that have a lid that lifts for storage. This upcycle was so pretty
So what I am trying to prove to you is you can do this shaggy piece, and put on anything. Ahhh, my toes are so comfy

I had recently made a rag rug that I was so happy with, you saw it here ,https://kelleysdiy.com/2017/02/01/rag-rug/. I thought I would use a similar, but different, technique. I purchased 3 different types of yarn, in various thicknesses, hemp string, and a non slip rug protector. For the next few days, I was watching movies and working on it.. The hemp string was kinda spendy. You can use a similar twine. It must be stiff, and that is important for the final look. It gives it more texture.
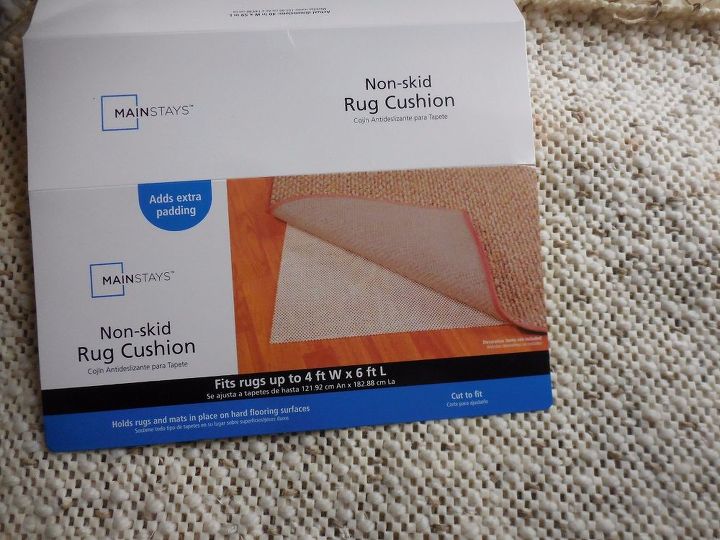
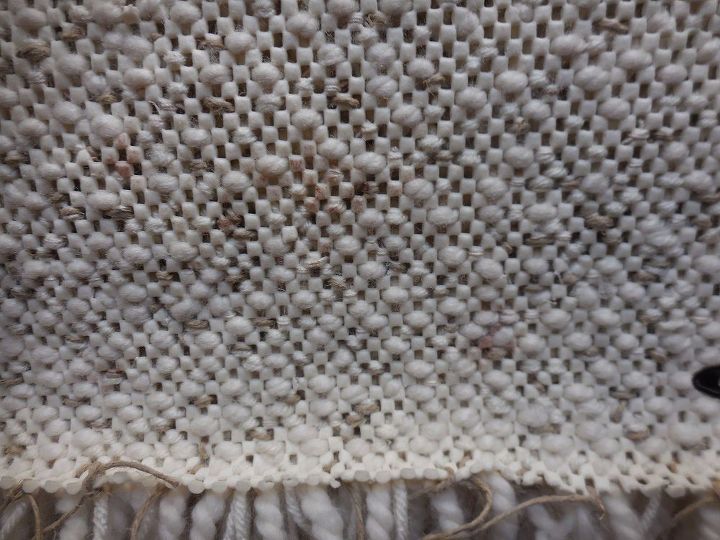
This is the Non skid Rug Cushion I used to make this. Notice it's not the same as the Rag Rug cushion. It has smaller holes. I started by cutting the yarns in 6″ lengths. Starting in one corner, you slip a crochet hook, or perhaps a rug hook, in one little square with a strand attached and come up on the one next to it.then tie a knot. Just tie once. Keep going..using a random pattern alternating the yarns.
This is what the back looks like when your finished. It does get a little tedious hooking the yarns. But take your time while watching movies!
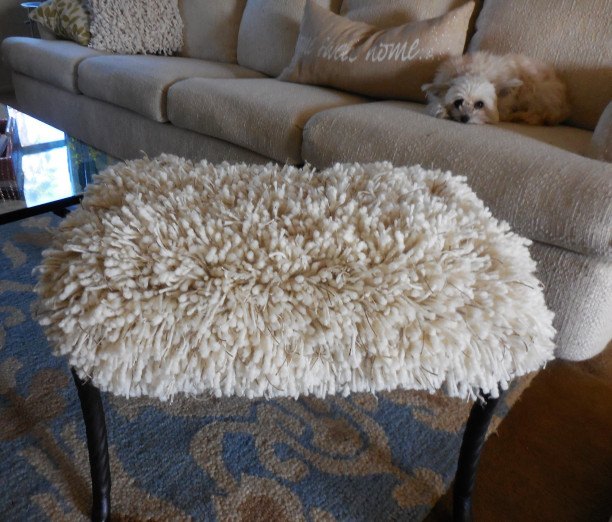
....and here it is!!! Notice my little Gidget on the couch...she's such a little stinker. But...I wasn't finished...

This would look so much better on a ottoman, I had put some new fabric around it ,stapled....... Then on the lid...I did the same technique. I just love, love this idea! So have I inspired some of you to try it??
Want more details about this and other DIY projects? Check out my blog post!
Comments
Join the conversation
3 of 62 comments
-
Very easy, just time consuming!
-
So cute! Looks like your puppy is part of your inspiration!


Frequently asked questions
Have a question about this project?
like your ottoman, but the little dog in the back ground could be my dog's twin...do you know what breed they are? I rescued my dog out of really bad circumstances so I have never been real sure of her breed.
Is shag rug back in style?
I would love to make the shagrug ottoman as a gift. Could you explain how you place the string in the rug protector? Did you fill every hole? Did you work in a pattern or just place them haphazardly? Just beautiful.