


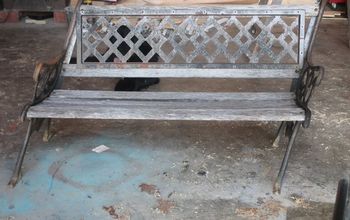
Balayage Inspired Painting And Sanding Furniture

Comments
Join the conversation
-
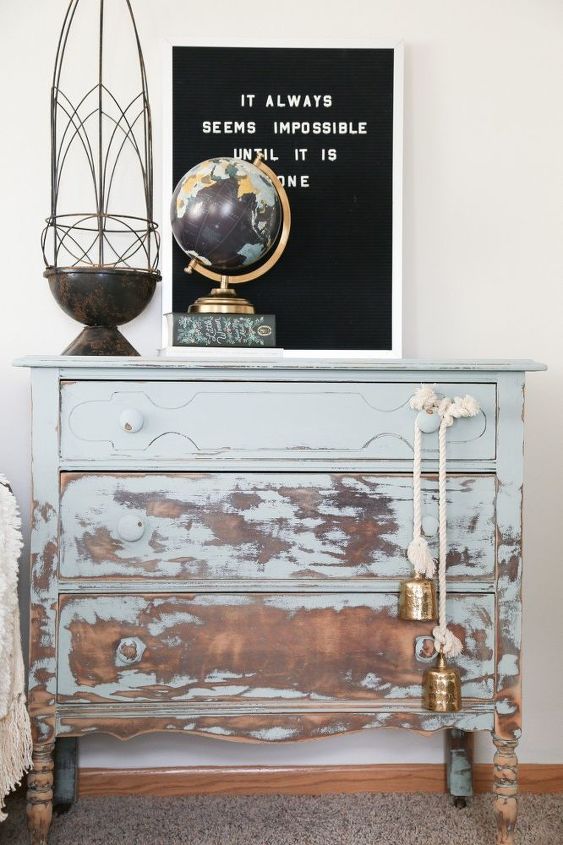
BREATHTAKINGLY BEAUTIFUL!! I am definitely a fan. I love anything unique and unusual and this fits the bill. I’ve done a few benches like this but my family has no artistic abilities and no vision of anything artsy, abstract or unique in any way. So unless I persist, I usually get STUCK with the plain Jane looks for my own home. Point in question....we just bought new furniture for a family room. 2 years ago we laid laminate flooring throughout the living room, hallways, master bedroom and master closet. I tried my darndest to convince “him” to do a unique floor in the family room to no avail! We will be adding the same flooring as the rest and I’m not at all happy about it. I have a kitchen, 3 bathrooms, the laundry room and 2 more bedrooms to change flooring in and the options are totally mine ❤️ I can’t wait!
Keep life fun and keep creating these gorgeous pieces!
-
Great job! I love the color and style. Thanks for sharing.


Frequently asked questions
Have a question about this project?
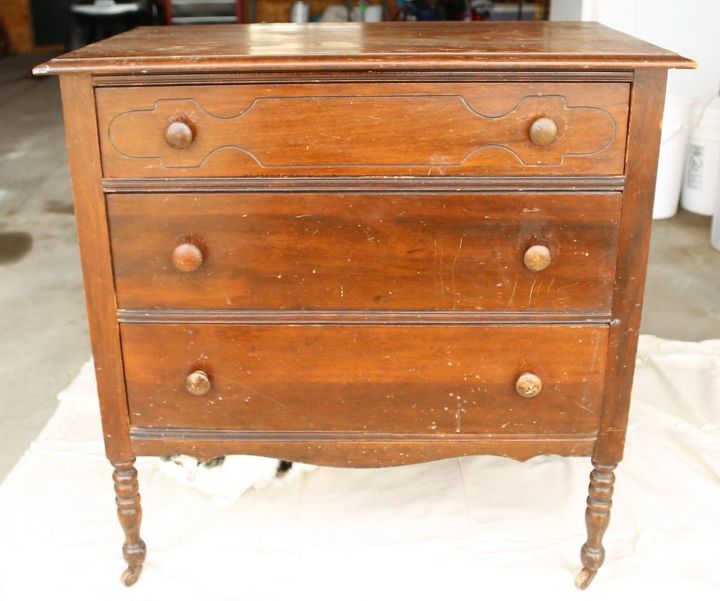
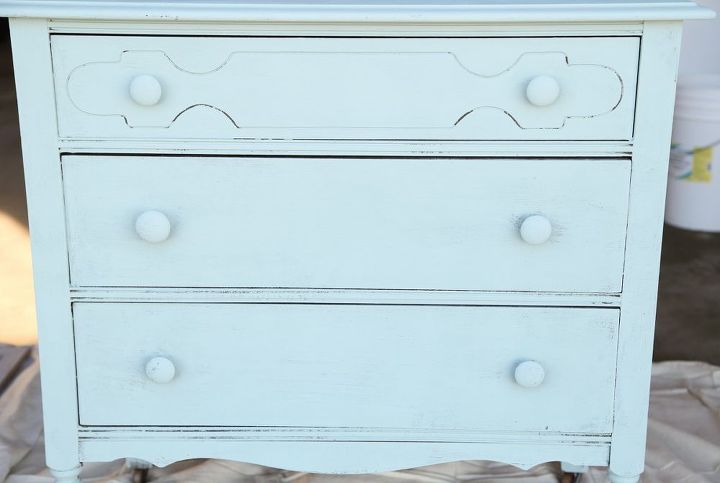
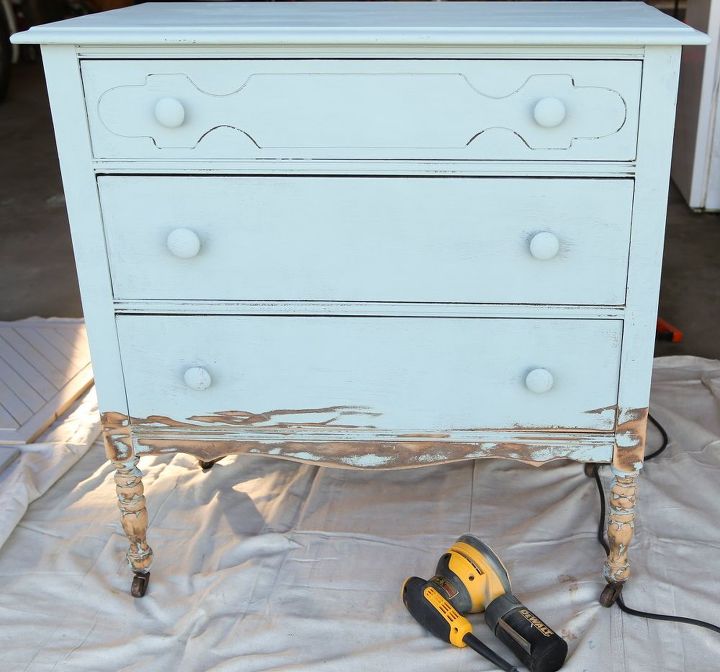
Hi, did u sand the dresser before using chalk paint?
Hi, did u sand the dresser before using chalk paint?
Hi, did u sand the dresser before using chalk paint?