


Iron-on Tea Towel Project
3 Materials
15 Minutes
Easy
Using a Cricut to cut a custom design to use on a tea towel. The design itself can be used anywhere, but I loved it on a tea towel next to our coffee maker!

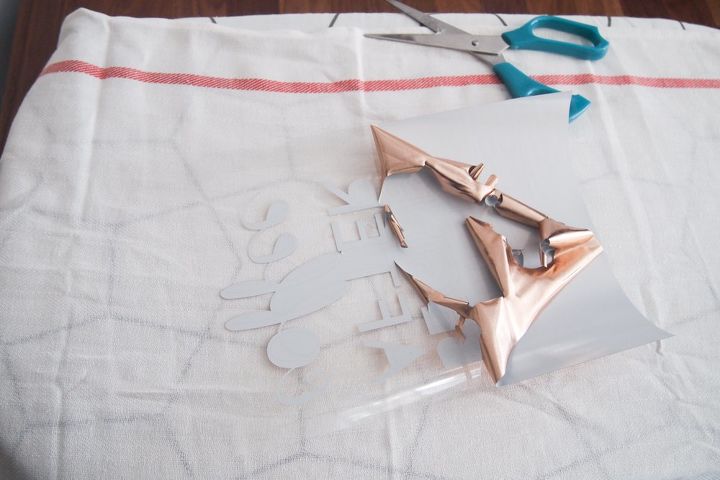
Remove all excess foil carefully, making sure not to pull any of the design off. This comes off pretty easily and somehow almost perfectly!
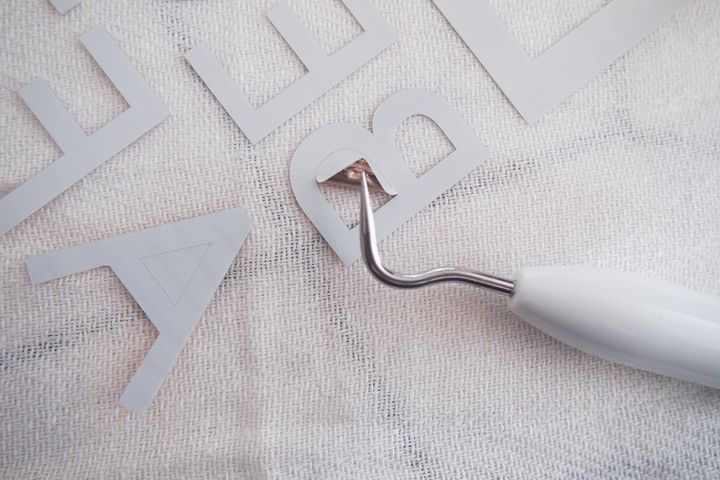
Using a sharp tool, remove the excess bits of foil in between the letters, making sure not to poke or damage the actual letters. This is the weeder tool from Cricut.
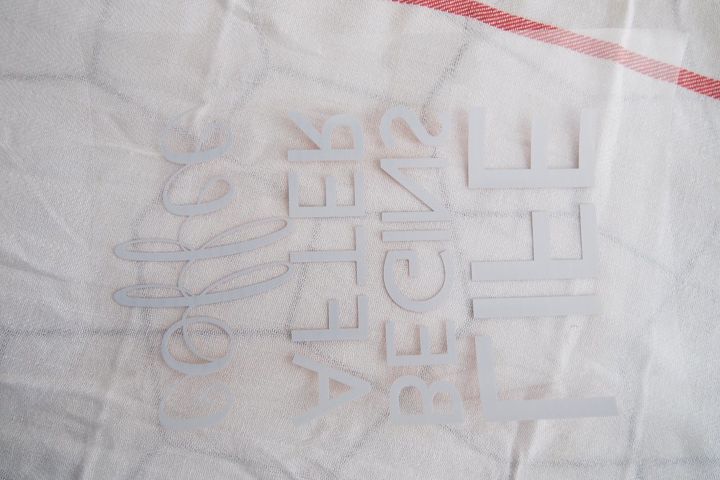
You'll end up with this on the back, and now you can go ahead and stick that onto your fabric. It's completely moveable at this point, so don't worry about being too precise.
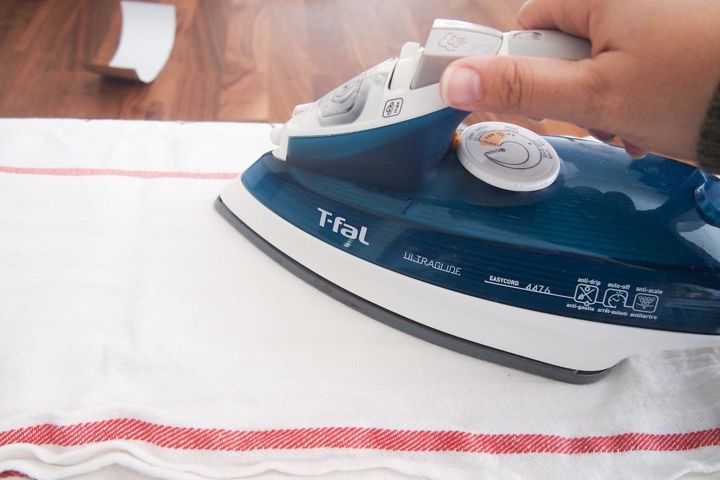
In your iron's hottest setting, iron the design on, covering it up with another towel to protect the materials and your iron. Leave the iron on the design for 20-30 seconds at a time, being careful not to drag the iron but lift it and place it on the next spot of the design.
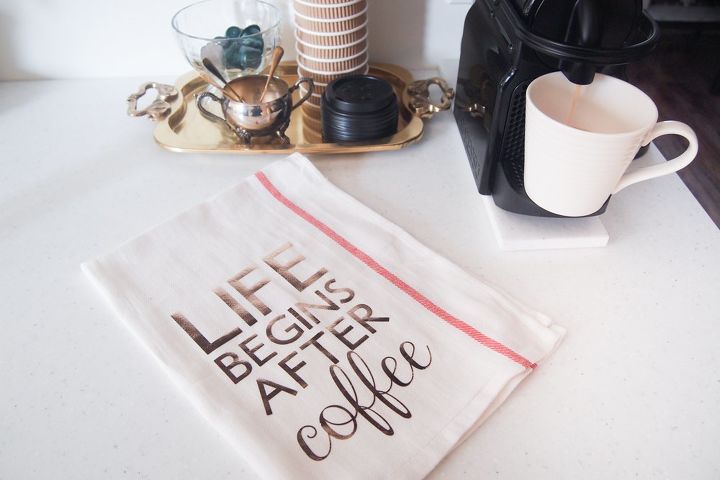
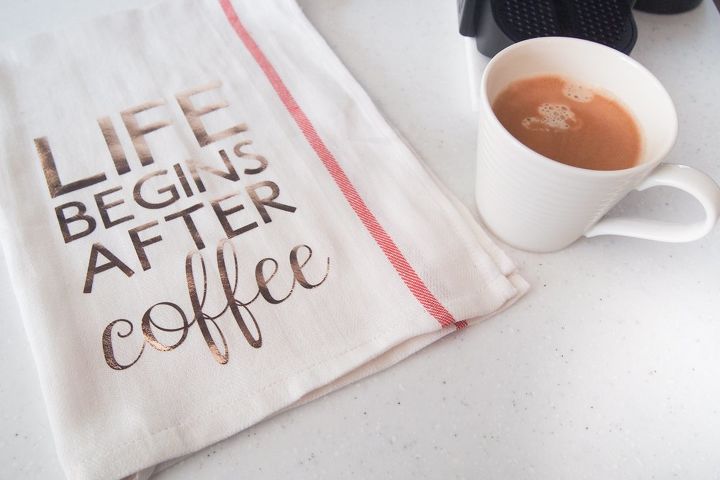
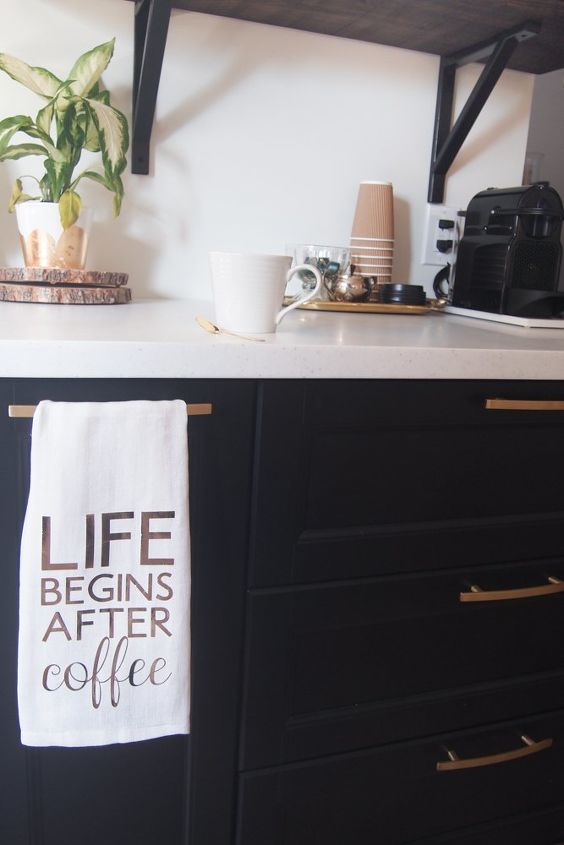
The finished product will look like this! A daily reminder of how important coffee is! And we all need that sometimes, am I right?

Want more details about this and other DIY projects? Check out my blog post!
Comments
Join the conversation
1 comment
-
Love cricut :) This is soooo cute, that quote is so true LOL


Frequently asked questions
Have a question about this project?