


Terra Cotta Pot Easter Bunny

by
Jordan Britt
After seeing all the cool easter projects posted on Hometalk, Hannah and I decided to raid our craft cabinet and found a bunch of random stuff! And... we turned it into a bunny!
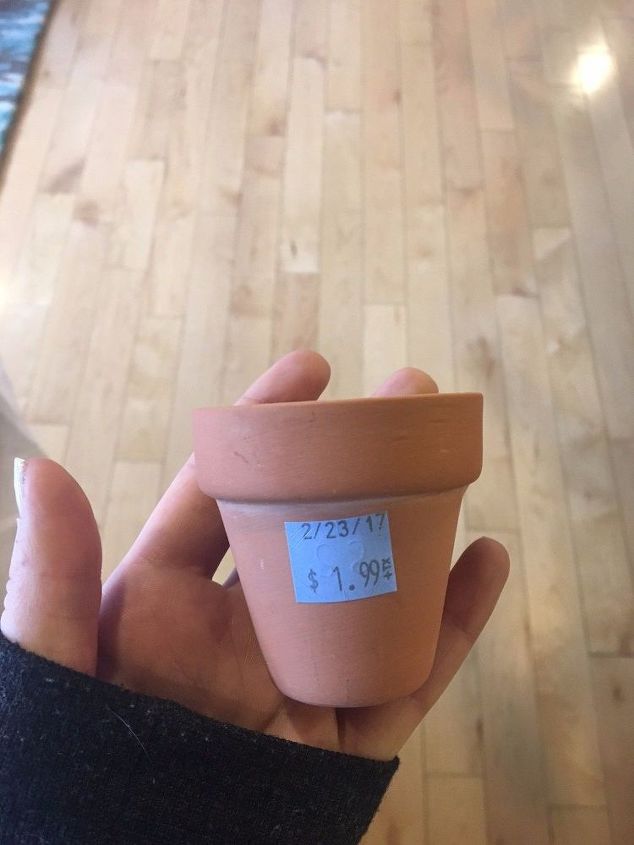
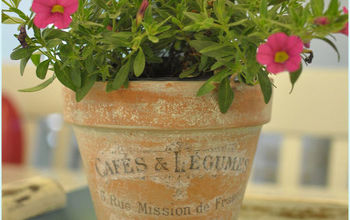
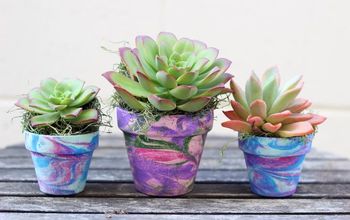
You can find these terra cotta pots pretty much anywhere, we found these tiny ones at Goodwill.
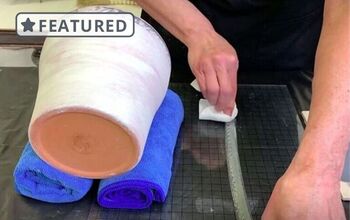
Start with white paint
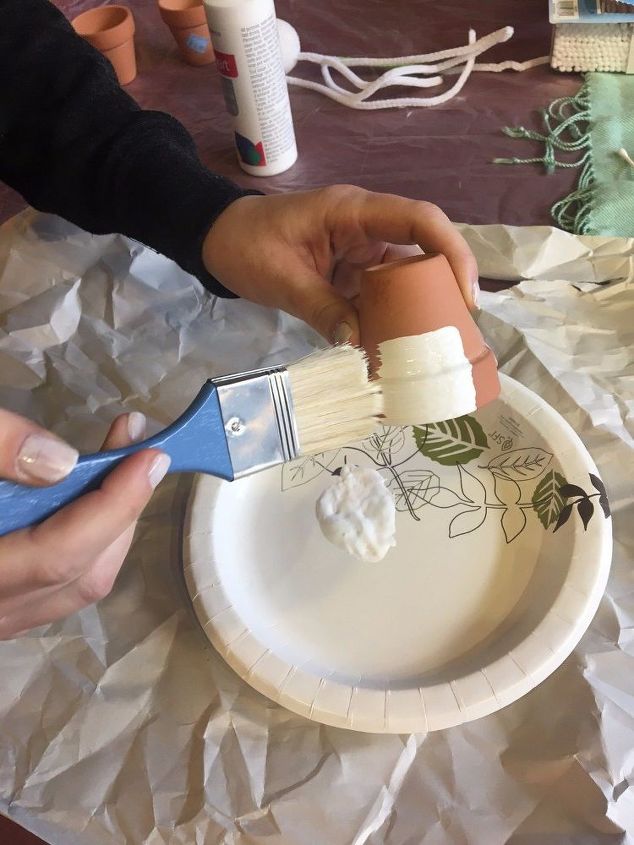
Paint the entire pot white! This will be the body of the bunny.
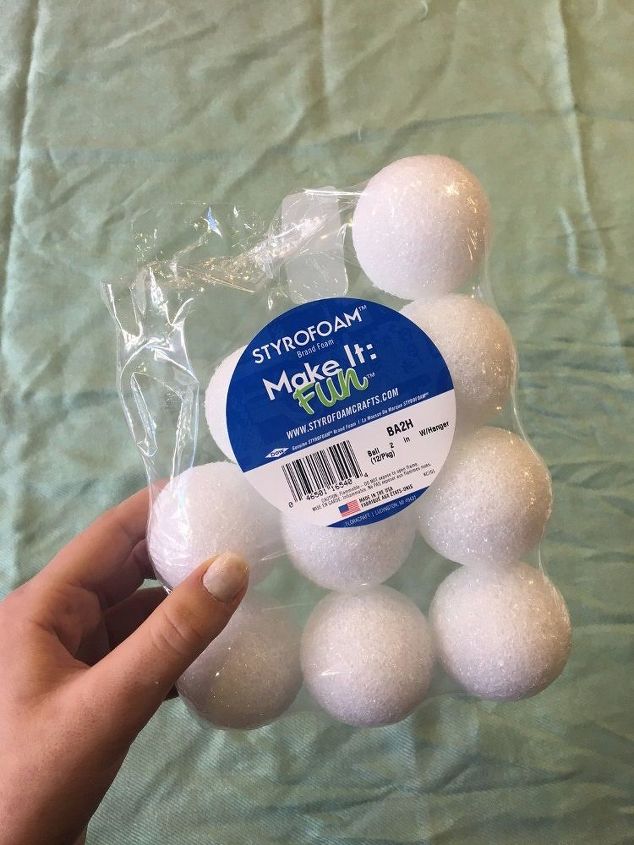
For the bunny head, we went with styrofoam balls!
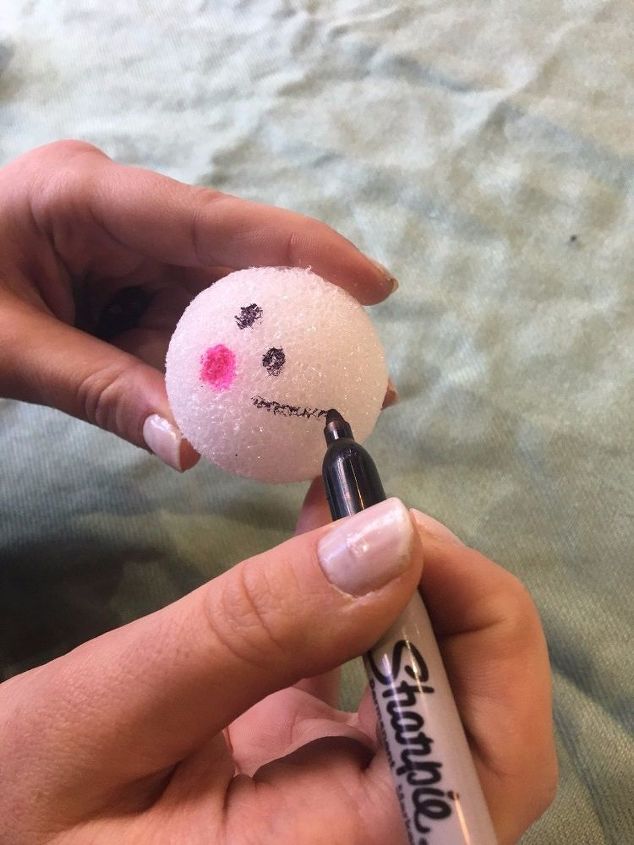
Using a pink sharpie, put a dot in the middle of the ball. This will be the bunny's nose. Switch to a black sharpie and add eyes and whiskers on both sides! For the mouth, draw an exclamation point (as seen below)
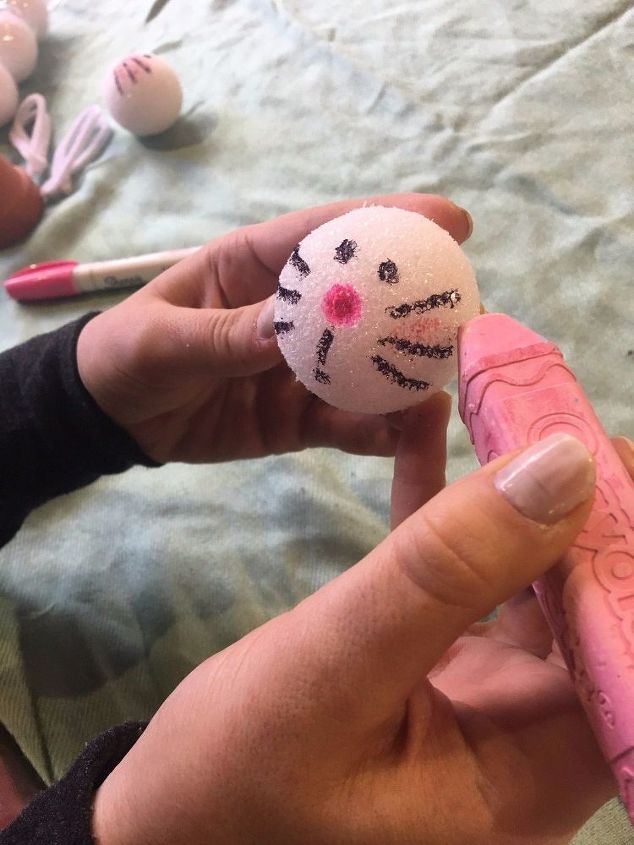
To add a little but of rosiness to his cheeks - use some sidewalk chalk and just color his little cheeks in!
Next, you'll need some white pipe cleaners
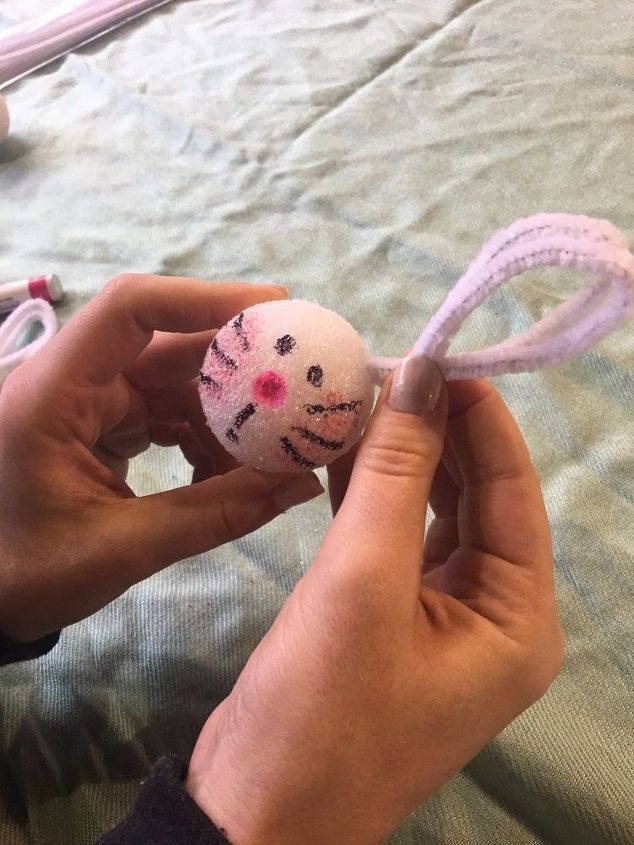
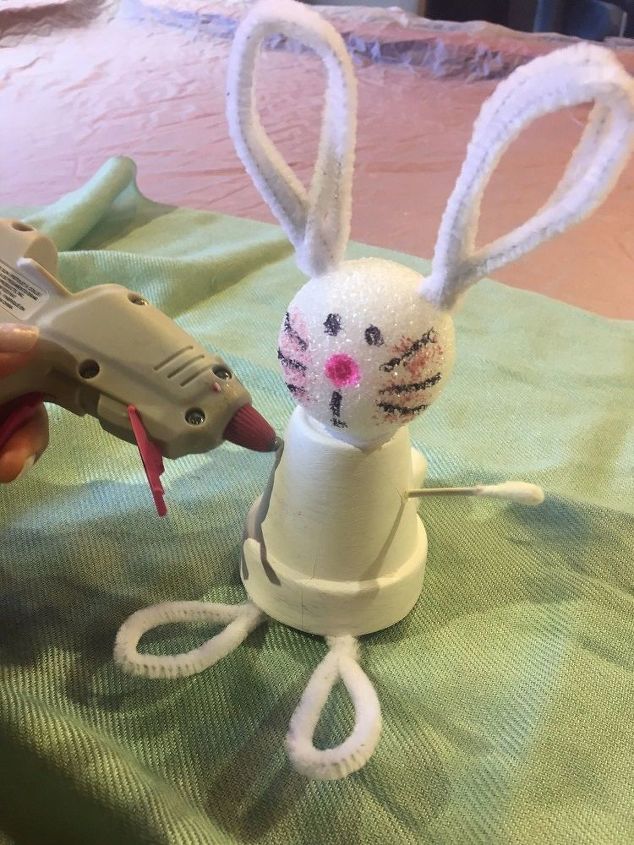
Next you will need some white pipe cleaners. Double fold the pipe cleaner into a loop and just stick the ends in the top of the ball to make his ears!
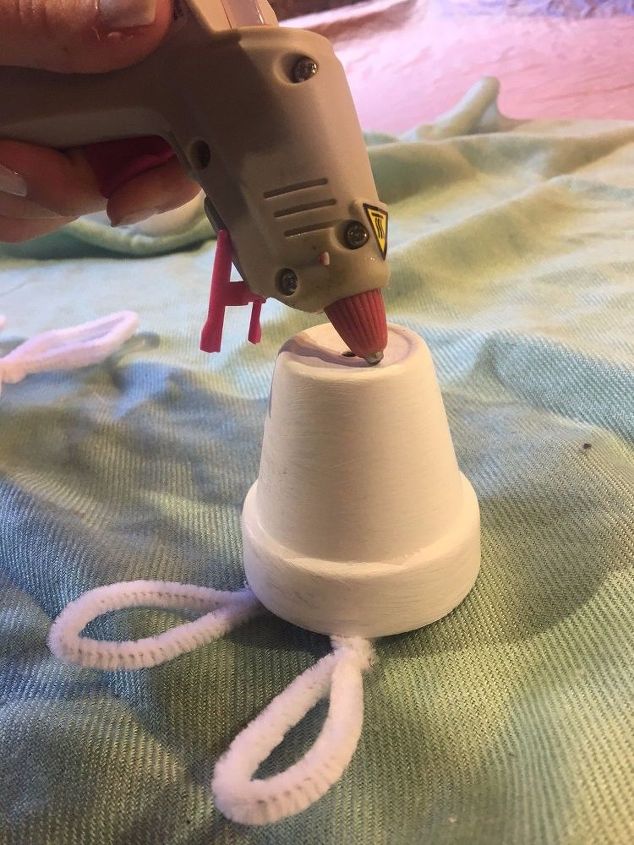
Do the same thing for the feet and glue them into the opening of the pot.

Glue the bunny head onto the pot!
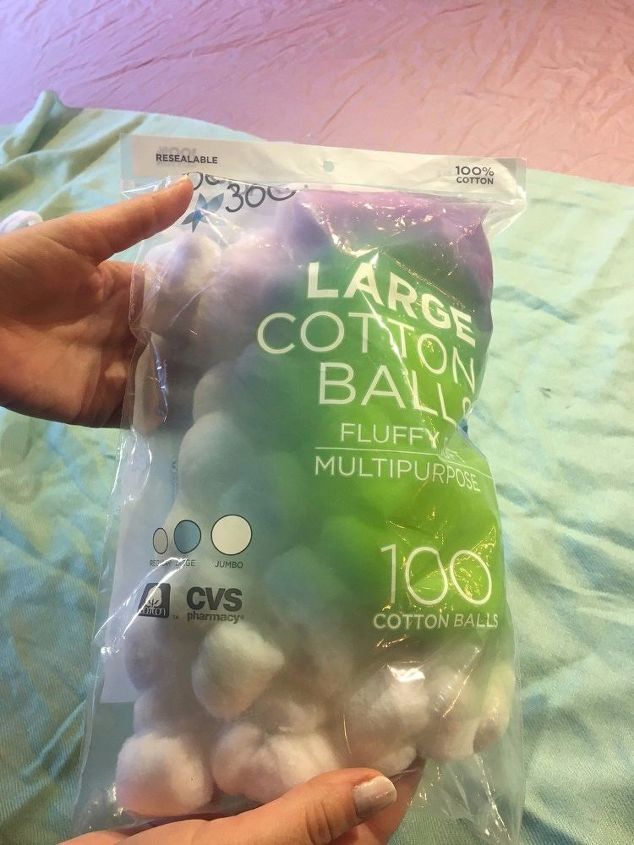
For his little cotton tail, use cotton balls of course!

Glue one on the back end of the pot
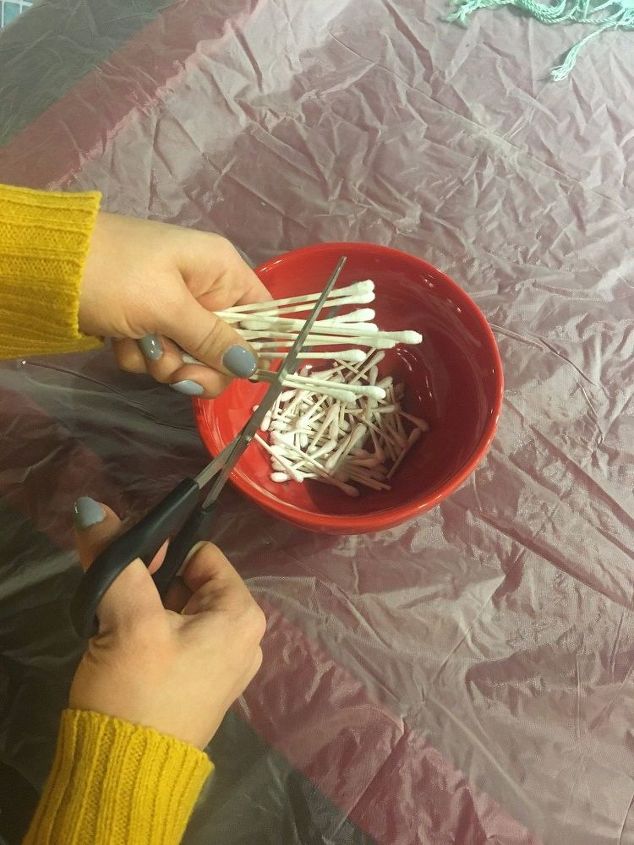
For his arms, cut up a few Q-tips!
Glue a half of one to each side of the pot!
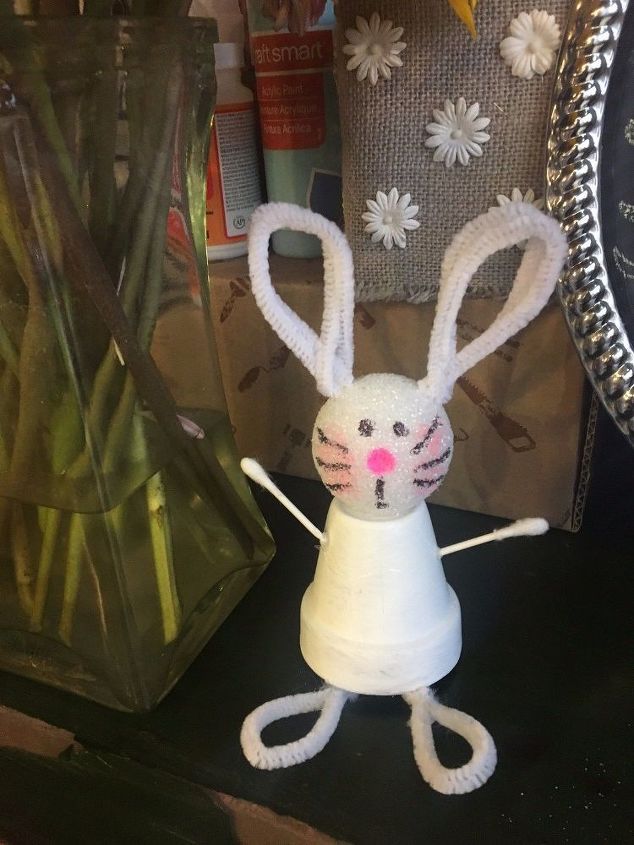
Now you have a little desk bunny! We named ours Travis :)
Comments
Join the conversation
2 of 66 comments
-
Going to do this project with the toddlers at my preschool.
-
😺💖❗


Frequently asked questions
Have a question about this project?
Why cut up so many q-tips when you only use one to cut in half?
Wouldn't plastic cups work also?
Can I use a cup instead of pot