


Clearance Wood Turned Into a Gorgeous Coffee Table.

4 Materials
$95
8 Hours
Medium
The other day I was in Home Depot stocking up on on paints and decided to take a stroll through the lumber clearance aisle. I LOVE creating something from what others consider broken, or throw away stuff. I'm not exactly sure why the wood I found was on the clearance aisle but I KNEW I could make something fun with it. sadly though it wouldn't fit in my car so I had the guys from Home Depot cut it for me. All in, my bill was about 45$ for over 120$ worth of wood. SCORE!!!!
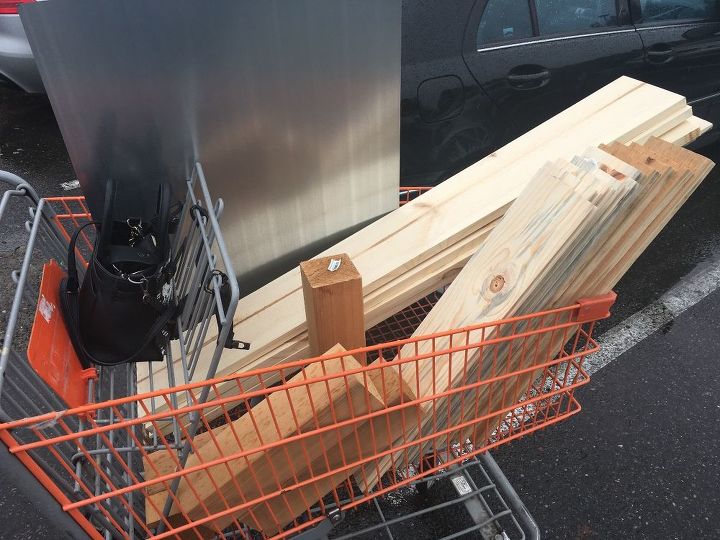
When i got it home I decided I wanted to make a industrial looking coffee table. And the best part, I hardly had to make any cuts to the wood. So I started to assemble it as it was.
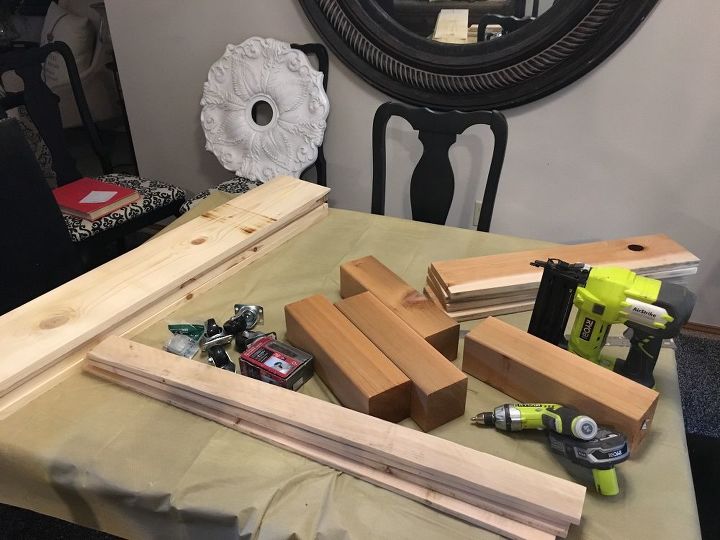
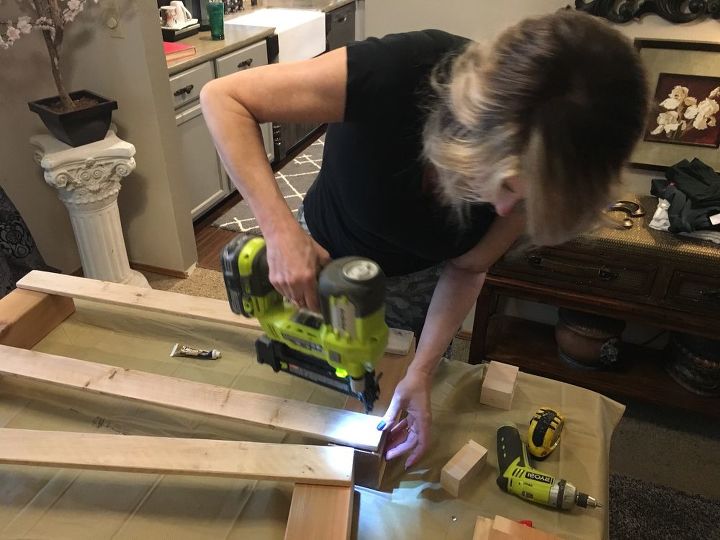
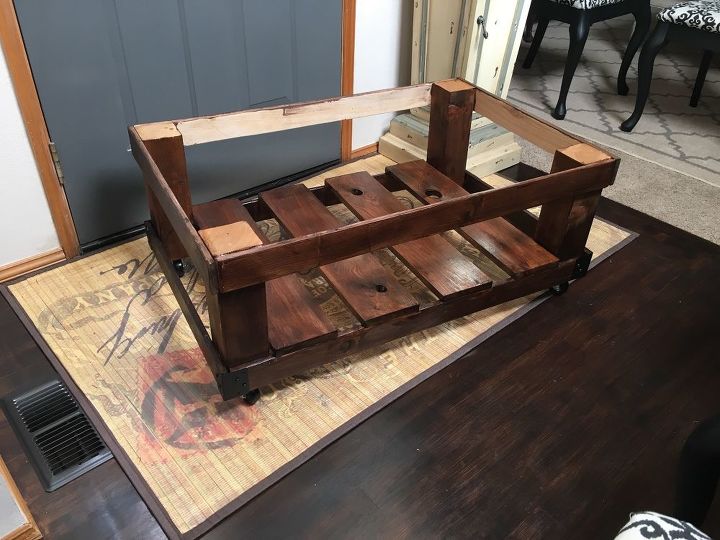
I started by using the posts as my 4 corners for the table. Then attached my longer narrow boards on the top and bottoms of the posts.
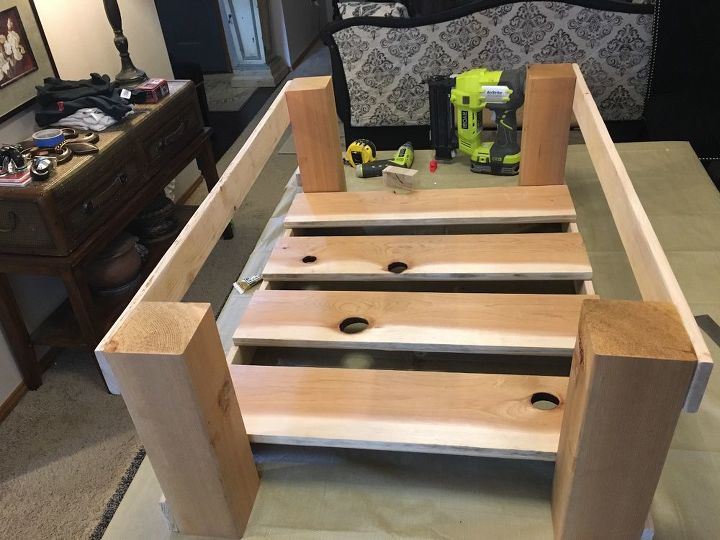
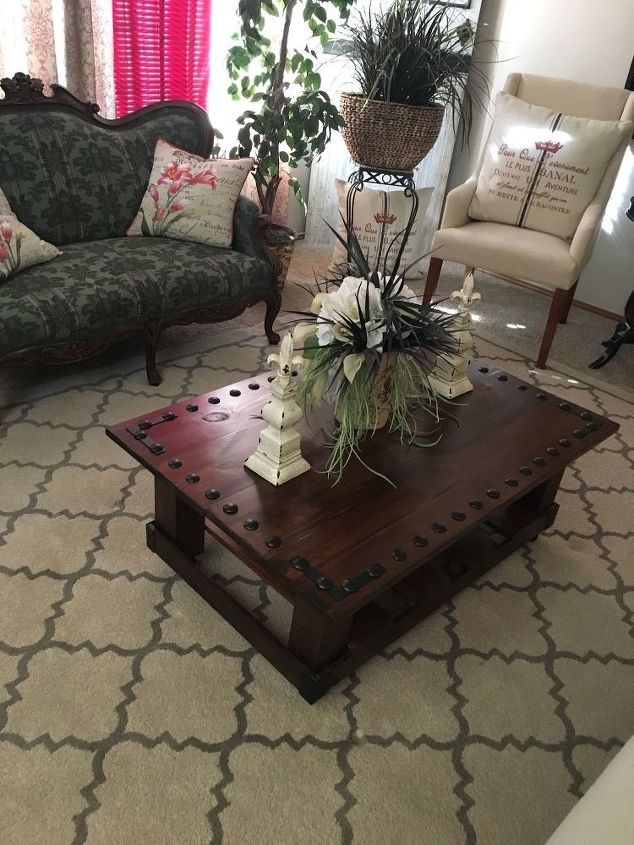
Once they were glued and then pinned with finish nails, I used the gorgeous boards with all the character as a bottom shelf. I didn't have enough to push the boards together and nail them in, but honestly, I thought it looked better with spacing them a couple inches apart. The knot holes were so awesome, they stood out better this way anyway!
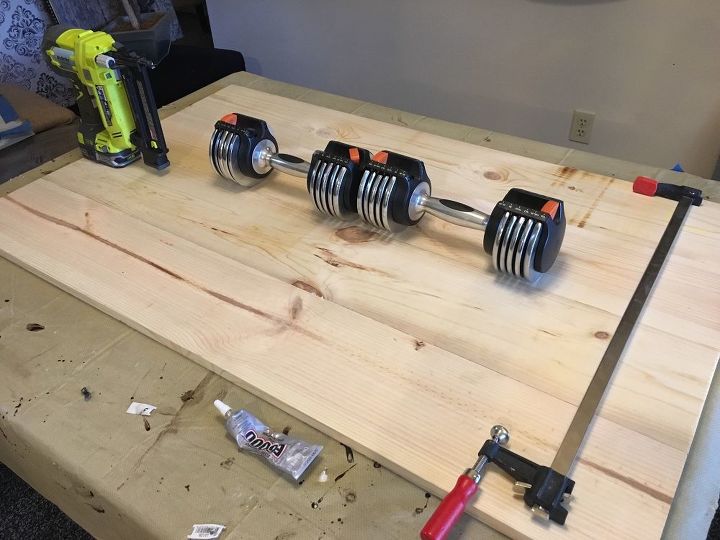
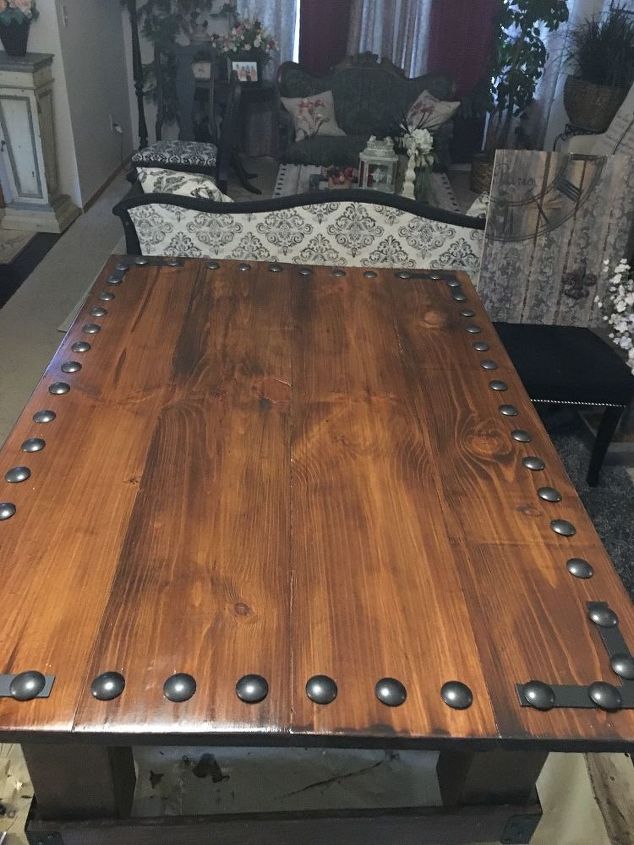
Then I took the 4 largest boards and glued them together holding them together with clamps. I also used my dumbells to weigh down the areas where the boards were bowed a bit ( which is probably why they were on clearance)
While the top boards were clamped together and the glue was drying I used a 220 grit sanding block to quickly sand the (already pretty smooth) wood base. I then stained it a dark walnut color(my personal fave).
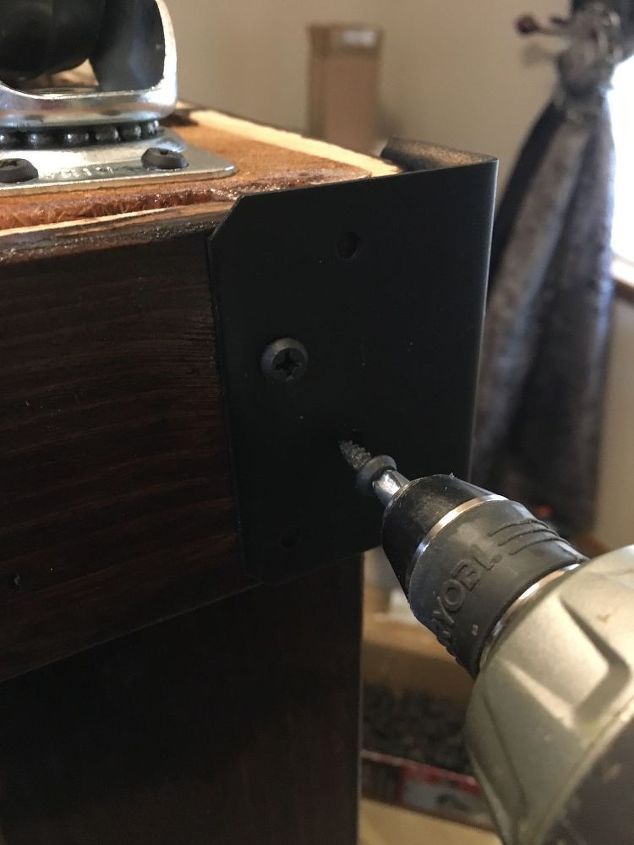
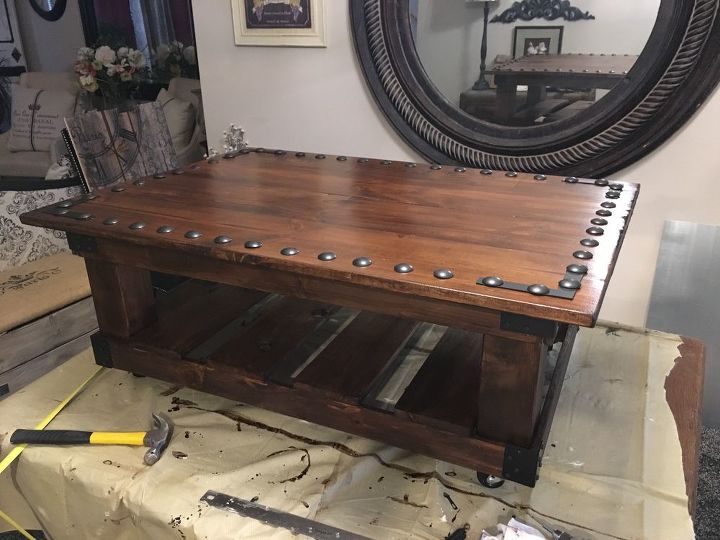
I decided to put corner brackets on the top and bottom of all four corners to give it a more industrial look, and also added wheels on the bottom of each post.
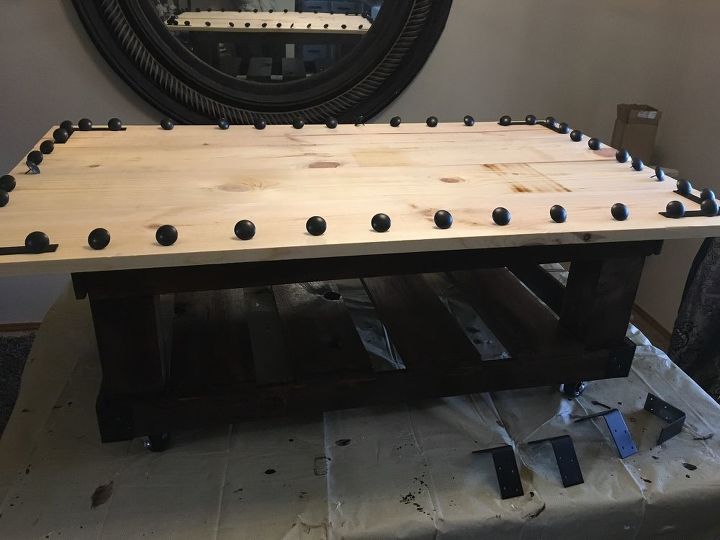
Once the top piece was all ready, I cut and sanded it, then placed it temporarily on top and laid nail heads on top to get a feel.... LOVED IT. So I began staining the top to match, and then added nail heads and hardware.
I attached the top with glue and to firm it up I used brackets underneath on all 4 sides
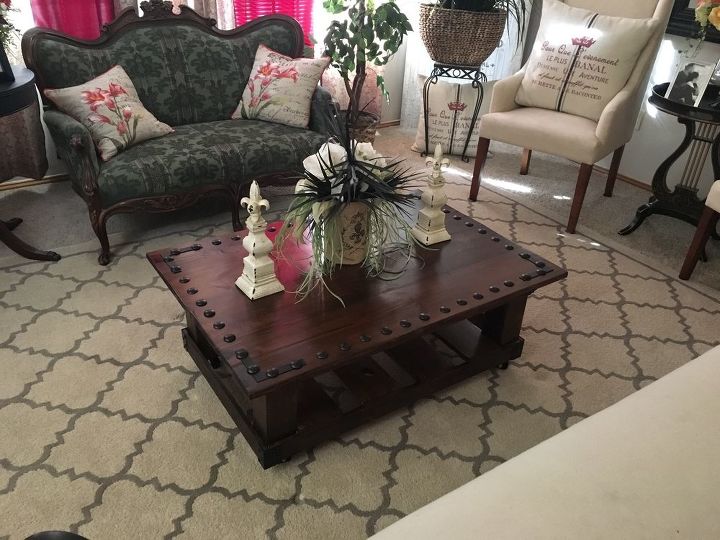
I seriously love how it came out!
And it's a perfect example of why my husband never complains when I buy and keep a surplus of scrap wood in our garage. I will always find a project to use it for!
Happy Hometalking!!
{
"id": "3786379",
"alt": "",
"title": "",
"video_link": "https://www.youtube.com/embed/ZtNwblvw9Ic",
"youtube_video_id": "ZtNwblvw9Ic"
}
{
"width": 634,
"height": 357,
"showRelated": true
}
Comments
Join the conversation
2 of 82 comments
-
Beautiful coffee table.. looking at making one myself and I love yours. I love doing this kind of work and it lets my creativity flow, just like you did. I hope you plan on doing more with your talent!!!
-
Beautiful!


Frequently asked questions
Have a question about this project?
The table is beautiful, and you did a fantastic job building it! I have both a lightweight and a heavyweight pallet. Do you think I could use the wood from these pallets to build this table, or would the boards be too "rustic?" This would be my first experience with pallets. You seem so knowledgeable about woodworking that I thought you might know.