


How to Build a Frame + Free Spring Printables!

by
Sara
8 Materials
If you've ever wanted to build something, but have been too intimidated to try, this is a great beginner project for you! Learn how to build a frame with scrap wood and how to use stain to give it a rustic look.
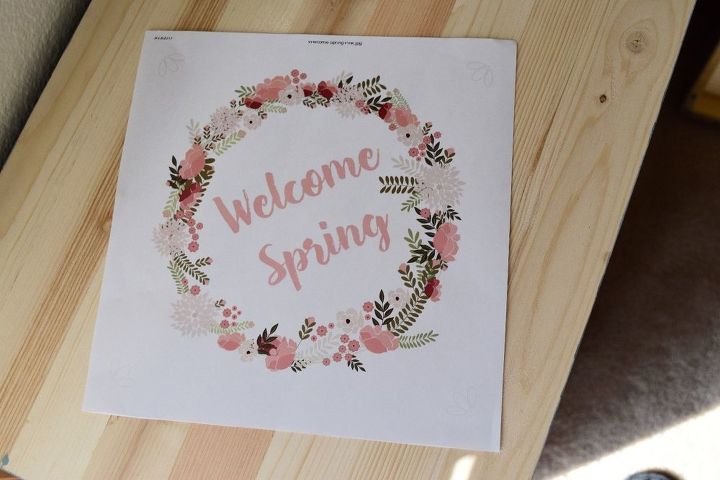
First print out whatever you'd like to frame. You could also use a mirror, art, etc.
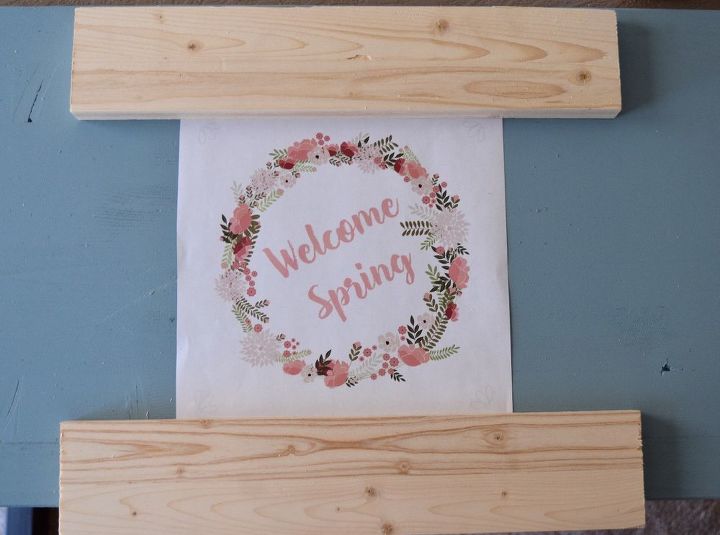
I had a 1x3 leftover from another project, so that's what I used. First, cut the top and bottom pieces. The length of these pieces will be the length (left to right) of what you're framing, plus 2 x the width of your wood.
If you want 45-degree angles for your frame, measure and make the appropriate cuts. This frame is meant to have more of a rustic/farmhouse look... straight lines work well for that and are easier to work with. If you prefer the look of the angles, go for it!
Once you've laid the top and bottom pieces down, measure the distance between the two to see how long your sides will need to be. Make the cuts and lay the entire frame out to make sure if fits properly. Make any additional cuts if any of your pieces were too long. Sand every piece, making sure not to round the corners where one piece of wood attaches to another (you want these to stay straight).
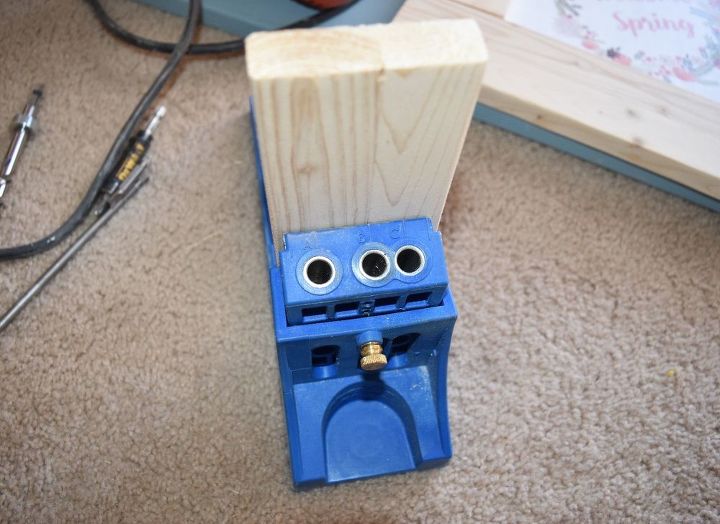
If you don't have a Kreg Jig, you can use metal plates as pictured below to attach the pieces. Glue also works, but is messy. There are lots of ways to attach the pieces. To me, the Kreg Jig is the easiest way.
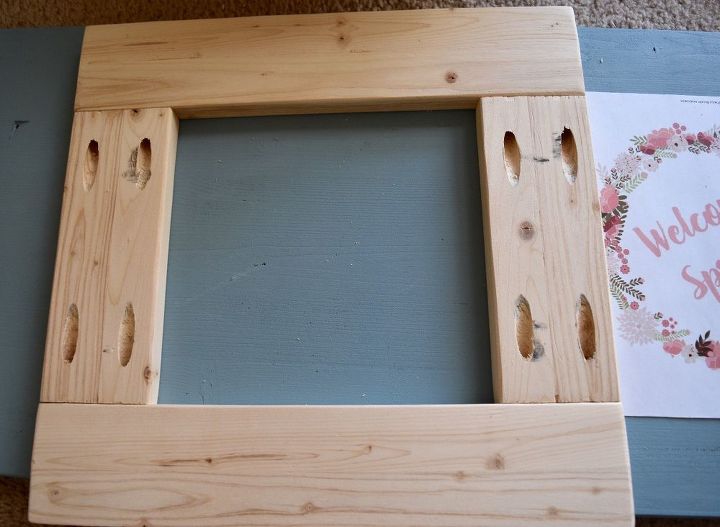
Drill in holes A and C on each end of the shorter (side) pieces.
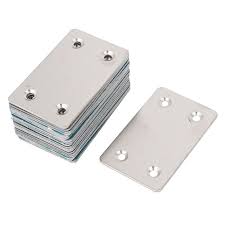
You can use metal plates like these from a hardware store at each joint, or if you're doing 45-degree angles the L-shaped corner brackets work well.
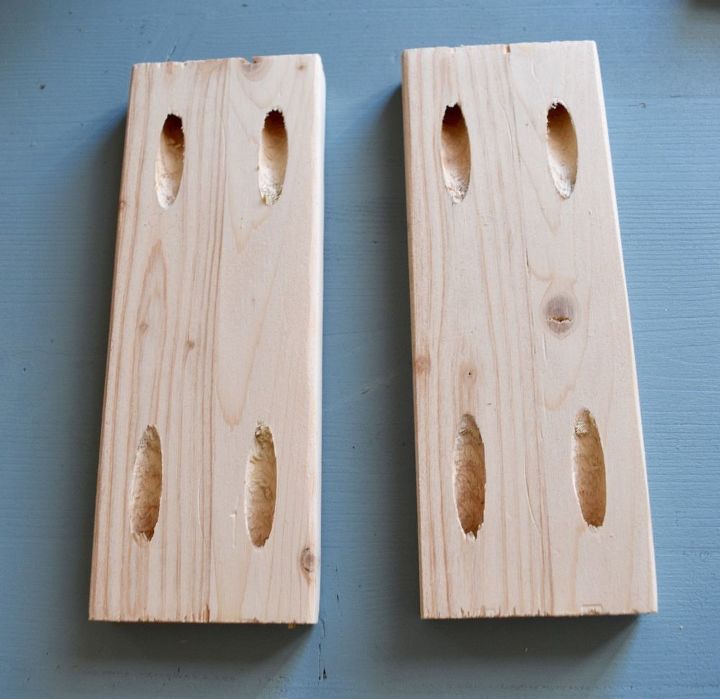
If you've used a Kreg Jig, this is what the back of your short pieces will look like.
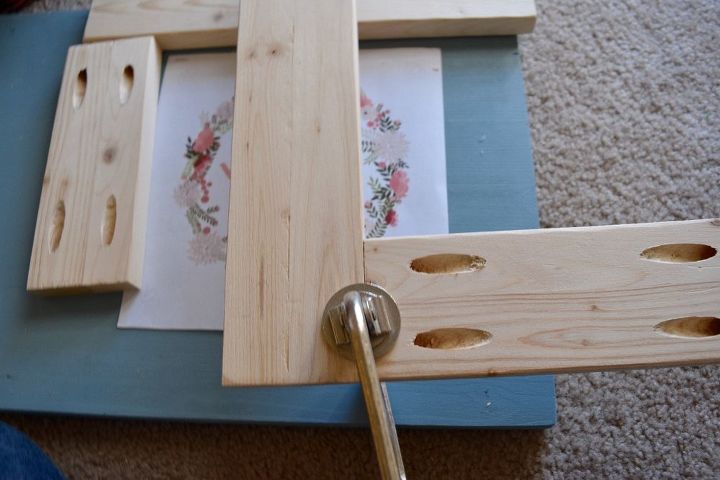
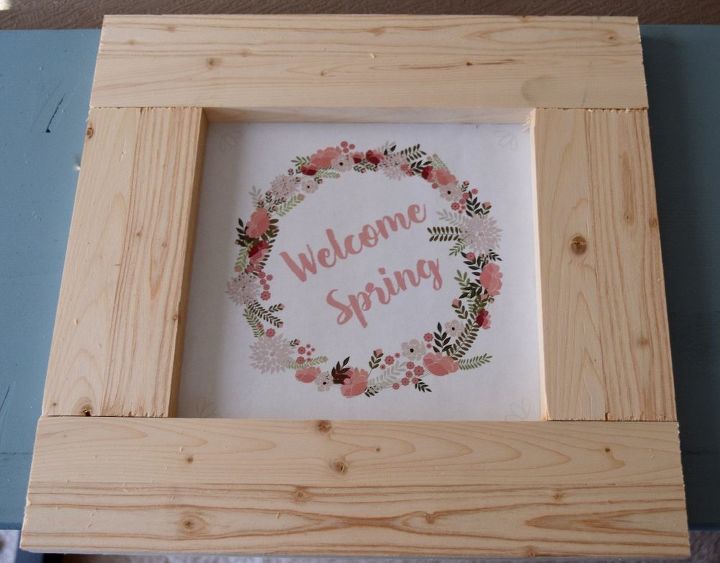
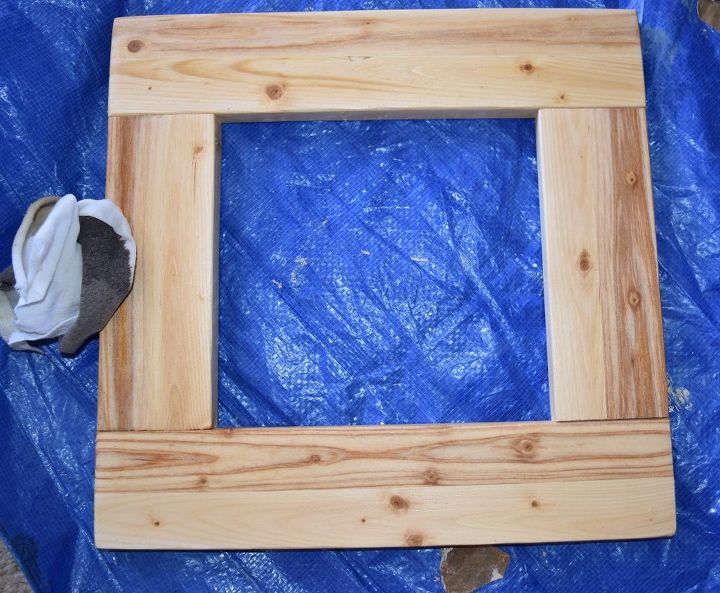
Clamp a short piece to a long piece and drill 2 screws in the pocket holes to connect them. (This is what the Kreg Jig does that makes building so easy...it allows you to connect perpendicular pieces of wood).
Clamp and drill the other short piece on.
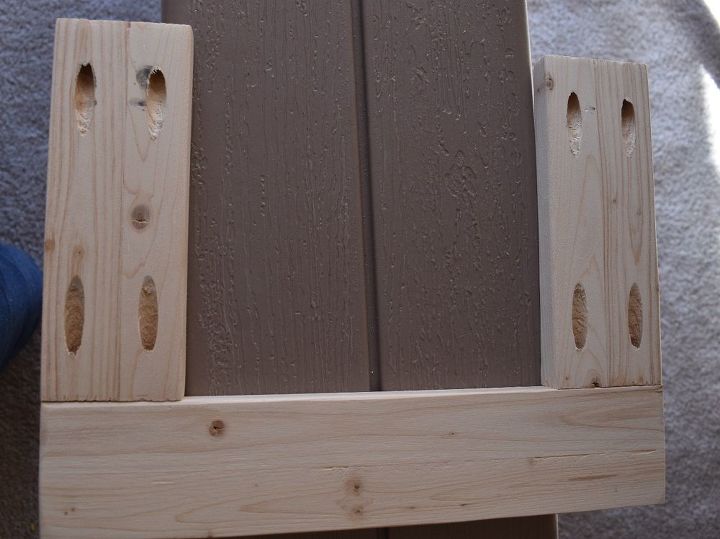
Add the top with the remaining 4 screws, also using the clamp for each side.
DO NOT SKIP: If you are staining, first use wood conditioner (I like Minwax) or else your stain will be splotchy. Follow instructions on the can. Use a rag or old t-shirt to apply.
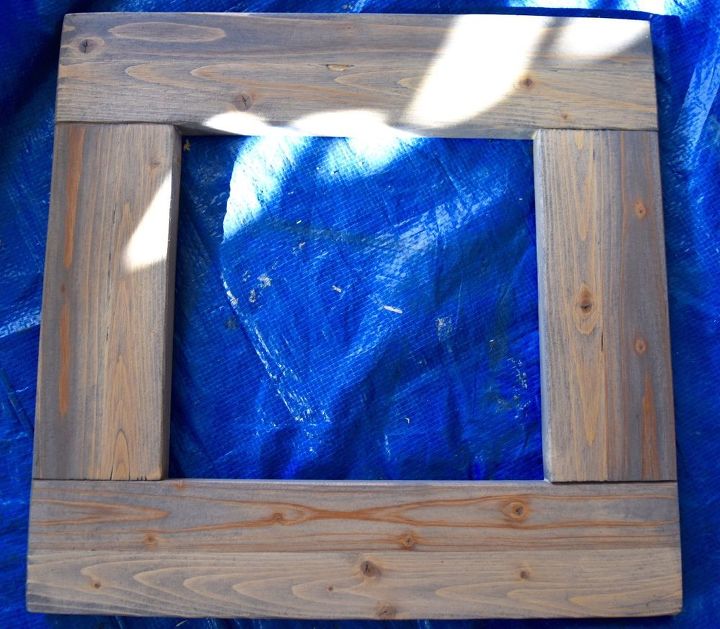
Apply the 1st coat of the stain of your choice (again, following the instructions on the can). Let dry. Apply the 2nd coat and let dry. I use an old t-shirt for this step as well.
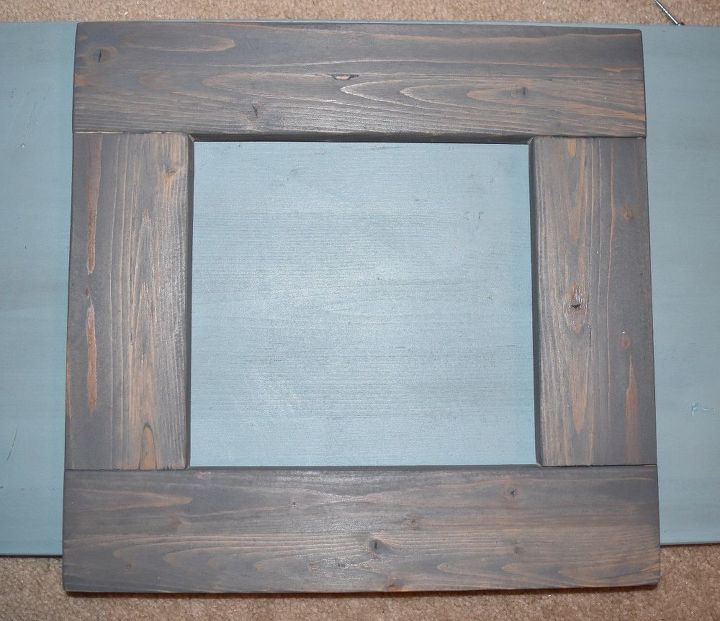
3rd coat of stain. For extra protection, you can use a top coat of Minwax's finishing wax. When I do a piece of furniture I ALWAYS use the finishing wax, but for something that's on display that won't be touched much it's not necessary.
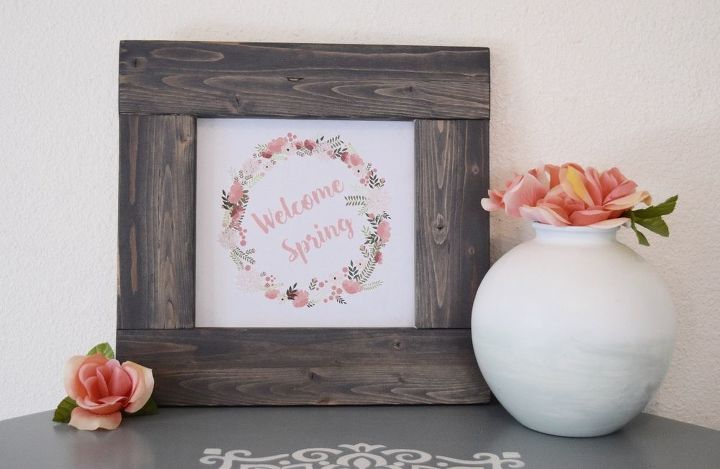
I just taped the paper on the back of the frame so I can switch it out easily as the seasons change. If you'd like the free printable shown here, plus 9 other free spring and Easter printable, go to: http://www.finditfixitorbuildit.com/how-to-build-a-picture-frame-free-printables/ The tutorial there also has a few more details, including pictures and types of stain and products used.
Comments
Join the conversation
2 comments
-
so pretty! :)
-
I love this!


Frequently asked questions
Have a question about this project?
Your link doesn’t work for the free printable.. any suggestions?
~Dawn