


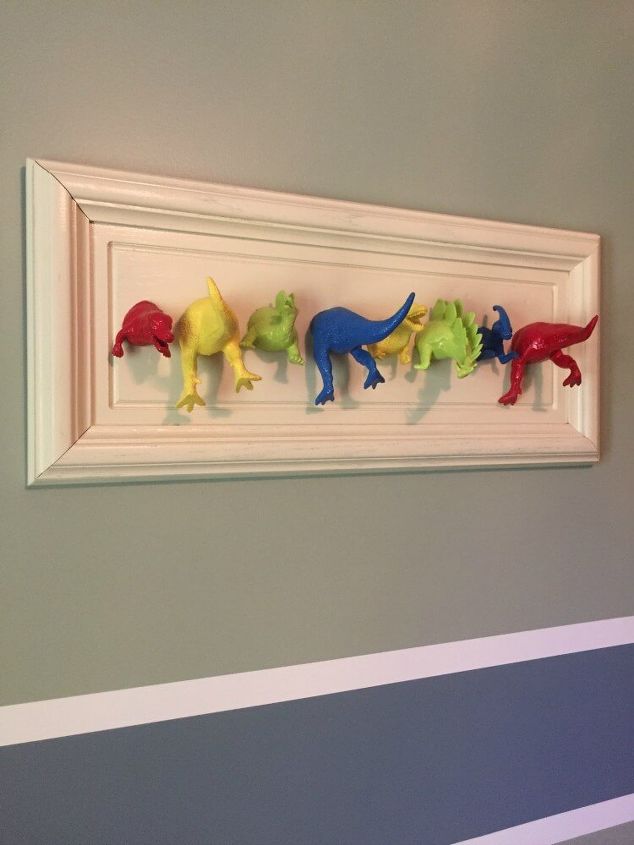
Dinosaur Wall Hooks

by
Amie
$10
1 Hour
Easy
My 4-year-old is dinosaur obsessed. He has dinosaur toys, loves dinosaur movies, has been a dinosaur for Halloween, often sports dinosaur clothes, and has had not one but two dinosaur-themed birthday parties. So it made perfect sense when we moved into our new house a couple of years ago and moved him from a crib to a big boy bed, that we also gave him a big boy dinosaur themed room. One of my favorite parts of his bedroom decor so far is the DIY Dinosaur Wall Hooks.
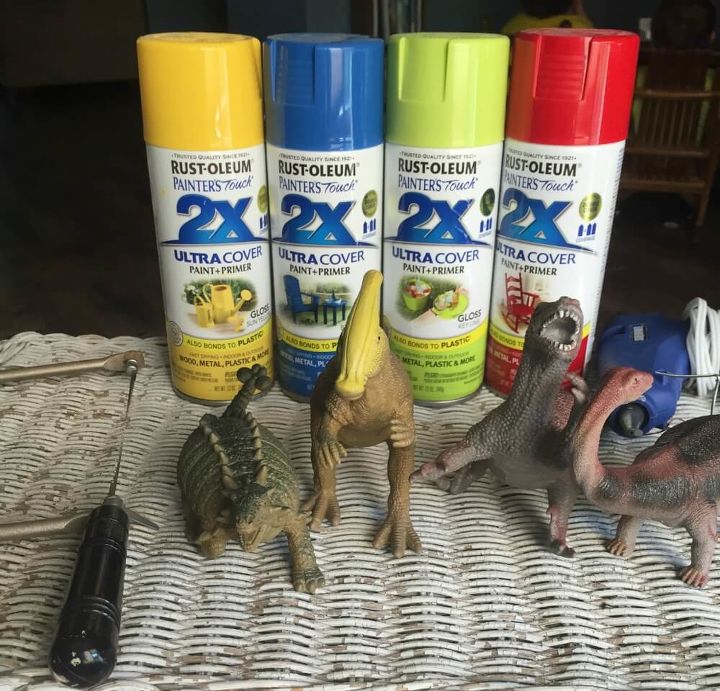
The first step in the process is to prep the dinosaurs. Wipe them clean to get them ready to be spray painted.
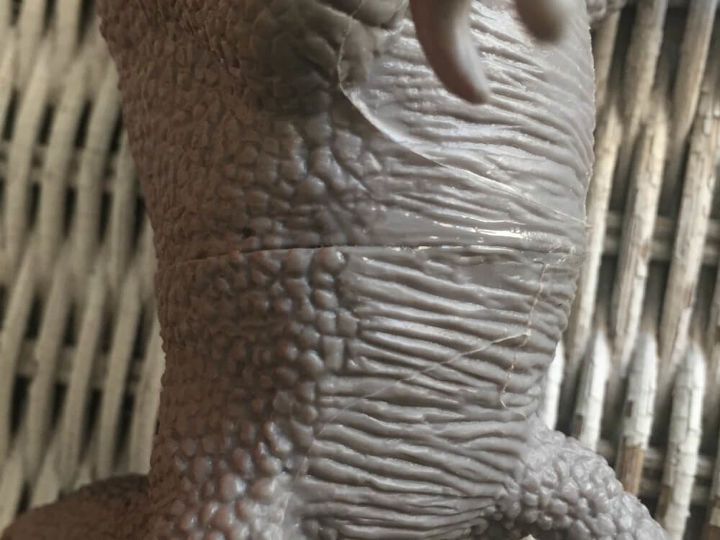
Next, you will be cutting the dinosaurs in half. The ones we used had a line down the middle where the front half connected to the back half of the dino. This made for an easy guide when cutting.
Wipe off any plastic shavings when done. If needed, lightly sand to even out the edge. It won’t need to be perfect because the hot glue will help to fill in any imperfections.
Full disclosure – your kids will NOT be happy with you hacking up their precious dinosaurs. To avoid any potential meltdowns, you may want to buy new ones instead of using any that you already own. Trust me, I come from a place of experience here.
After you have decapitated all the dinosaurs, it’s time for spray paint!
Seriously, spray paint is your best friend. I have started a collection of colors using Rustoleum’s Painter’s Touch.
His bedroom walls are already green with a blue and white racing stripe and I knew I wanted to add a pop of unexpected color. The colors I ended up using for this project were Apple Red, Key Lime, Sun Yellow and Deep Blue in gloss.
Use short light sprays to avoid the paint running. You will likely need two coats to get that nice glossy look.
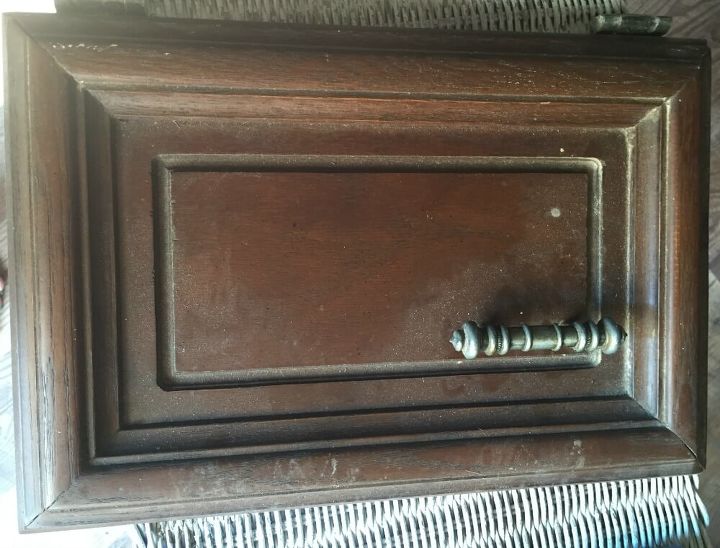
While the dinosaurs are drying, start working on the wood you will be mounting to. I had these old cabinet doors lying around from a thrift store and they were perfect for framing the dinosaurs.
All I did was wash the door down, remove the handle and other hardware, fill in any holes with wood putty, and put a couple of coats of white paint on it. No cabinet doors lying around? You can use pallet wood, an old picture frame, or any other repurposed wood.
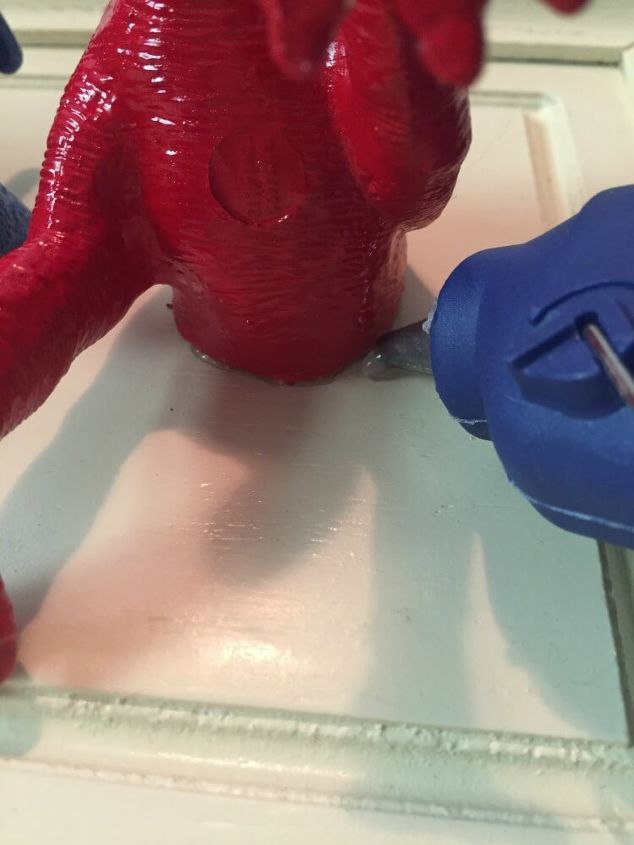
The last step is to glue the dinosaurs to the surface. Use a generous amount glue to make sure any uneven edges are filled in and stick firmly to the surface. You can use only the heads, only the tails, or do a combination like we did {I mean, why waste good dinosaur parts?}.
My intention for this project was artwork, but if you plan to use the hooks for coats or other items, you will probably want to reinforce the dinosaurs to the surface with screws in the back. In order to do this you would need solid dinosaurs instead of the hollow ones used in this project.
To read the full post click here.
Want more details about this and other DIY projects? Check out my blog post!
Comments
Join the conversation
2 comments
-
this is cute mine grandkids love it
-
So cute!!!


Frequently asked questions
Have a question about this project?