


How To Create Stunning Marble Dipped Vases With Nail Polish
I might be late to this trend, but boy, am I ever glad I hopped on it now! I’ve seen so many tutorials on how to create marble dipped vases with nail polish using everything from mugs to various home decor using this marble dipped technique, and I was itching to try it myself.
Aside from how stunning the vases look, it was so much fun to create. I felt like a kid again in my arts and crafts class. The effect is truly one of a kind and each piece is so uniquely beautiful that I can’t wait to do this project again on some other items in my home.

When I post pictures, I try to make them as realistic as possible and try not to use staging too much so you can see just what you get and what to expect to see when it’s all said and done.
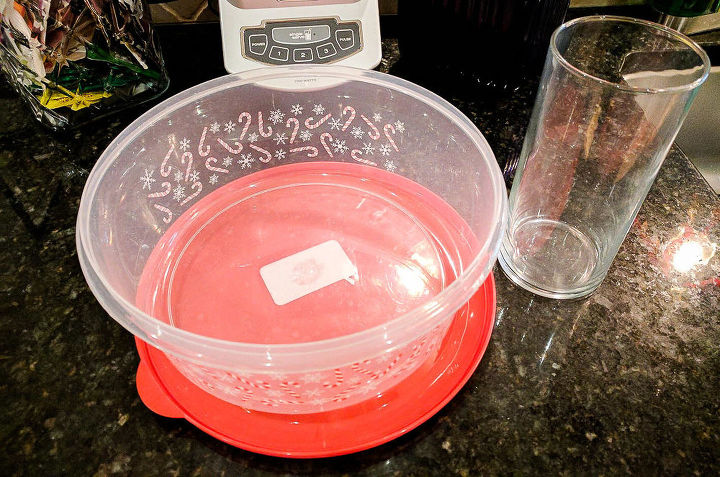
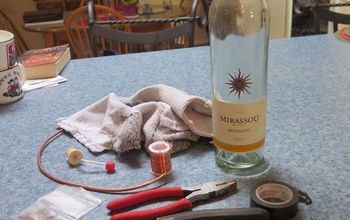
All you need to do is grab some old – or new – nail polish, have a plastic container for dipping, some water, and some old vases, and you can transform them into high-end decor elements so easily
Expect messy hands and have the nail polish remover handy. It’s not a huge deal – clean up is a breeze.
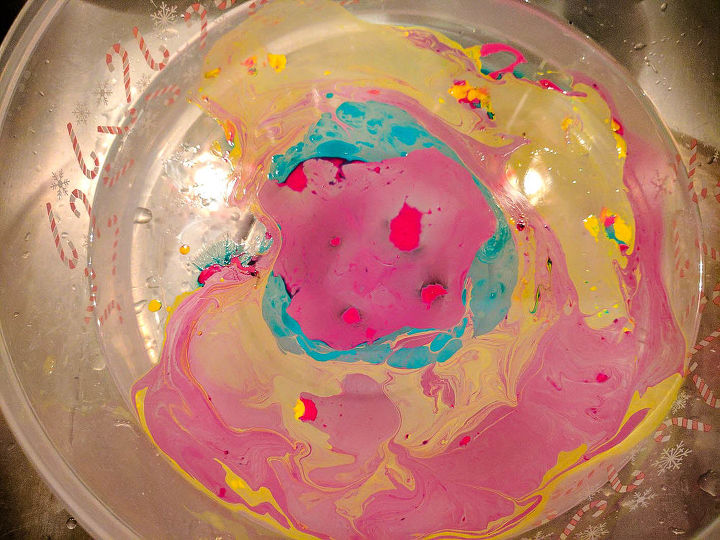
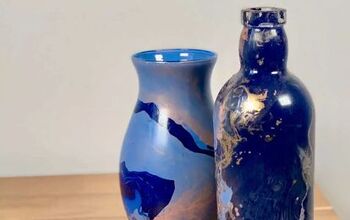
I experimented using three vases. Two were the same and one had a moderate design on it. All you need to do is fill up a container with some water and then drop the different polish colors in the center. Grab a toothpick, make some swirls and start dipping. Be sure to work fast as the polish will sink to the bottom and you don’t want that.
Be sure to place them on a paper towel for drying and let them dry at least an hour before touching them. This is what they look like when they are drying.
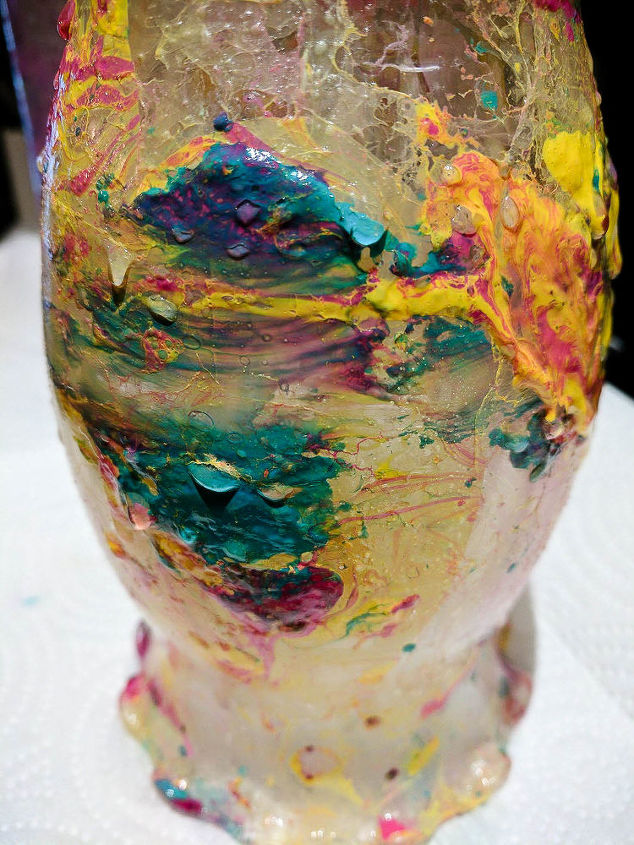
Each vase has a unique design to it and that’s why it’s so much fun to create them.
I wanted loud pops of color! And am thrilled with the results.
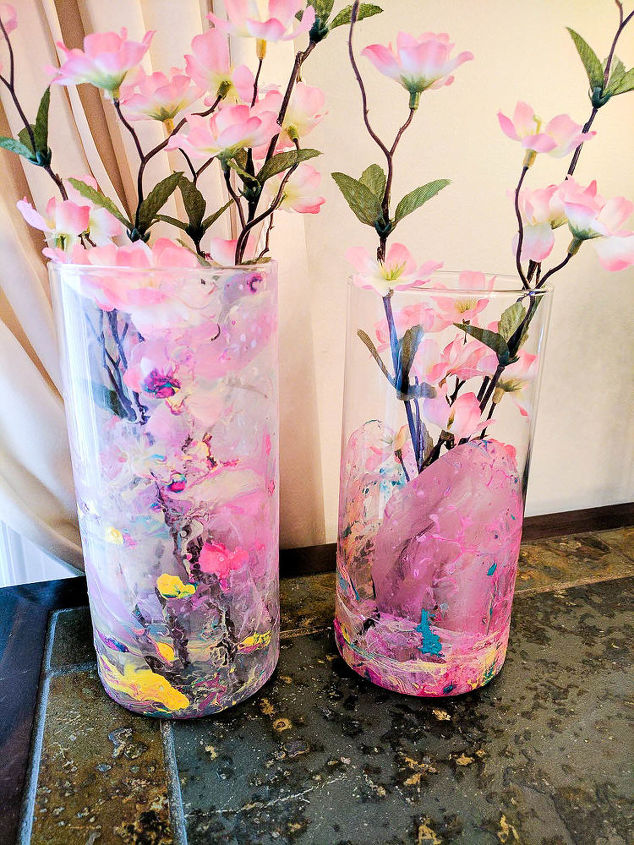


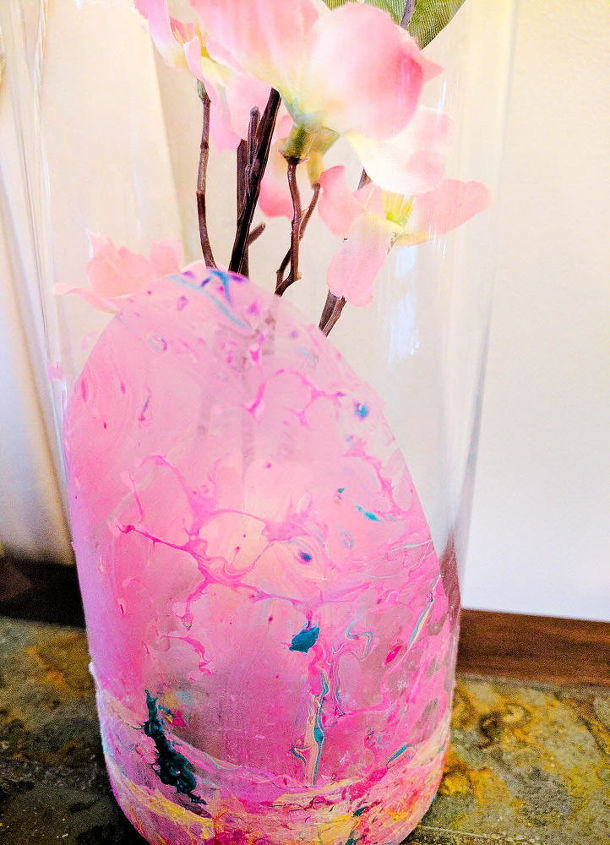
I love them all and don’t have a favorite but I think the one below really grabbed my heart.
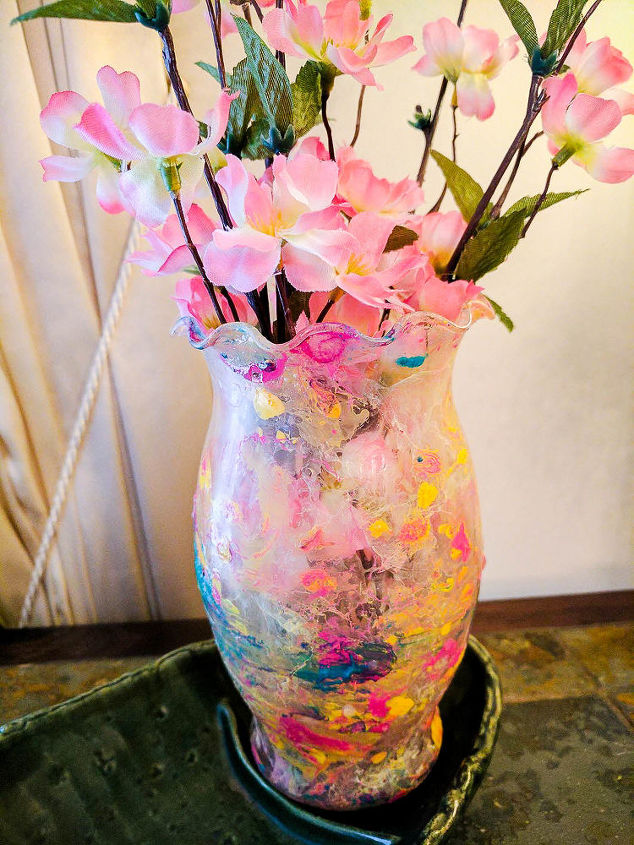
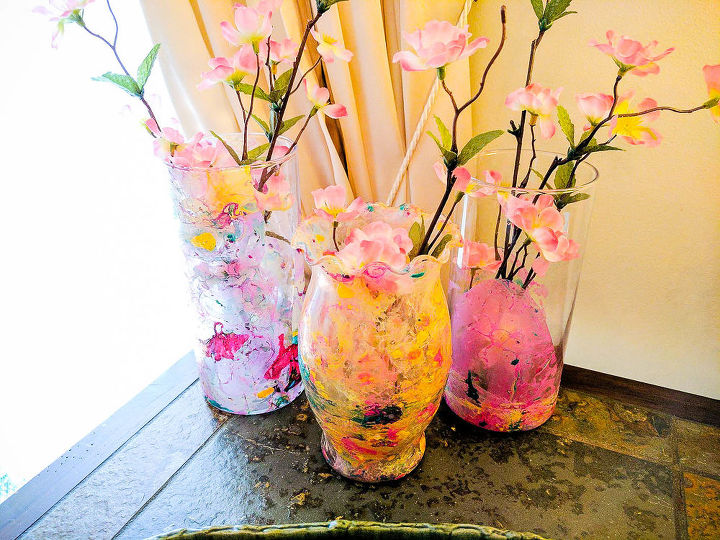
You can pair them together or use them as part of a vignette – any way to look at them, they are truly beautiful!
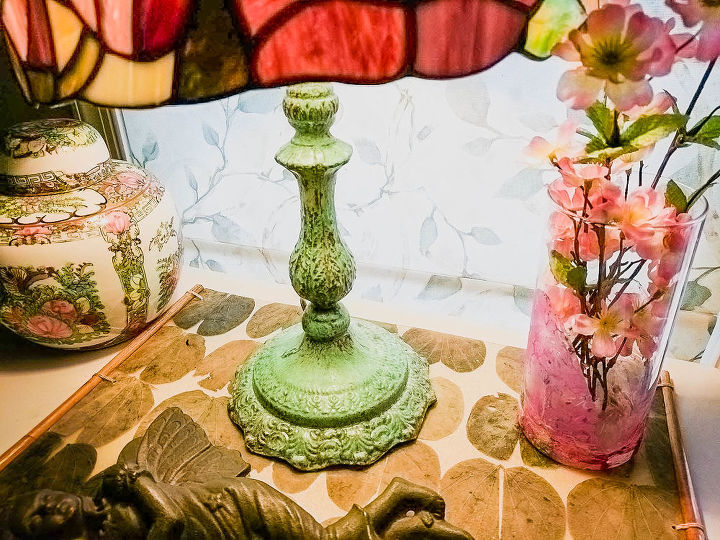
If you love my patina lamp be sure to check out my tutorial.I can’t wait to use this technique on some other home decor elements. I think I’ll try some mugs next time!
PLEASE stop by my blog for the rest of the list and all of the project details! I know you will find some inspiration for your projects too.
I'd love to see you there!
Also, subscribe to my newsletter for giveaways, updates, and much more! Subscribe Here!
Thank you!
Carolann
Sassy Townhouse Living
Resources for this project:


Comments
Join the conversation
-
Would love to. Very creative and beautiful. Thank you for sharing.

-
Wonderful idea, instead of using a paper towel use wax paper it will be easier to remove the vase.


Frequently asked questions
Have a question about this project?
Can you do this with material?
I couldn't wait to do this project. I went to Goodwill picked up a couple of cheap glass vases. I already had nail polish.
It turned out terrible and I threw away the vase.
I used a big water pitcher in which the whole vase fit with the water coming up the sides. I thought perfect.
When I put the vase in, bottom first, ALL the polish stuck immediately to the bottom of the vase leaving none for the sides. It was a mess.
Maybe I should have known this was going to happen.
I guess if I try again, use a bowl bigger than the vase and roll the vase in it. Don't use to much polish at once, it wants to stick immediately to glass. And add polish as you turn it..
And do wear disposable gloves. You don't want polish all over your hands.
Any more hints on this??
Thanks
Darlene
Does it make any difference if I use cold or hot or warm water?