


Make Your Own Mounted Deer Head

If you go to any home decor or craft store you know that deer heads are huge right now in decorating. Wether its just the silhouette or a 3D head, you see them everywhere. So to keep up with the trend, I decided to make my own head, out of wood!
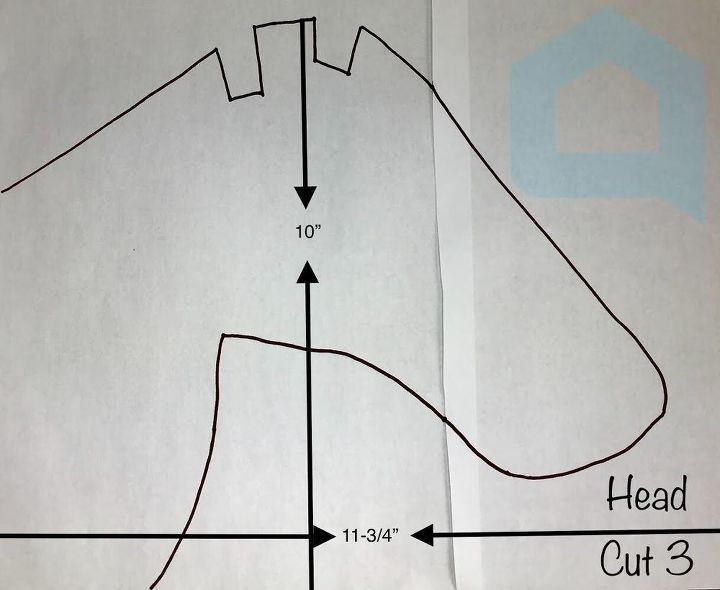
ThIs is the pattern that I created for the head. There are three other patterns- the ears, antlers and check/neck.
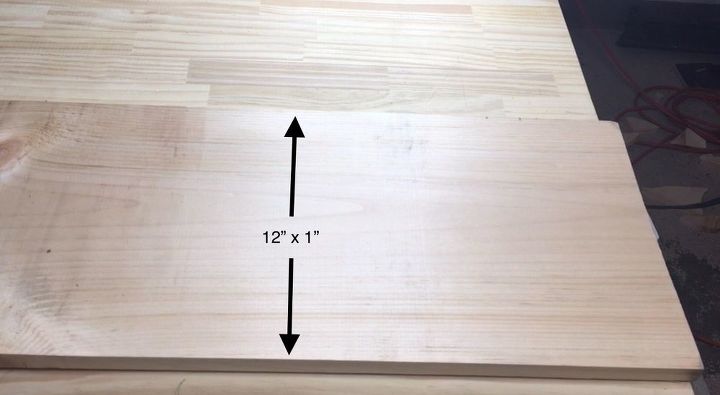
For this project you will need a 12” x 1” x 8’ piece of pine.
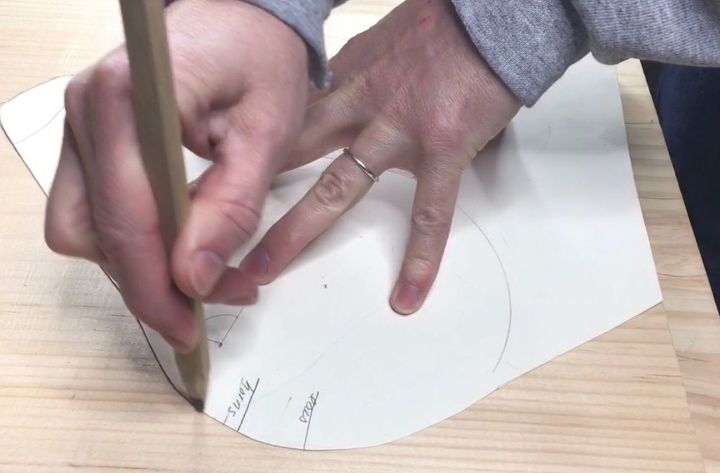
Step 1: Begin by tracing all of the pattern pieces onto the pine board. Cut all pieces out using a jigsaw.
You will need:
3 of the deer head patter
2 of the cheek/neck pattern
2 of the antler pattern
1 of the ear pattern
You will also need a mounting plate which is an 12”x11” piece of wood cut into the shape of your choice. This is where the deer head will be mounted on.
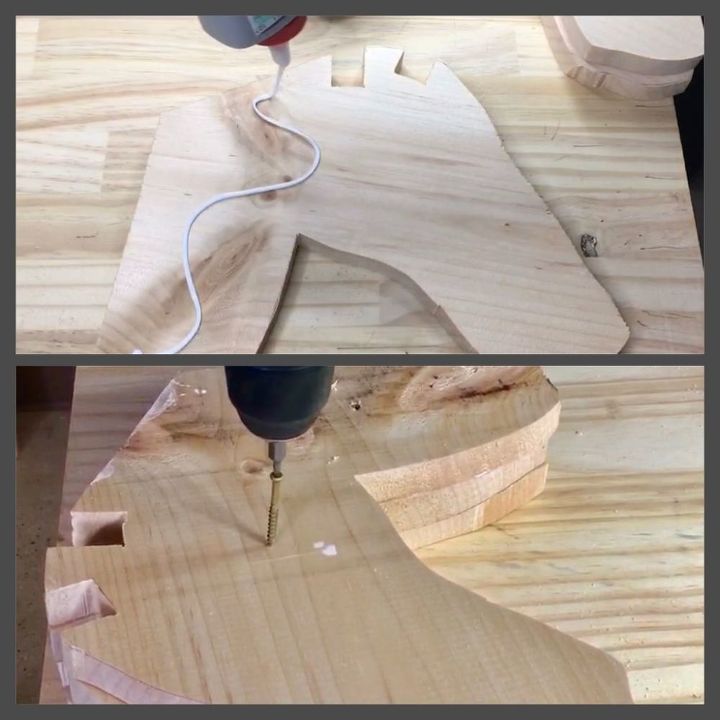
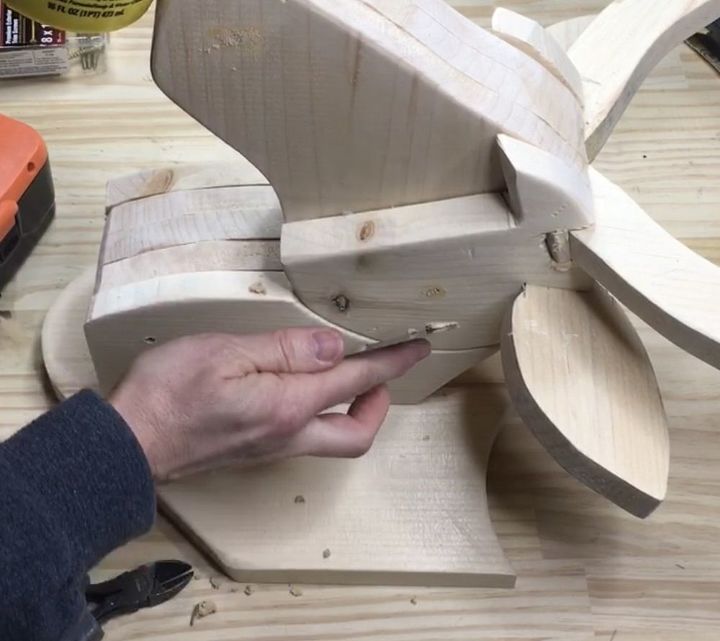
Step 2: Apply wood glue to the three head pieces. Lay them in a stack and use wood screws to attach them to each other.
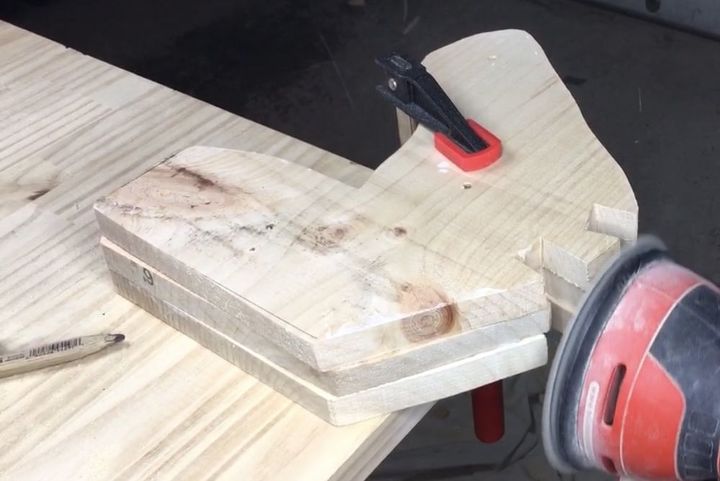
Step 3: When the glue has dried, use a power sander to sand down all of the edges to make them uniform.
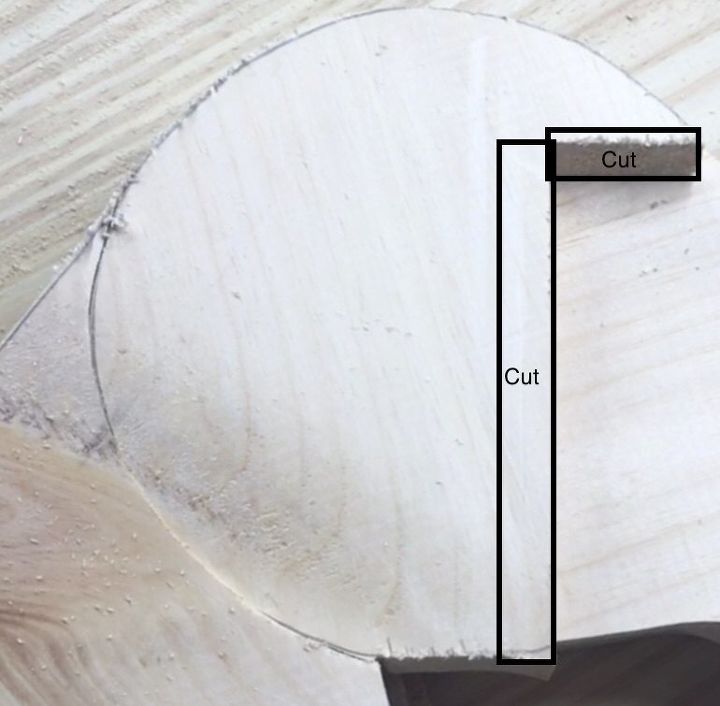
Step 4: Using the miter saw, cut the inside straight edges of the cheek pieces at a 45 degree angle.
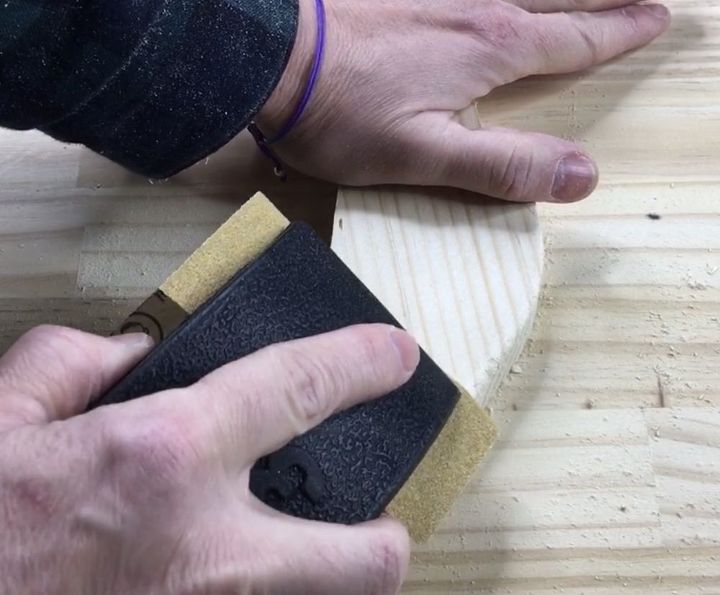
Step 5: Using course grit sandpaper, round the cut edges of each piece.
Use fine grit sandpaper and go over the each piece.
When you’ve sanded all of the pieces, use a soft cloth to remove the dust.
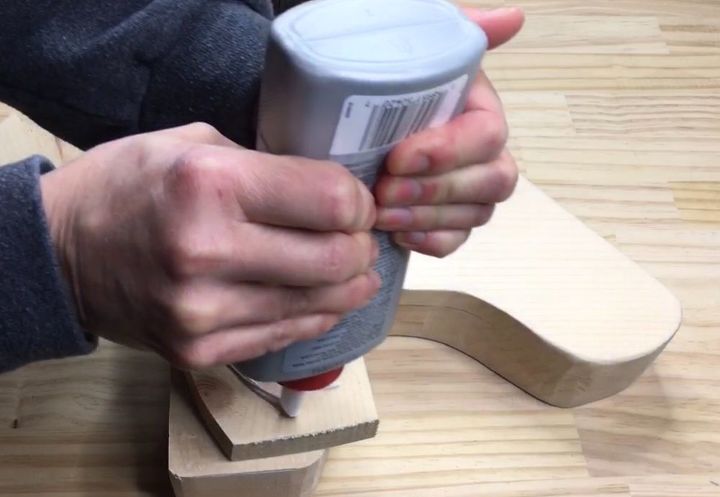
Step 6: Use wood glue and screws to attach the neck and cheek pieces to either side of the head piece.
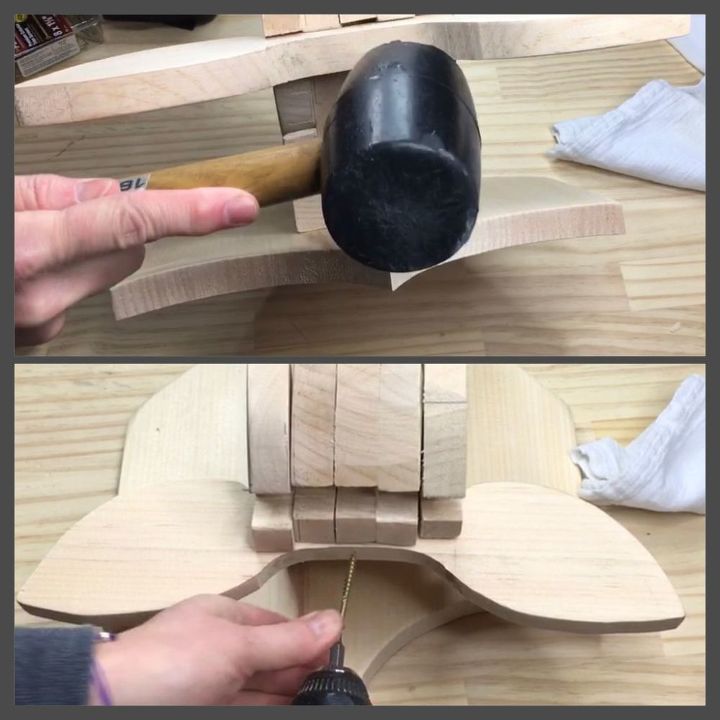
Step 7: Attaching the ears
The ears will be placed in the groove in the head towards the back.
Apply wood glue into the groove.
Place the ears into the groove and if needed, gently tap the ears into place
Use a wood screw to hold the ears in place
Step 8: Attaching the antlers
The antlers will be placed in teh groove in the front of the head.
Use the instructions above to attach the antlers.
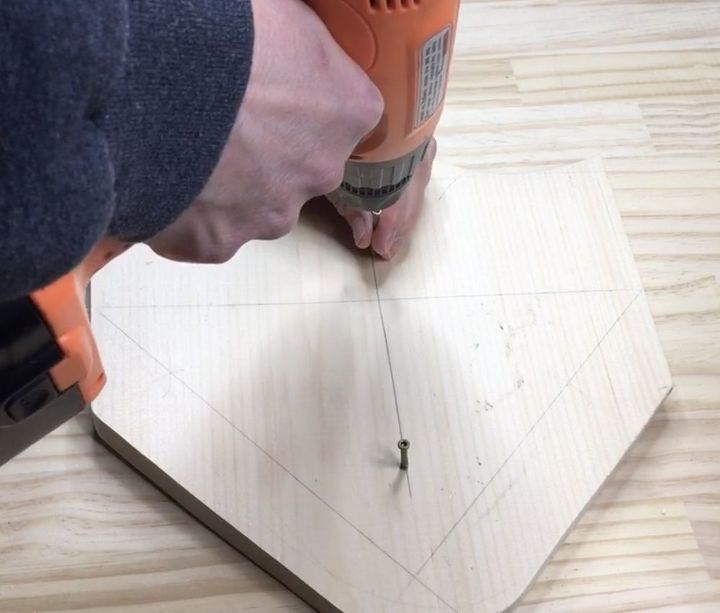
Step 9: Place two screws into the middle of the reverse side of the mounting plate.
Step 10: Align the deer head to the front of the mounting place and screw in place.
Step 11: Fill holes with wood fill and sand smooth.
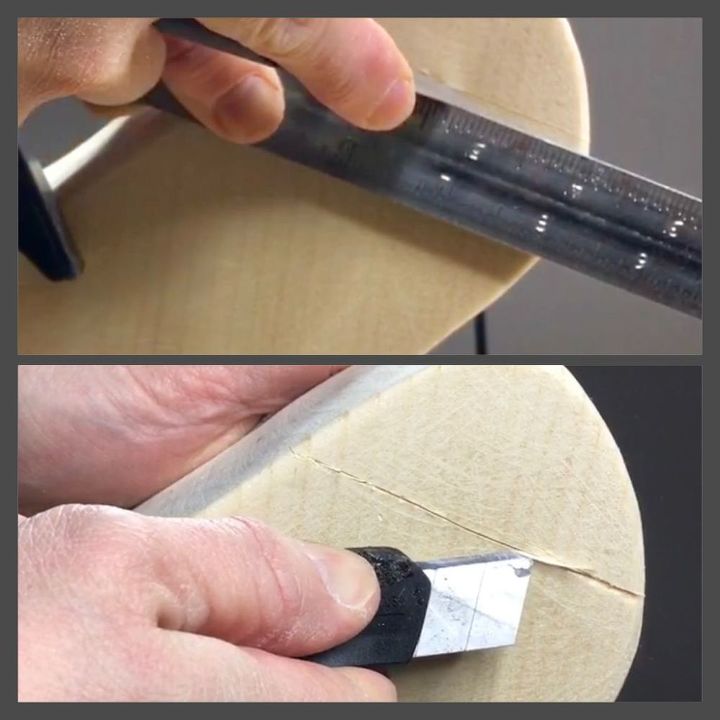
Step 12: To make the nose, using a straight edge, score the wood with a utility knife. Next, run the knife under the scored edge to accentuate the line.
Step 13: Apply your choice of wood stain - I used Early American.
Step 14: Once the stain has dried, apply a wax sealer.
Step 13: Apply your choice of wood stain - I used Early American.
Step 14: Once the stain has dried, apply a wax sealer.
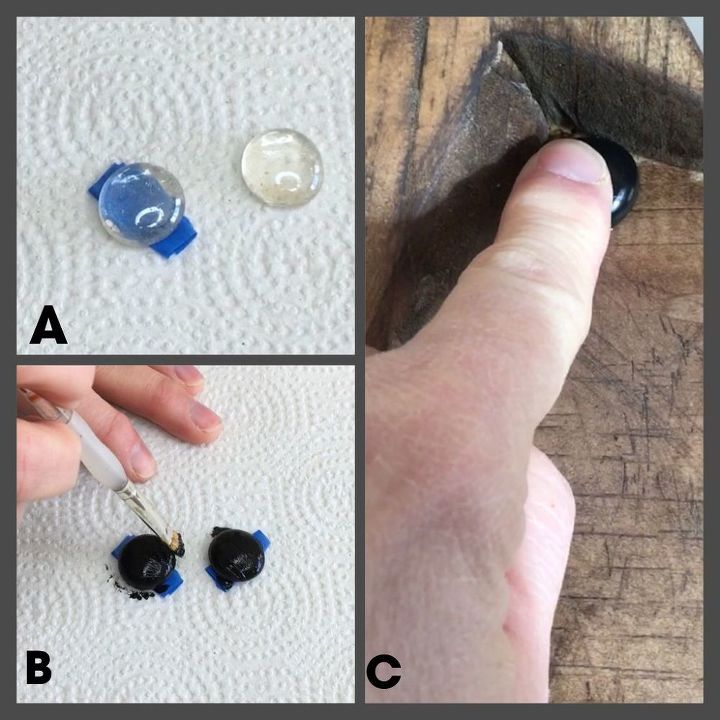
Step 15: For the eyes, use two marble vase fillers found at The Dollar Store.
A: Apply painter’s tape to the back of the marble and stick onto a piece of paper towel.
B: Paint black using enamel paint
C: Apply the eyes to the deer head using E1000 glue.
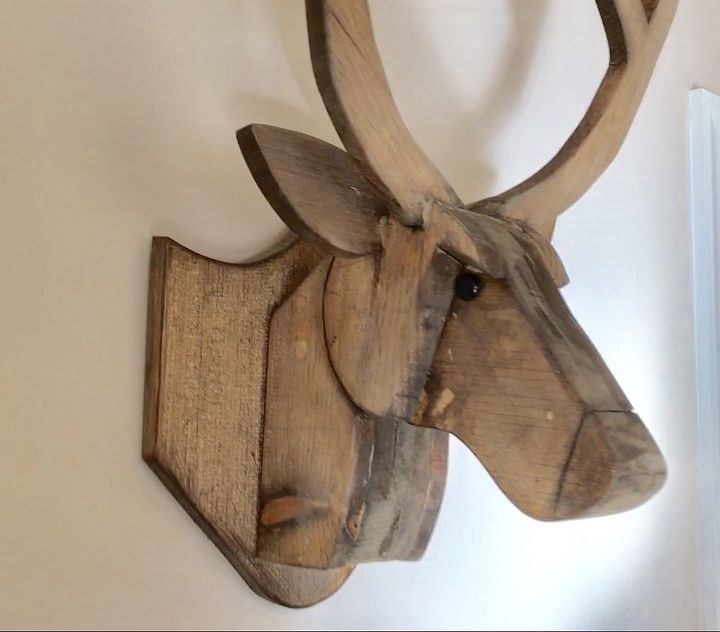
Now you can be part of the trendsetters with your very own mounted deer head. And the best thing is you made it yourself!
Comments
Join the conversation
-
Your never going to get a pattern. The only way is to watch video and screen print images then try to figure it out yourself. 👎
-
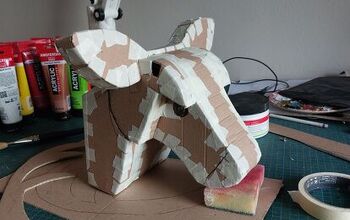
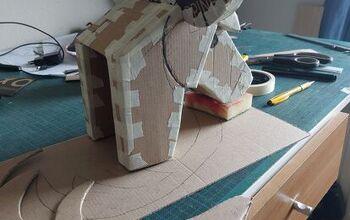
Okay, I figured it out myself. It wasn't easy, but I did it! I first made a prototype out of cardboard to see if the proportions are correct.


Frequently asked questions
Have a question about this project?
Is it possible to get the pattern ? Regards
Where do I get the pattern
i would love to do this project. has anyone gotten the plans ?