


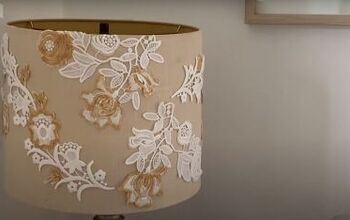
DIY Drip Lampshade Makeover

6 Materials
$20
45 Minutes
Easy
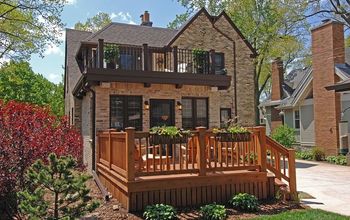
How many times have you seen an ugly old lamp in a thrift store or garage sale and passed it by?
Today we will show you an easy way to transform your thrift store find from cheap and outdated, to modern and eye-catching! So, next time you're at a thrift store, keep an eye out for lamps. The perfect lamp doesn't have to be pretty, just one that you love the shape and size of. It's always a good idea to test that it works too!
Since your lamp has probably been sitting around for years collecting dust, you'll definitely want to make sure you give it a good cleaning with some water and vinegar. Once it's all clean, let it sit until it's fully dry.
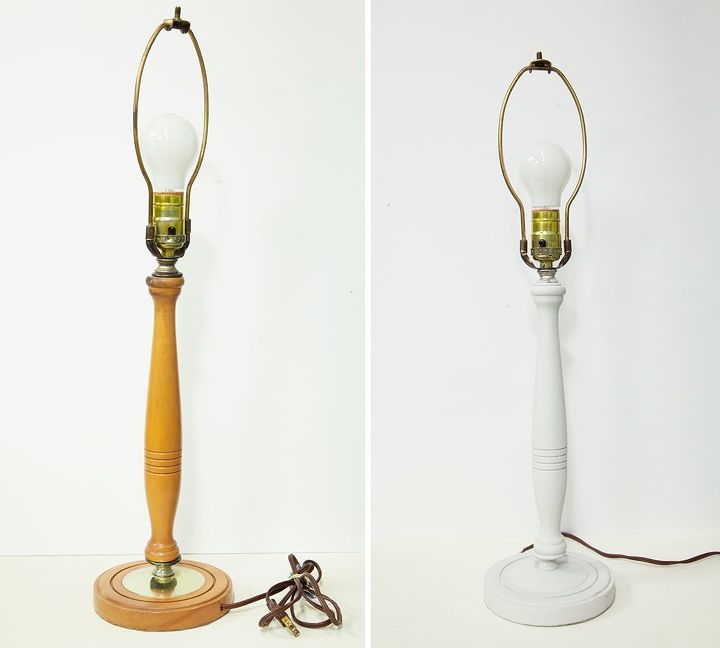
Step 1: Painting the Base
To begin the transformation, you'll first be painting the base of the lamp in any color of your choosing. In our case, we decided to go with our All-in-One Decor Paint in a beautiful, pale grey called Lazy Linen. If you find you need a second coat of paint, let the first dry for half an hour to an hour before applying the second.
Tip: If the base of your lamp is a very smooth surface and you're worried about paint adhering to it, make sure you check out our surface prep tutorial at www.countrychicpaint.com/tutorials before you begin.
We also have a tutorial called How to Paint Glass and Metal that you might find useful!
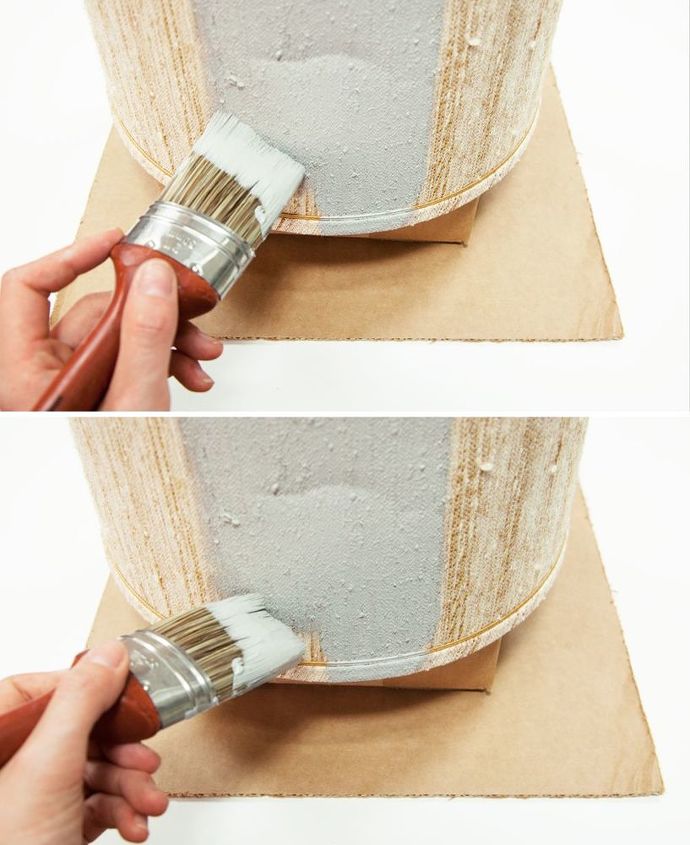
Step 2: Painting the Lampshade
Next, we're going to move on to the lampshade. Pick one paint color that coordinates with the color you chose for the lamp base; in this case we selected Pebble Beach. This color will be used to paint the inside AND the outside of your lampshade.
You'll probably find it easiest to start by painting the inside of the lampshade, then move on to the outside. When you're happy with your work, set the lampshade aside to dry for about an hour.
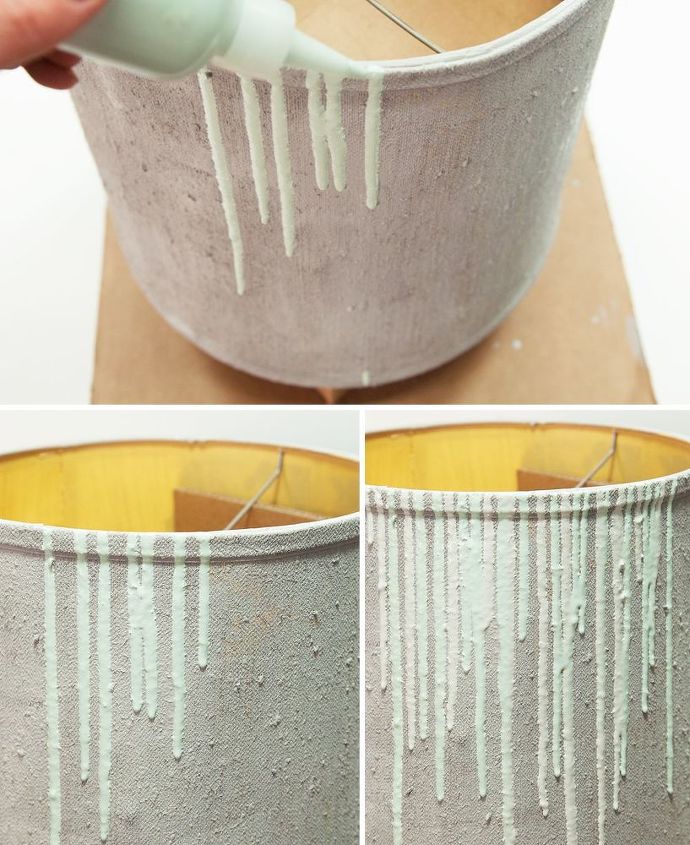
Step 3: Create the Drip Effect
Now here's where the real fun begins! To really bring this project to life, we're going to use a drip-painting technique to add color and detailing to our lampshade.
Gather a few of your favorite paint colors and scoop some into squeeze bottles (usually available at your local craft supply store or dollar store). For our lamp, we chose Lazy Linen and Happy Hour from Country Chic Paint.
Before you begin dripping, make sure you lay down a piece of cardboard or a drop cloth that is larger than the circumference of your lampshade to catch drips. You'll also need something to prop your lampshade up on, such as a cardboard box that you can fit inside.
When you're ready to go, just start having fun with it! Place the tip of your paint squeeze bottle at the very top of your lampshade and gently squeeze, allowing the paint to drip down the side. As you move around your lamp, vary the amount of paint you squeeze out to create variation in the length of each drip.
It's okay if some of the drips run right off the side as well. You can change up the colors to create a pattern or a random sequence, whichever you like best.
Once you're happy with the look, leave your lamp shade to dry overnight.
PLEASE NOTE: we recommend always using an LED light bulb for painted lamps or lamp shades to avoid overheating which could cause accidents.
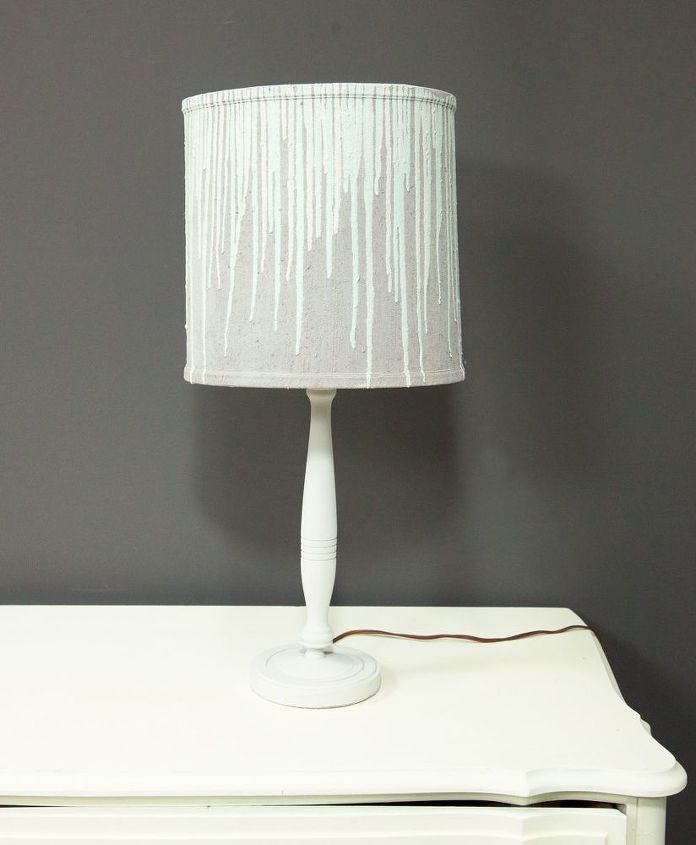
And that's it! Your guests will never guess that your new-and-improved lamp once came from a thrift store 
Comments
Join the conversation
3 of 32 comments
-
. I have an A-line type shade. ( Smaller circumference at the top. ) Any suggestions how to prop the shade to get the drips straight? My husband painted the shade when he painted the room, but you can see the brush strokes when you turn on the light. I bet painting the inside of the shade will correct that problem. I love the drips. Great job. Thanks for the inspiration.
 Jo
Jo Jpsiskos United States·answered Just now·
 -
I'm going to try this one. LOVE the idea of the growing grass! I'll post when I'm done my experiment.


Frequently asked questions
Have a question about this project?
Can you paint a lamp that looks like coral reef
. I have an A-line type shade. ( Smaller circumference at the top. ) Any suggestions how to prop the shade to get the drips straight? My husband painted the shade when he painted the room, but you can see the brush strokes when you turn on the light. I bet painting the inside of the shade will correct that problem. I love the drips. Great job. Thanks for the inspiration. Jo
Jo
i can’t either kit Kat