


Reverse Peek-a-boo Bowl

by
Mary Carlson
1 Material
$12
4 Hours
Easy
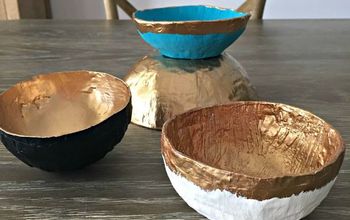
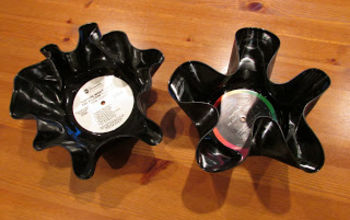
A little while ago I did a Reverse Peek-a-boo Bowl that didn't turn out quite the way I planned and DIY'ers (is that even a word lol) suggested doing it in reverse. I had been on a hunt for the perfect bowl and I FINALLY found it! Below is a picture of my first attempt.
This was my first go!
As with my first project I cleaned the bowl and then applied mod podge to the outside of the bowl.

Once the mod podge dried I grabbed my first color of Unicorn SPiT.
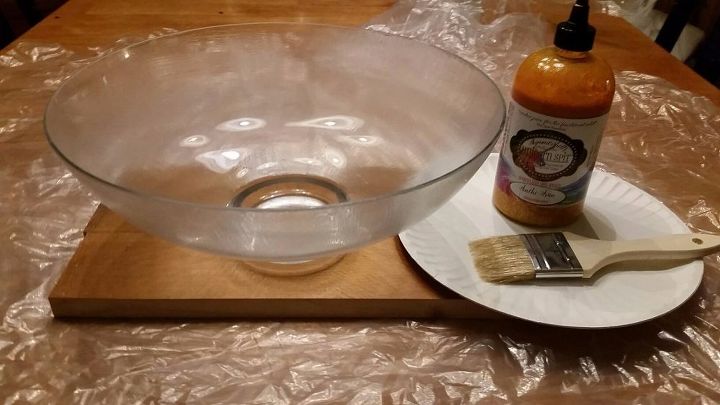
Unicorn SPiT is a Stain/Glazed all in one product that really can be used on just about anything. I am using the Limited Release Sparkle Addition. At this time some vendors have limited quantities of it however it is very scarce as of right now.
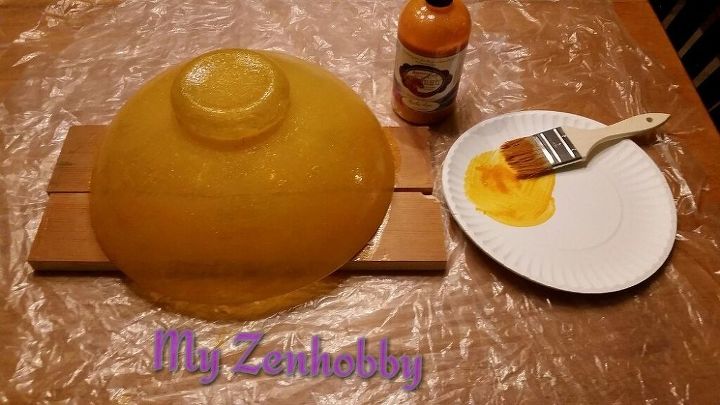
This is what it looks like after applying one coat of Unicorn SPiT (this color is Finchie Fran). I allowed this to dry before moving onto the next step.

Since Unicorn SPiT is a water based product I wanted to ensure that the first coat stayed on and didn't muddy my next colors. I used a quick coat of Spray Lacquer, allowed time for the coat to dry and then when on to my next step.
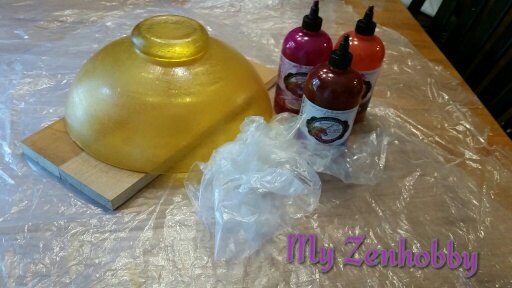
I gathered the colors I was going to use and some plastic that I used for the stain press process. The colors I am going to be using are Susi Flamingo and Onry Oriole.
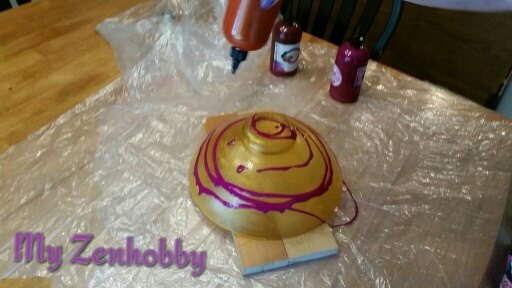
I take the bottle and shake it well! I then apply it in any way I want. I want to make sure that I am using just enough, but not too much. Once I applied the first color I then grabbed the second color and did the same.
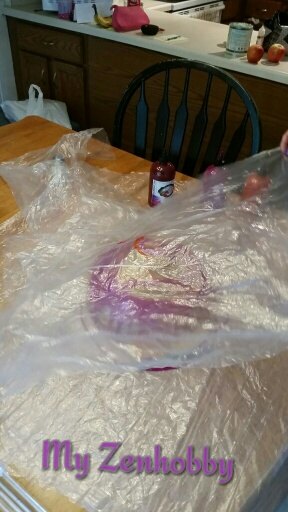
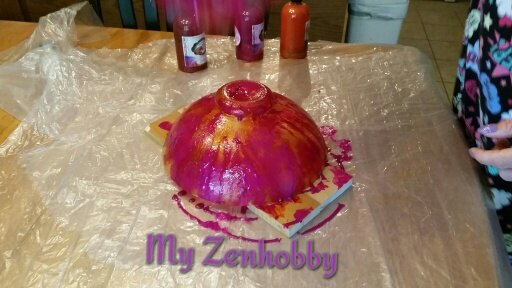
The picture above shows me laying the plastic on the bowl. I used just enough to cover the entire bowl.
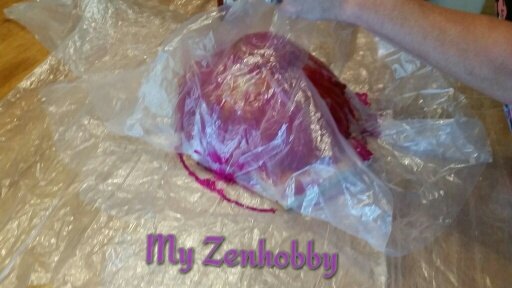
Once the plastic is on I ran my hands over the entire bowl smoothing and mixing the colors all over the bowl to ensure complete coverage.
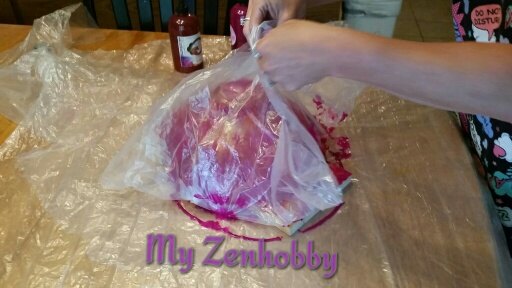
I then gathered the four corners and lifted the plastic up all at once.
This is what it looked like when I took the plastic off.
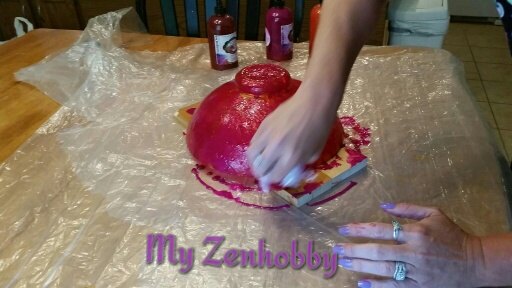
I took a small piece of plastic and then "smushed" around the entire bowl. I allowed for the bowl to dry completely and then sealed it again with a coat of Lacquer.
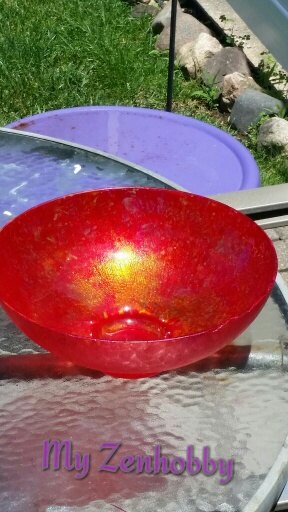
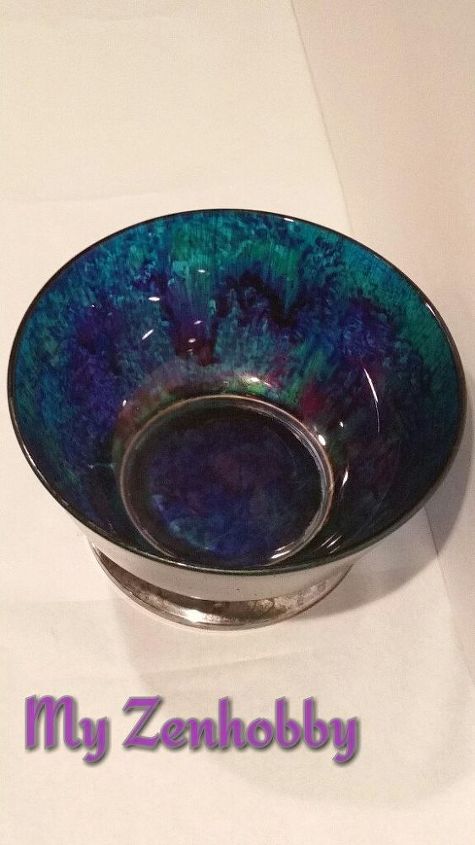
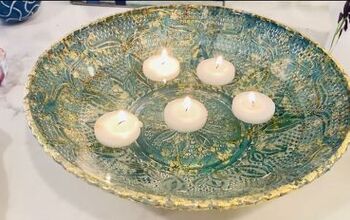
Here is an inside view of the completed bowl.

She is beautiful inside and out!
The sealer is not food safe however I sprayed the outside so the inside would be safe to be used with food. You cannot run the through the dishwasher however a damp rag should be okay to use for cleaning.
Thank you so much and I hope you enjoy it as much as I do!
Comments
Join the conversation
4 of 12 comments
-
Oooh I love it!!!! Great summer colors too!! Awesome job!❤
-
I LOVE ❤️ the way this bowl turned out. Can’t wait to get thrifting and find a bowl!!!


Frequently asked questions
Have a question about this project?