


Live Edge Floating Shelf With Invisible Hardware

by
DIYTyler
4 Materials
$25
4 Hours
Medium
I am a big fan of the simplicity and elegance of floating shelves, they add a dynamic design and usefulness to an otherwise bland area. This shelf is not designed to hold a lot of weight but is perfect for pictures, flowers, keys or maybe accent candles.
{
"id": "3901750",
"alt": "",
"title": "",
"video_link": "https://www.youtube.com/embed/SF_WqsmH-Lw",
"youtube_video_id": "SF_WqsmH-Lw"
}
{
"width": 634,
"height": 357,
"showRelated": true
}
You can watch the complete build video here to catch all the details....or you can read through the steps below.
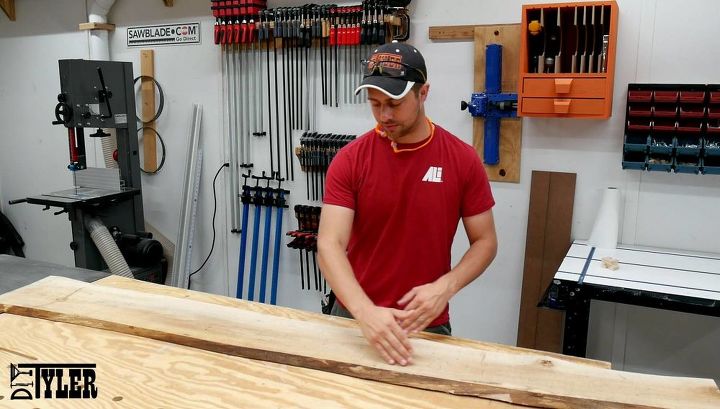
This shelf stated with a slab of 4/4 or roughly 1" thick rough maple. We wanted the shelf to be thicker so I needed to cut and laminate the board to achieve that look. I cut the board to rough length using the miter saw.
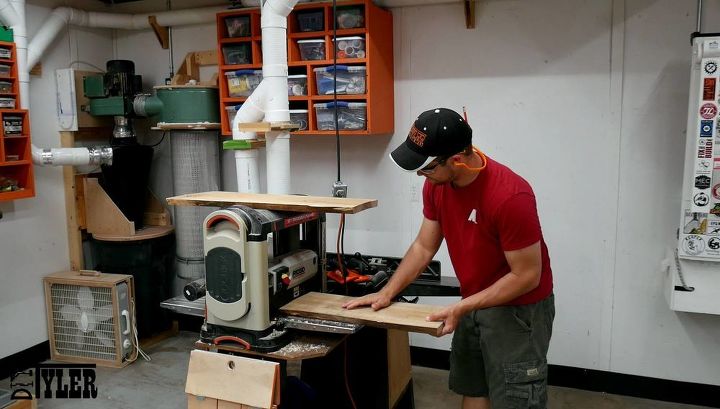
Before laminating the boards they need to be mostly flat and I used the planer to get one side of each board flat.
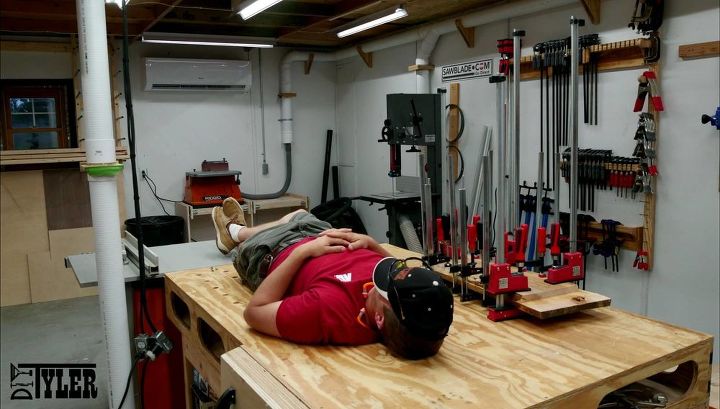
Be liberal with the wood glue, make sure to get complete coverage and use lots of clamps. Then maybe take a nap while the glue dries! I have found with larger laminations like this need to dry for quite a while, I usually leave them overnight.
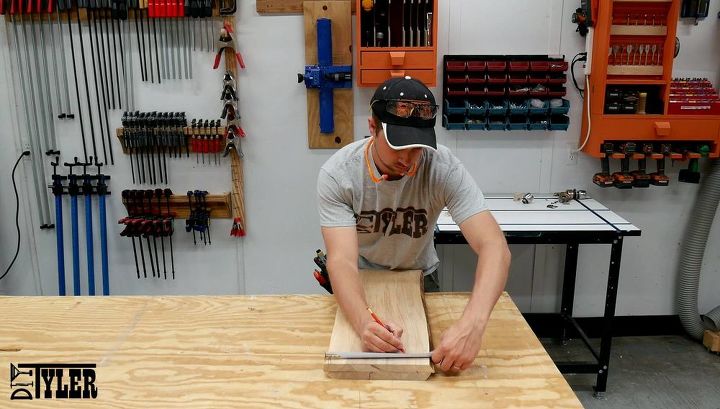
To get a flat surface to mount the shelf against the wall I used a tape measure to measure from the front of the shelf and marked a line. Referencing from the front make sure you will have a mostly even shelf, it's not going to be perfect since it's a live edge shelf.....but it's a live edge shelf so it doesn't have to be perfect!
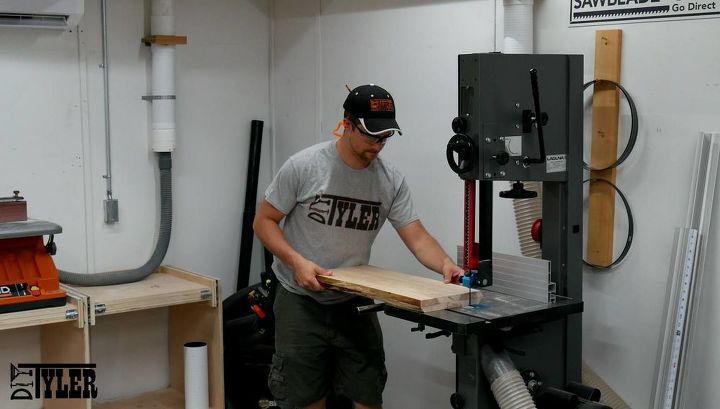
I used the bandsaw to cut the back of the shelf roughly flat and then used the jointer to make a perfectly flat surface.
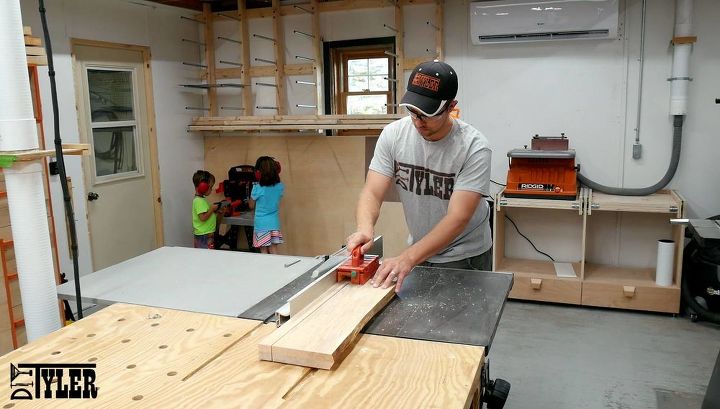
The shelf is going to be mounted to the wall using stainless steel dowels that are mounted into a bracket. This bracket is made from a strip of wood cut from the back of the shelf slab. I made this cut using the table saw.
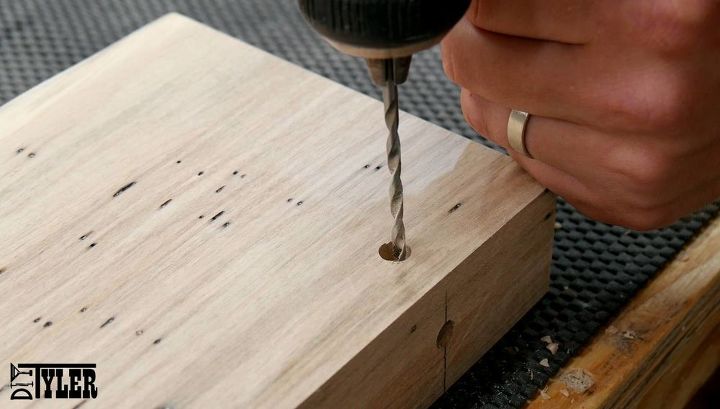
A YouTube viewer suggested that I drill the dowel pin holes before cutting off this strip allowing for perfect alignment and that is an EXCELLENT idea! If I was to make the shelf again I would drill the dowel holes first, cut off the strip and then drill the holes deeper if I needed.
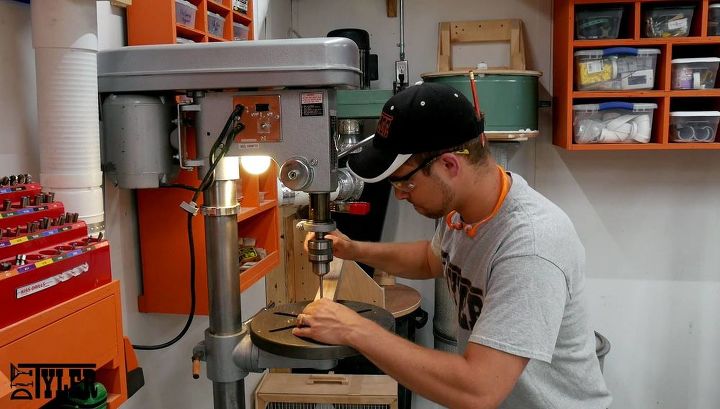
Since I didn't drill the holes before cutting off the mounting strip, I drilled the holes......
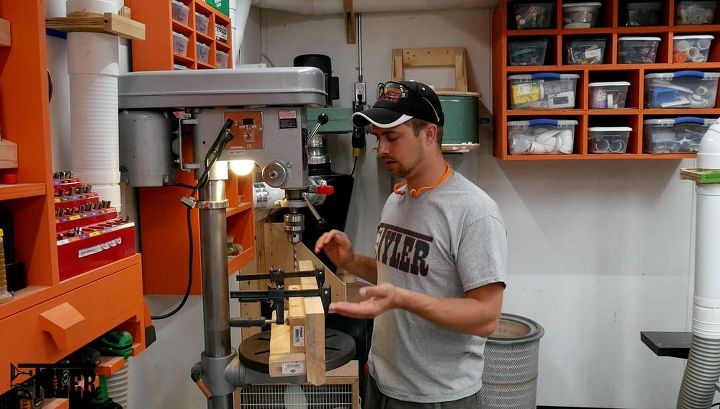
And then transferred the position to the main portion of the shelf and drilled those holes using a jig that transferred the flat surface of the drill press table to the portion of the shelf I was drilling the holes in. This is needed because the front edge of the shelf is live edge and not straight or flat.
You can see more about this portion HERE.
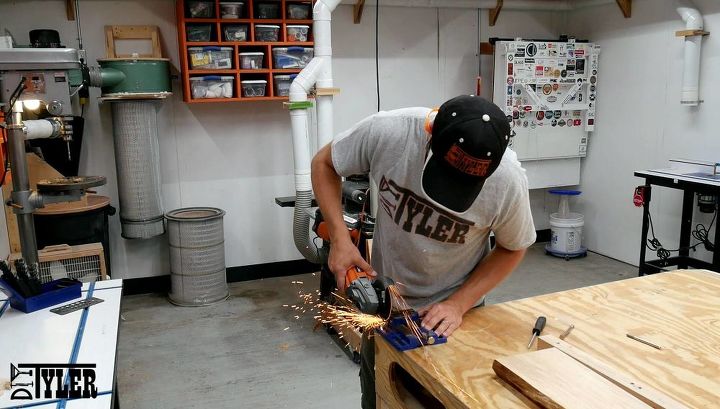
The only way I could get my hands on stainless steel down pins was to buy bolts and cut the heads off....probably way cheaper than SS dowel and it worked great!
The SS pins are epoxied into place in the mounting bracket. Be sure to make sure these are perfectly square as it will effect putting the main portion of the shelf on.....as you can see in the build video mine were not exactly square.
This portion is probably not necessary but I wasn't sure at the time I was building it.
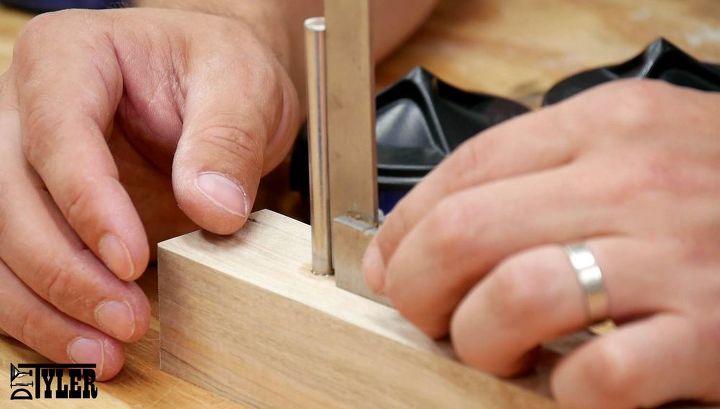
I recessed, drilled and tapped a hole for a 8/32 machine screw to be able to pinch against the dowel pin to make sure the shelf will not slide off.

Sanded to 220 grit with a random orbit sander and finished with a few coats of general finishes arm r seal. (good stuff)
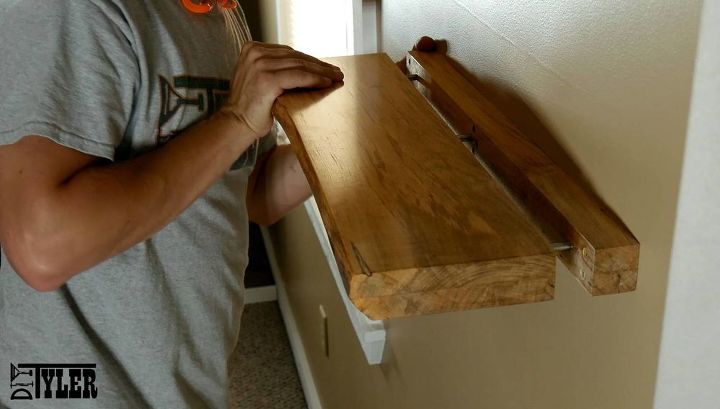
Mounted the mounting bracket to the wall using a few 2 1/2" wood screws and slid (with some persuasion) the main section of the shelf into place.
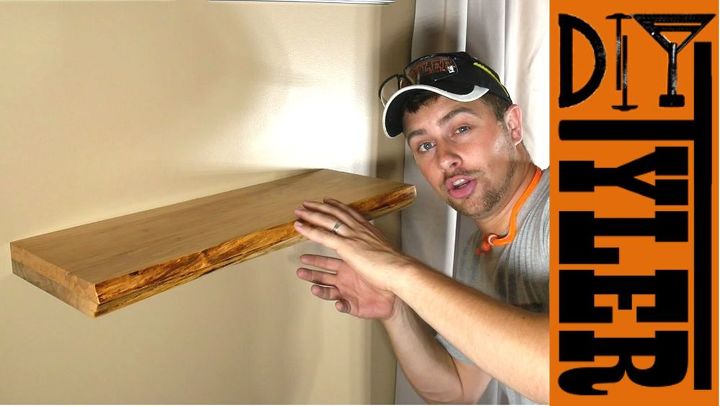
All done! Fill it up with the nick nacks you might want and you have a nice conversation and decoration piece!
Comments
Join the conversation
2 of 19 comments
-
everyone loves your work shop--I like the shelf too!!
-
Really great workshop and idea, the shelf was hard to go on as when the bolts pulled the wood in and bowed it also pushed the rods off center! I will be making this DYI one of mine! Thank you!


Frequently asked questions
Have a question about this project?
At what height on the wall did you put the shelf?
I don't understand how it holds up that way.?
No question just comment : nice idea! Though if you use cut off bolts, which is a good idea, no need to use epoxy just drill the holes in the wall mount small enough to screw the bolt pins into it. Or perhaps vice versa !