


DIY Cactus Jewelry Holder
4 Materials
$10
40 Minutes
Easy
I have been going through a serious cactus phase lately. If it has a cactus on it, I want to buy it. If I can incorporate a cactus into any of my DIYs, I'm doing it. I had been wanting to make a ring/jewelry holder for a while because I am 100% guilty of taking my rings off and putting them in dangerous places aka anywhere near a drain. While brainstorming, I realized that I could totally turn this into a project that would feed my cactus addiction, but also be completely functional. The best kind of DIY!
{
"id": "3919354",
"alt": "",
"title": "",
"video_link": "https://www.youtube.com/embed/c2FaQNYpBCw",
"youtube_video_id": "c2FaQNYpBCw"
}
{
"width": 634,
"height": 357,
"showRelated": true
}
Watch the video above to see just how I accomplished this adorable DIY, or you can read the step by step instructions below. It couldn't be easier!
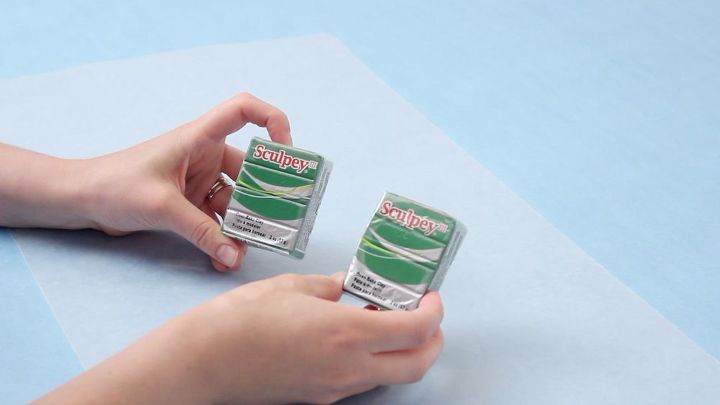
Start with some oven bake clay. I'm using green for a classic look but any color will do.

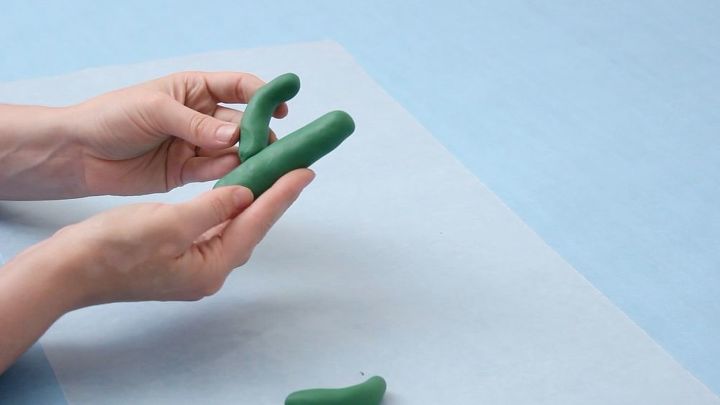
Roll a block of clay into a large ball, then divide it into 3 sections - one larger piece for the trunk and 2 smaller pieces for the arms.
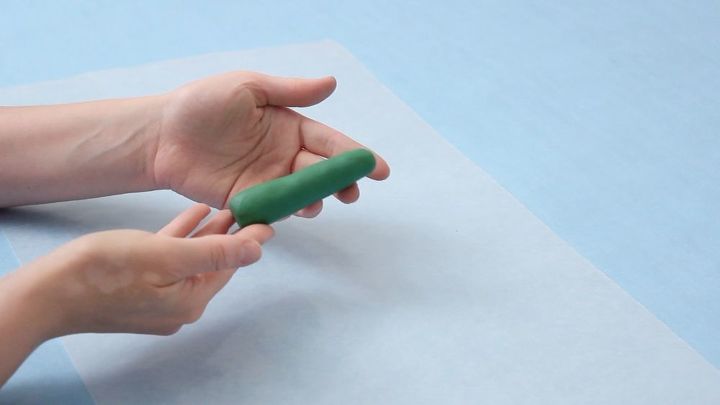
Roll the larger piece of clay in your hands to form the trunk shape. Try to keep it thinner and slightly rounded at the top and wider at the bottom.
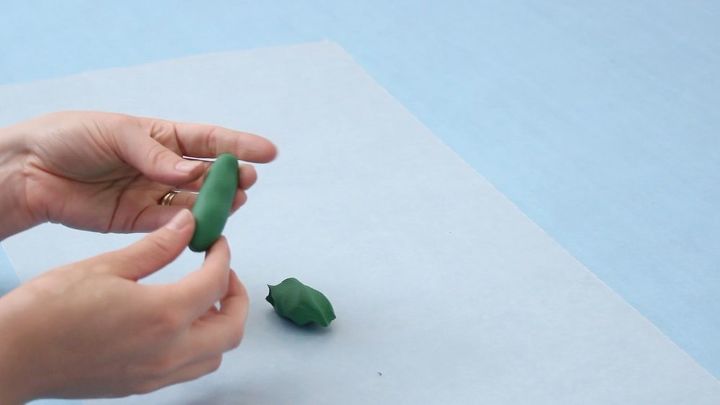
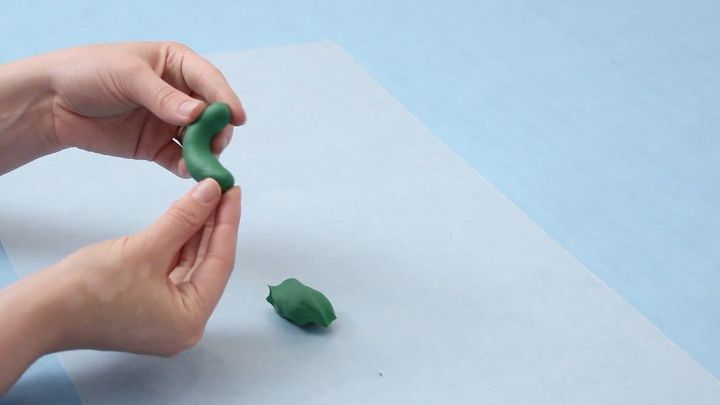
Repeat this process with the 2 smaller pieces, forming them into the arm shape by bending them slightly.
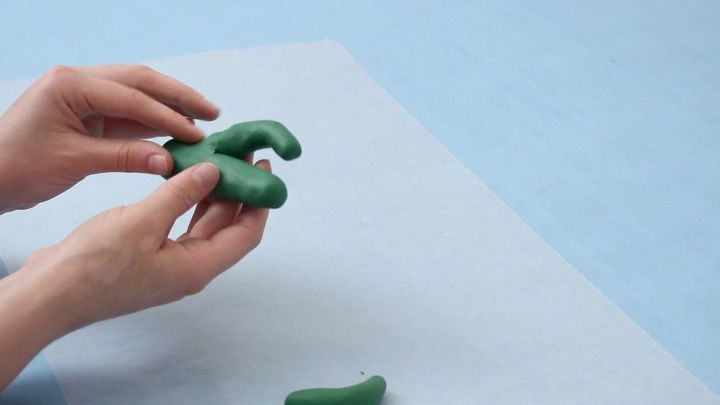
Position one of the arms against the trunk section and start to incorporate the clay from each piece into the other. Smooth the clay out with your fingers and try to get rid of any bumps.
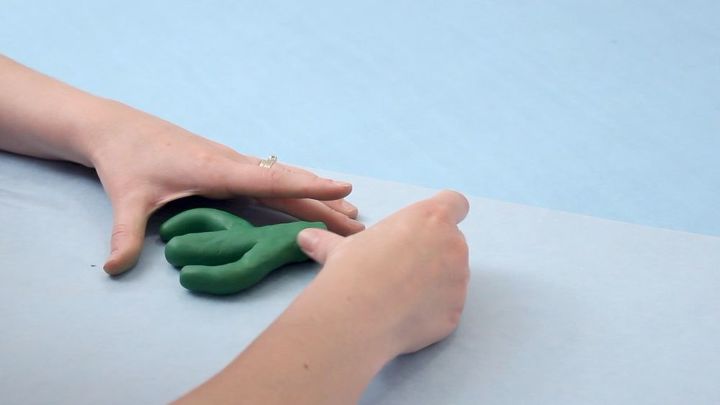
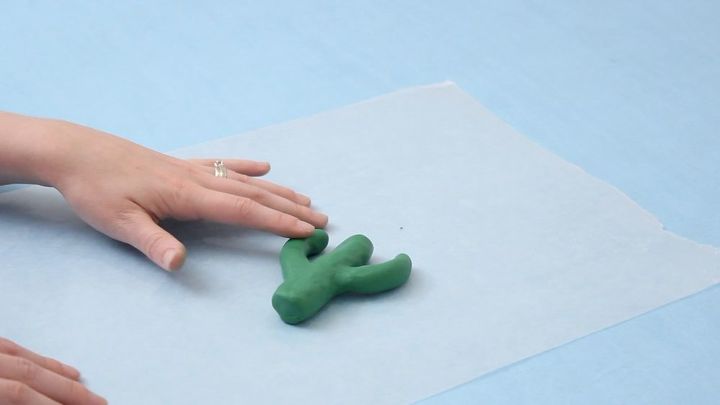
Repeat this step with the other arm and then bake according to package instructions. Allow to cool.
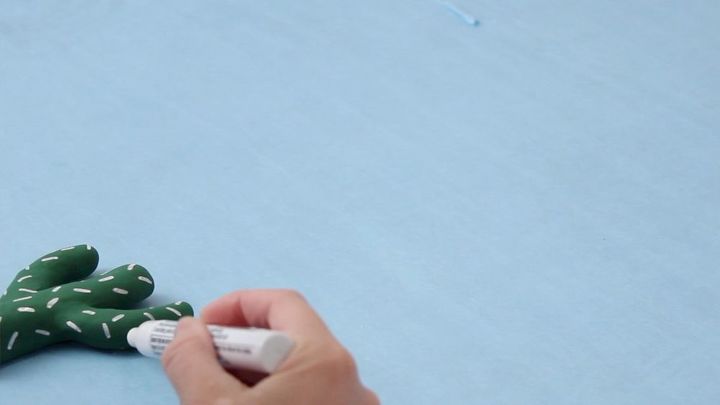
Use a paint pen (or paint and a small brush) to draw needles.
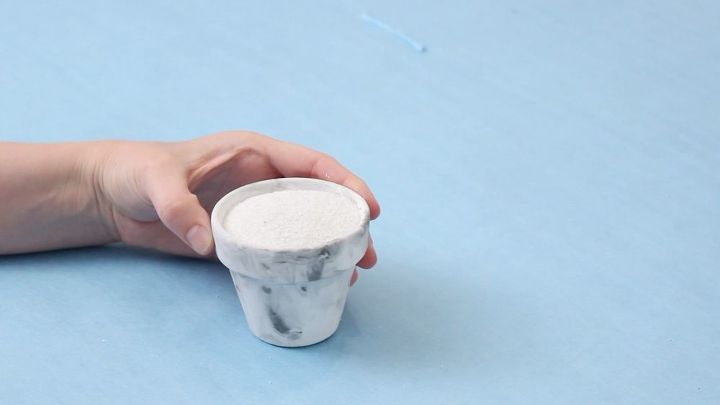
Fill a pot or jar with sand. I made this DIY marbled pot last year - you can find the tutorial on my Youtube channel.
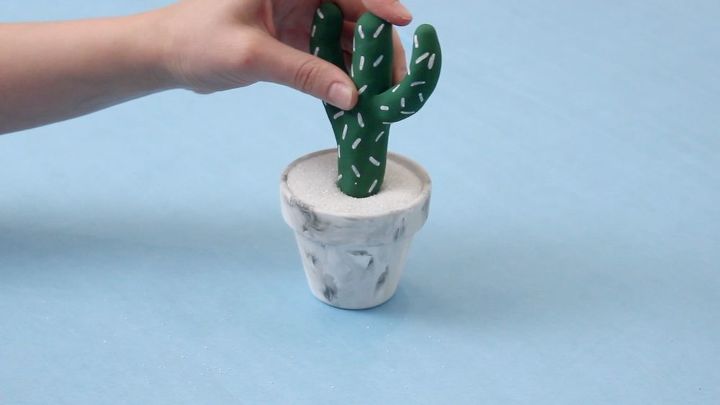
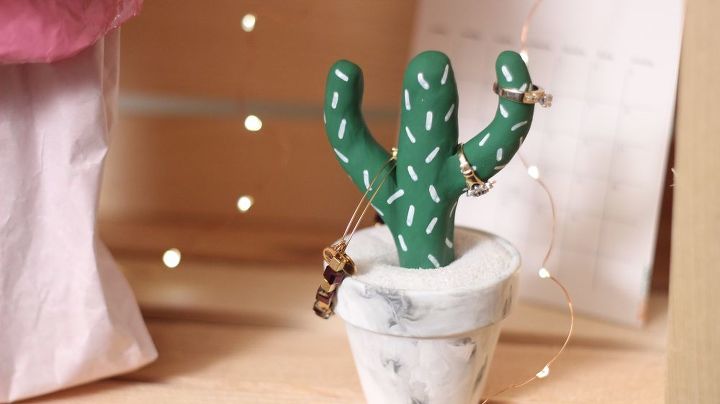
Push the finished cactus into the sand and use it to hold rings, bracelets, or just display it as a cute decor item! If you like this project and want to see more, check out my YouTube channel by clicking here or visit my website: www.katiebookser.com

Want more details about this and other DIY projects? Check out my blog post!
Comments
Join the conversation
3 of 21 comments
-
Yes for sure. But I would like to make a bigger one and put it outside.
-
I've used the type of clay that has to be baked. I have made some rather cute Christmas ornaments with this type of clay. However, I find it to be a pain to soften it and my hands actually hurt. Do you have a secret as to how to get this clay more pliable??? I would really appreciate any idea you have. Thank you for such a clever idea!


Frequently asked questions
Have a question about this project?
I'm using a toaster oven to bake. How long is the baking , and should I place the object to bake on a piece of batting?
Couldn't this work using baking soda to help clean the air in your bathrooms, like travel trailers and motorhomes?
Love the idea. Could I make this bigger and put outside?