


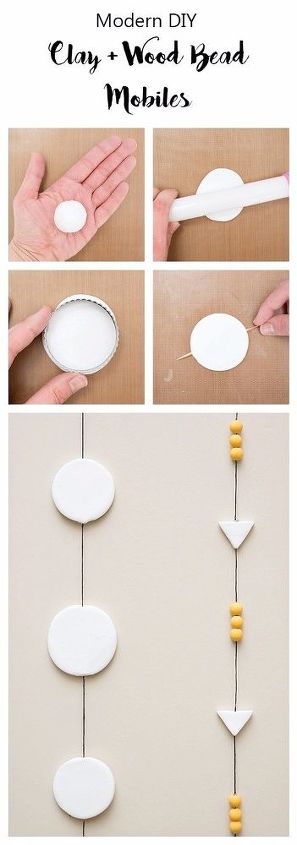
Modern DIY Clay & Wood Bead Mobiles
14 Materials
$100
3 Hours
Medium
Add a touch of modern whimsy to your walls with these DIY clay and wood bead mobiles. Using polymer clay, you can create any shape to suit your style or taste. Group them together or hang them separately. They make a great statement, indoors or out. You'll love just how versatile they are!
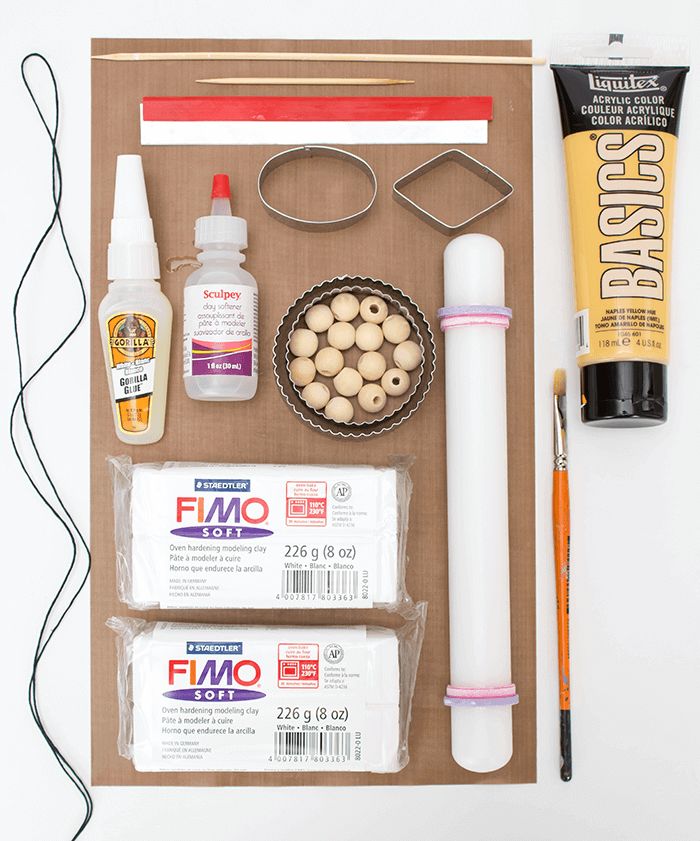
Let's Get Started! You'll need the following materials (to see where to find some of these items in this list, please visit the original blog post):
- polymer clay (oven-bake variety)
- cookie cutters (circular, diamond, and oval shapes)
- rolling pin
- flexible clay cutter like this one (or other sharp tool)
- non-skid mat (or wax paper)
- clay softener (or baby oil)
- wood beads
- yarn or twine
- toothpick
- skewers
- washi tape
- glue
- baking pan & wax paper (not pictured)
- acrylic paint & brush (optional)
Step 1: Cut & 'Condition' Your Clay
Cut off a small piece of clay using the flexible clay cutter or other sharp tool.
‘Condition’ the clay by rolling it in your hands. This process warms the clay and makes it more pliable. If the clay you are working with is a bit dry (i.e., if there are still cracks when you bend it after conditioning) add a drop or two of clay softener or baby oil.
Once conditioned, roll the clay into a ball.

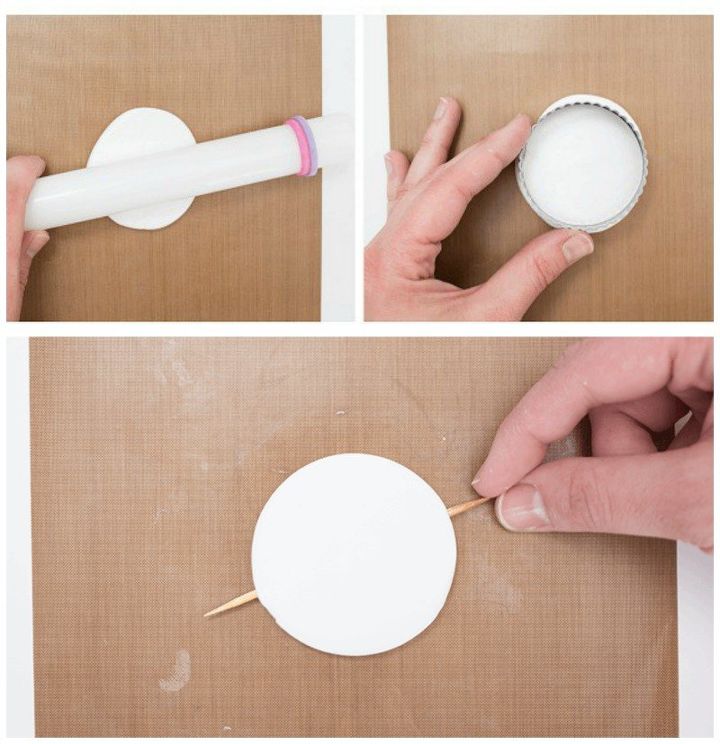
Step 2: Roll Out Clay & Cut Clay Shapes
Place the clay on a non-skid mat (or wax paper) and roll out with a rolling pin to about 1/4 inch thickness.
Using a cookie cutter, press into the clay to create your circle. Remove excess.
Taking a toothpick, tunnel out a hole through the side of the circle.
Tip: If you are using a wooden toothpick, as I did here, add a lubricant like baby oil or your clay softener for easier insertion.
Use the same method above for any other shapes you wish to create with your clay.
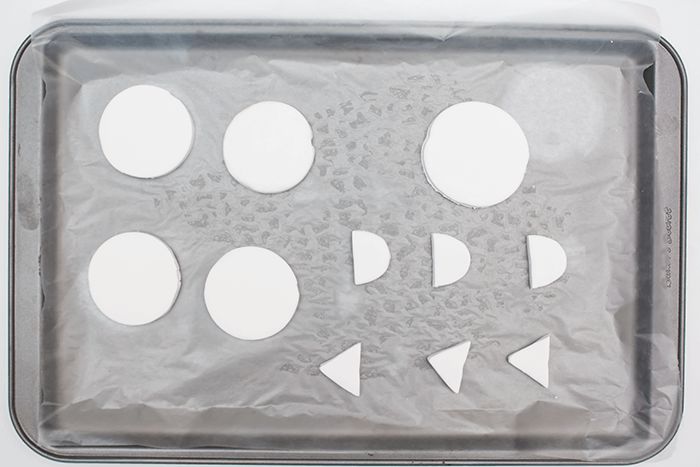
Step 3: Bake Clay
Place the clay mat (or wax paper) with all your ‘clay cookies’ onto a baking pan and bake in the oven according to the instructions on the clay packaging.
(As a general rule of thumb, oven-bake clay is baked for a half hour for every quarter inch of clay).
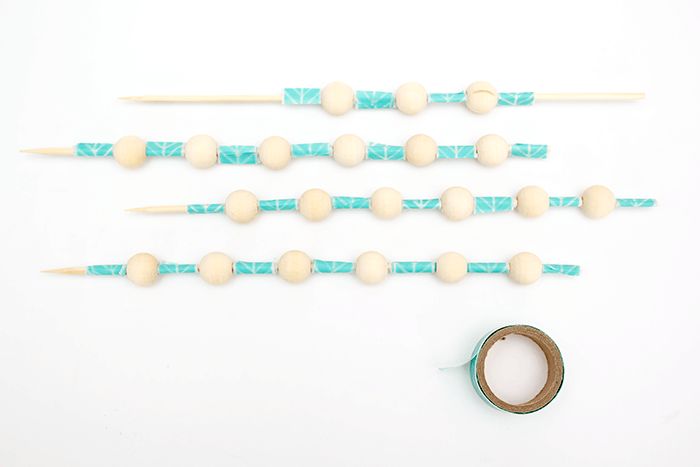
Step 4: Paint Wood Beads (optional)
While your clay is baking, paint your wood beads. (If you love the look of natural wood, then you can skip this process. Because I have mustard yellow in my foyer, I decided to add the same colour to the wood beads).
Tip: When painting wood beads, the easiest/mess-free option is to load them onto a skewer and add washi tape between each bead to separate and secure. Then simply paint the beads.
Let the beads dry for 1 full hour.
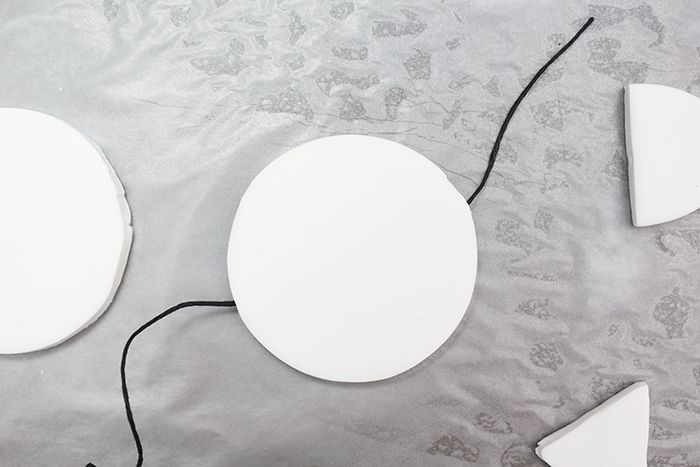
Step 5: Add Yarn & Glue
After removing your clay from the oven, you are ready to string both the clay and wood beads together.
Feed your yarn or twine through the clay and wood beads. Make sure to add a dab of glue at the opening of each hole and let dry.
Tip: Lay out your mobiles on newspaper to allow excess drip from the glue.
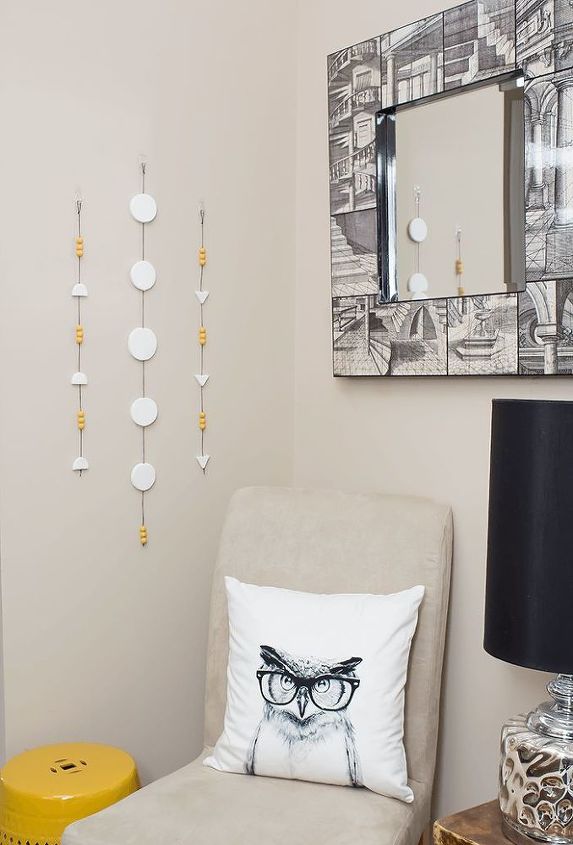
Step 6: Hang Your Mobiles
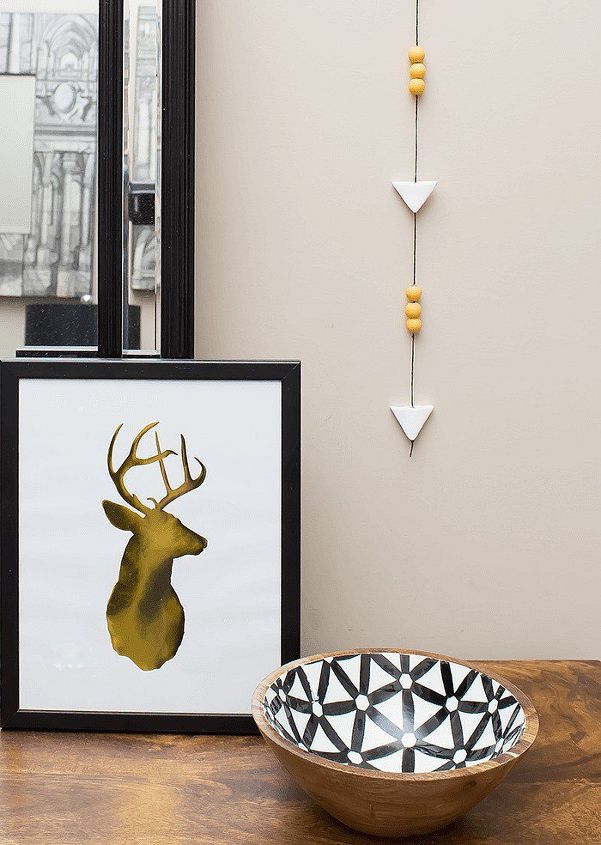
Now it’s time to hang your creation. I added mine to an empty wall in our foyer and really love how much personality they bring to the space.
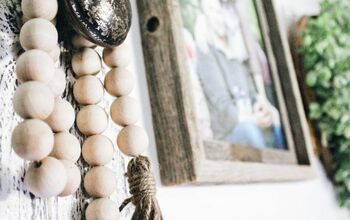
Here they are up close and personal ;)
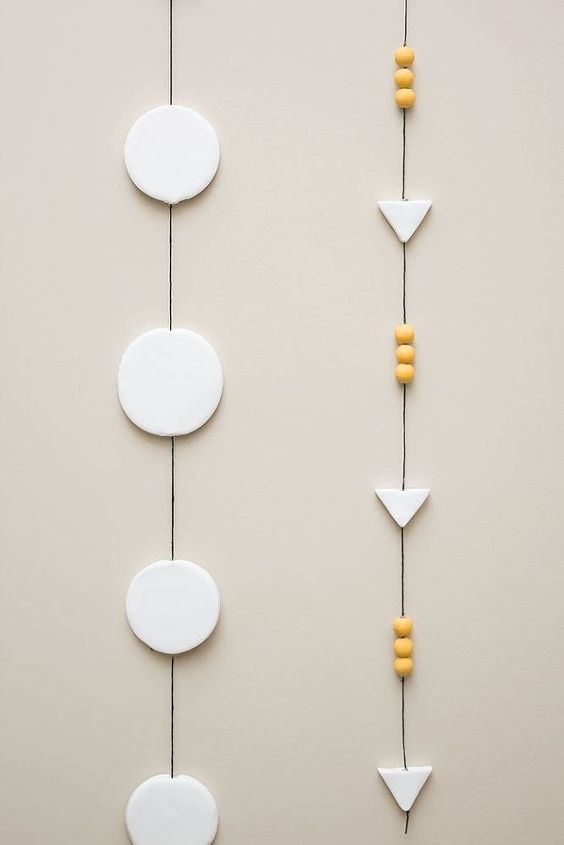
You can even take one string and hang it separately to create the perfect vignette.
I truly believe that a house is not a home without a bit of whimsy to brighten a room. It’s all in the details 
Happy crafting 

Want more details about this and other DIY projects? Check out my blog post!
Comments
Join the conversation
2 of 10 comments
-
Like the triangle angle from the owls' face to the small triangles.
 Cute craft. Great mirror too!
 -
This is gorgeous, fun to make and so trendy! Thanks for sharing!!


Frequently asked questions
Have a question about this project?