


Upcycled Iron Man Cabinet From Chest of Drawers

by
Clint
5 Materials
$80
20 Hours
Medium
A friends son needed a cabinet for his bedroom and it was requested that I make it Iron Man themed. I had an old chest of drawers that I got for free and so could see that it was the ideal piece to use. I've got a video up on YouTube showing the build and I'll share some details of how I made it below.
{
"id": "4337662",
"alt": "",
"title": "",
"video_link": "https://www.youtube.com/embed/G47PRSB8PbY",
"youtube_video_id": "G47PRSB8PbY"
}
{
"width": 634,
"height": 357,
"showRelated": true
}
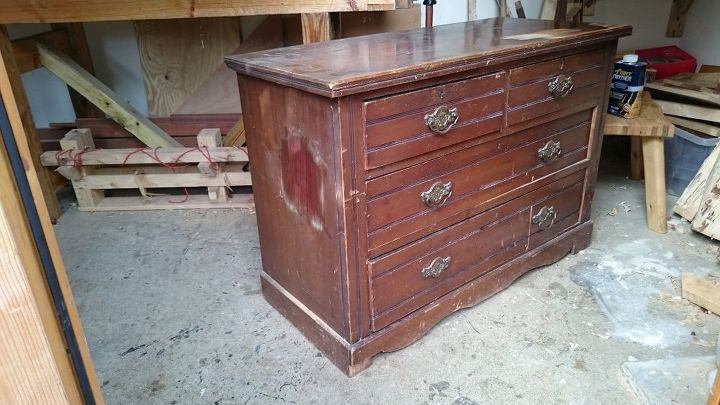
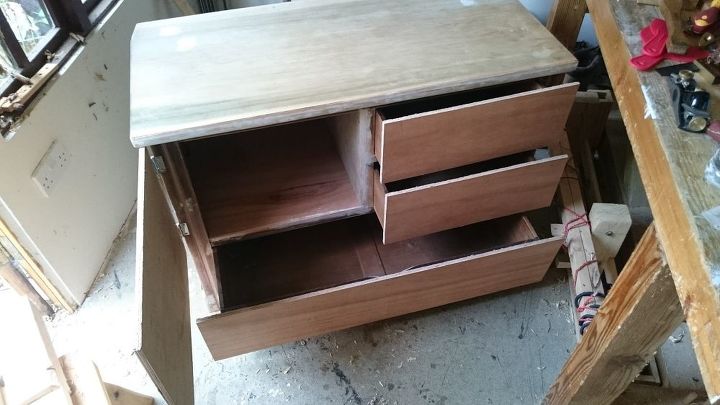
It started with an old cabinet that was being thrown away, I knew that I could take it and basically use it as a shell to make something new.
I used some paint stripper to get all the grime and wax/varnish off that had built up on the cabinet over the years. I then sanded it all down and planed the veneer off the top. I did this just to see what the wood looked like underneath, since I was using chalk paints it wasn't necessary.
The handles were held on with nails that looked like screws from the outside, apparently this was a cost saving measure back in the day to give the illusion of fancy looking screws where there were only nails. They were easy to take off with a hammer and a flat head screwdriver.
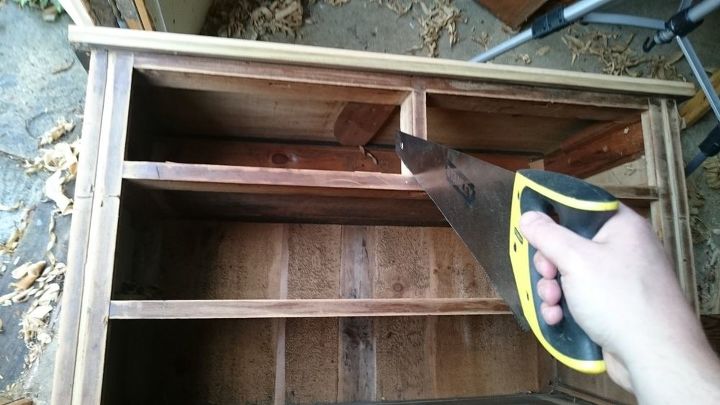
The plan was to cut out the top left drawer and insert it underneath the other small drawer. This leftover space would then be made into a little cupboard to store video games and whatnot inside.
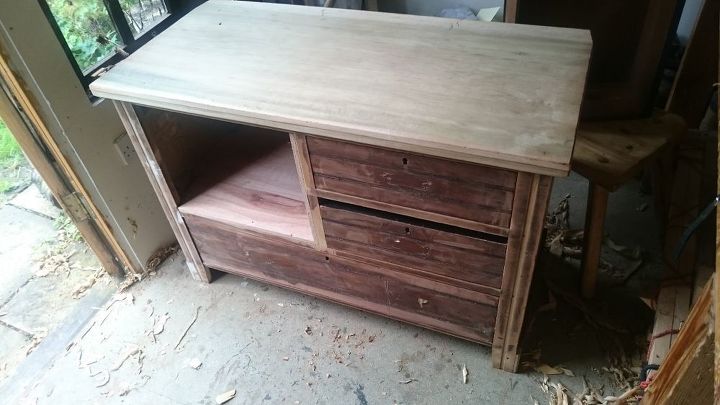
After I cut the material out I just had to move the other drawer under the other and attach a dividing piece between it and the new cupboard space. Two bits of plywood made up the inside of the cupboard which had to be cut specifically to fit the space. Although they would probably stay in with friction fit alone I still screwed them also.
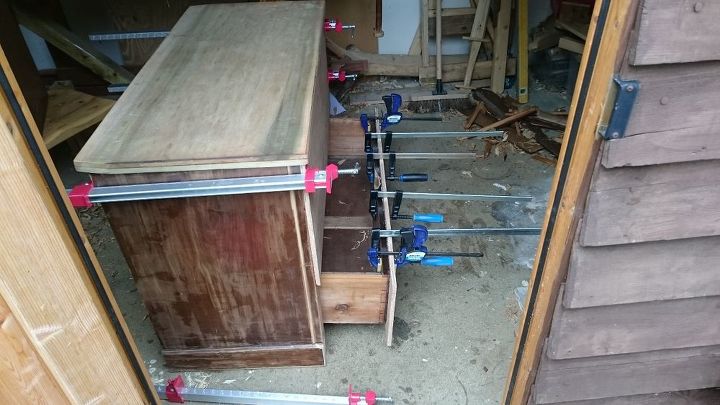
I cut a piece of plywood which covered the whole front of the cabinet and then cut the new faces for the drawers from it and the cupboard door. I ran some glue along the existing drawer faces and stuck on the plywood pieces, I also used some screws where appropriate to keep them firmly attached.
The cupboard door was simply attached with two hinges and a small catch was fitted on the inside to grab the door when it was closed.
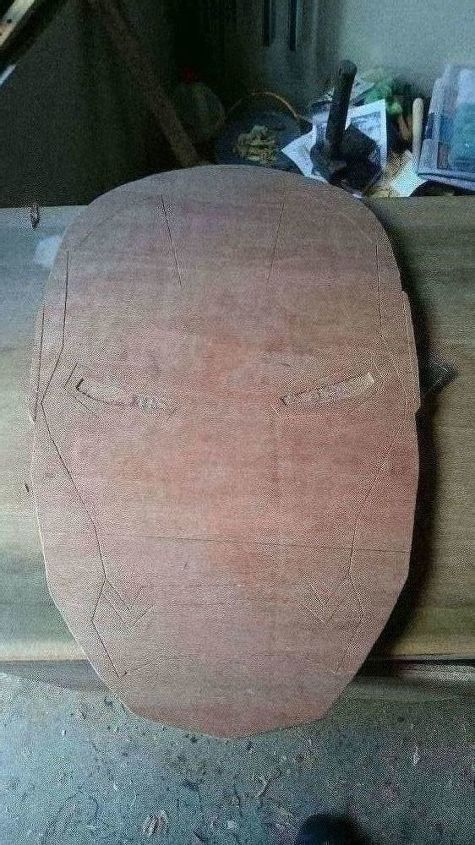
I used some more of the plywood to cut out the Iron Man mask using a template I printed out earlier. I made rebates in the eyes so I could fit the required pieces in there later.
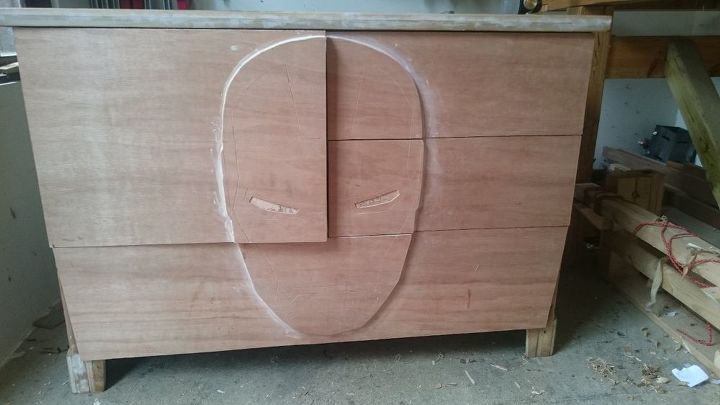
It was then just a case of lying the mask on top and figuring out where I wanted to cut it, then I glued the pieces on and screwed them in where appropriate.
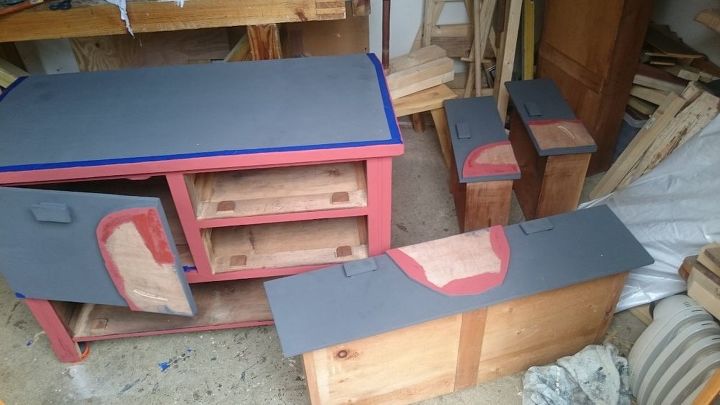
I made some small handles from plywood as well and then got onto painting it. We had decided on a grey cabinet to kind of make the mask pop. I used a lot of painters tape to separate the colours! All of the paint I used was chalk paint.

I cut some light blue card out and put it into the eyes, I then found an old VHS case and cut the same shape from it. This lied over the top of the card and was pushed very firmly into the eye sockets.
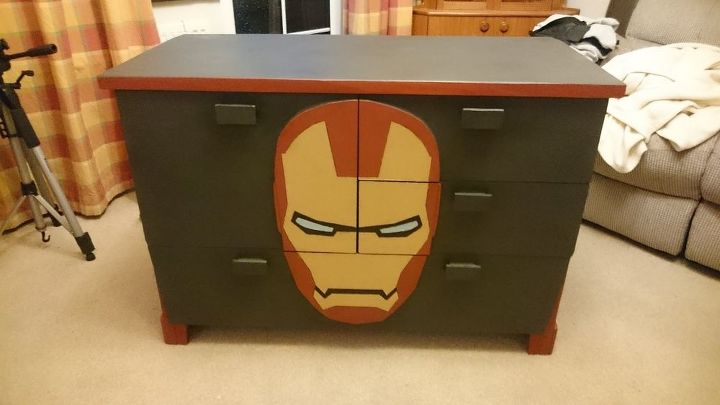
After some coats of spray varnish it was all ready to go to its new home! This was a really interesting and satisfying project and really quite different from my usual thing.
If you'd like to keep up with what I do and check out my old projects then please give the a like.
Thanks for checking this out!
Want more details about this and other DIY projects? Check out my blog post!
Comments
Join the conversation
4 comments
-
Wow! You are super talented, this is awesome!
-
Looks like it was an Eastlake dresser, solid build. Very creative, nice skills!


Frequently asked questions
Have a question about this project?