


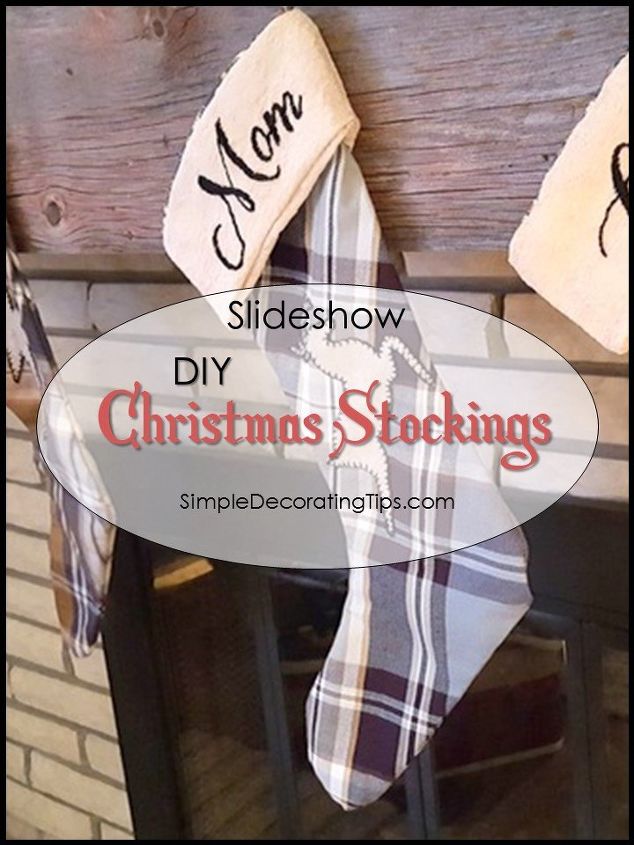
DIY Christmas Stockings
Hi, I'm Liz from Simple Decorating Tips, a DIY and decorating blog. Over the last year, (yes, it took me that long… I kept getting side-tracked) I made some DIY Christmas stockings for my son, daughter in law and grandson. It was a really fun project for me to make these special stockings for them
There are so many steps to constructing these DIY Christmas stockings that instead of downloading 40 pictures on this single post, I created a video slideshow for you to easily watch the process.
I hope my daughter-in-law wants to hang these same stockings each year, so instead of me selecting the fabrics, I asked her to pick them out. Though there is a certain amount of artist’s creative license for me with making these, I kept checking back with her to be sure I was on the same page… even with details like what she wanted to see on the stocking face, ie the snowman, star, etc. We looked up a few designs, but ultimately I sketched them out making them fit the stockings just right.
Another concern of mine was the type of handwriting for them, cursive or print? Fancy or plain? Once she pinpointed cursive, I selected the exact font and sketched that on the template paper I show you in the slideshow.
(I forgot to mention in the video slideshow, the designs on the front of the stockings, ie: snowman, star etc. are cut out from heavy felt, once I sketched and cut the template for each design from paper I taped the template pattern to the felt.)
Here are a few pictures to show you the steps... to see the complete process, be sure to hop over to my site to see the full DIY Christmas Stocking slideshow. It really is worth it... so many more pictures of the step-by-step!
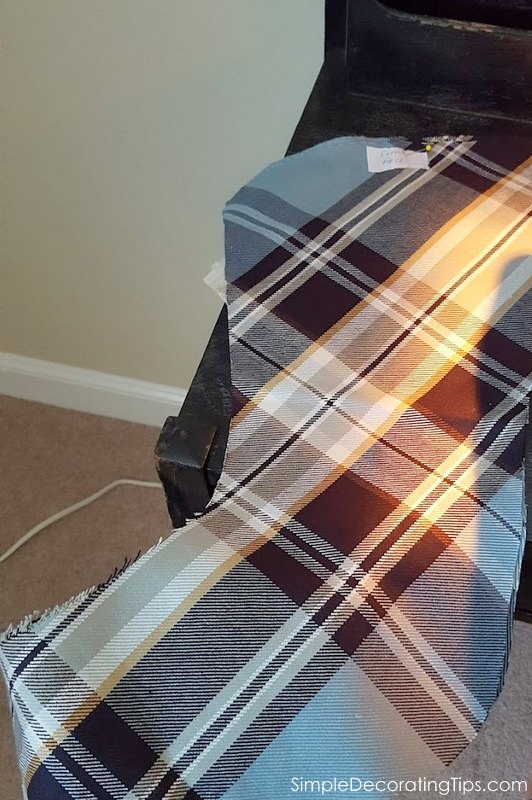
Cut out the fabric on the diagonal. 2 pieces, 1 for the front and 1 for the back. My daughter in law selected different plaids for their family.
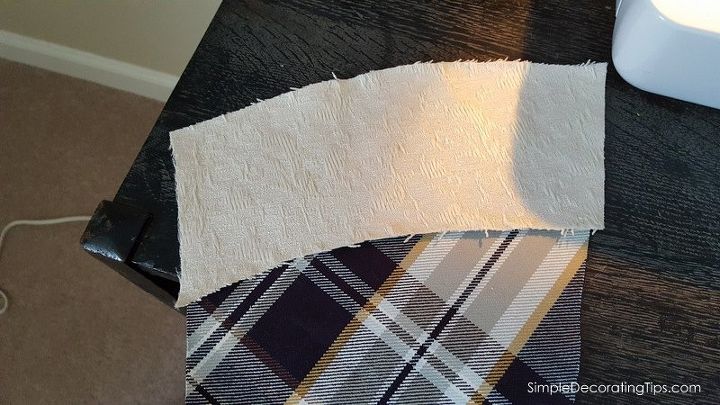
Cut out the top cuff pieces... 4 pieces, front back, inside and outside.
Next cut out the lining pieces, again 2 pieces, front and back.
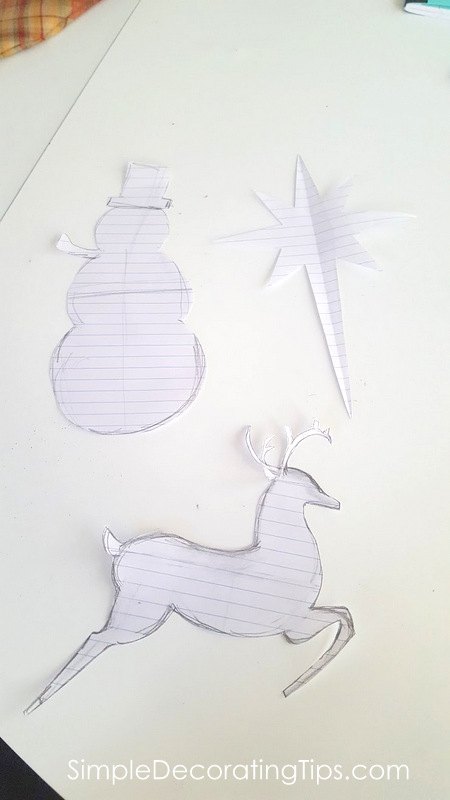
Sketch (Or print off your computer) and cut out paper patterns for the appliques.
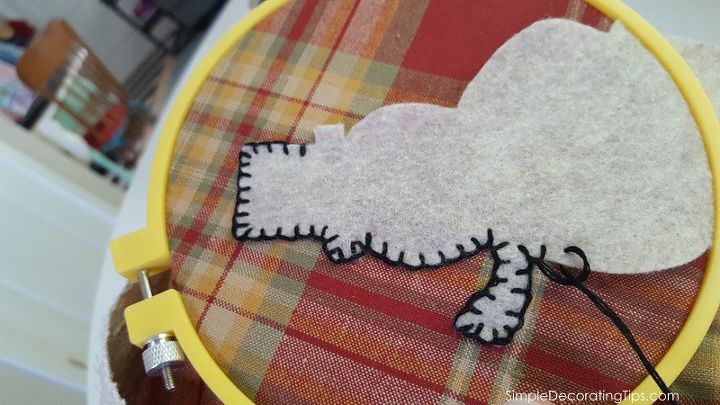
Hold applique on with a little fusible webbing and then simple blanket stitch edges.

After making paper pattern for cuff, write out names, then poke through on actual cuff fabric to mark stitching lines.
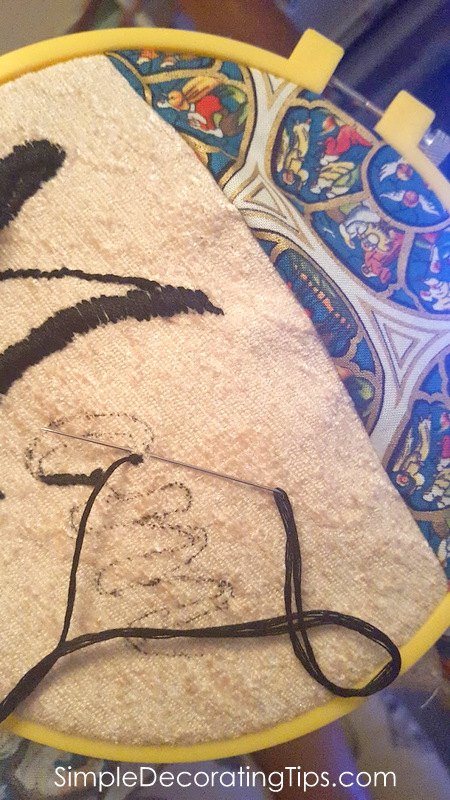
Satin stitch names on cuffs. Take care that the correct side of cuff is getting stitched! It gets a little confusing with the inside outside front back and lining pieces!
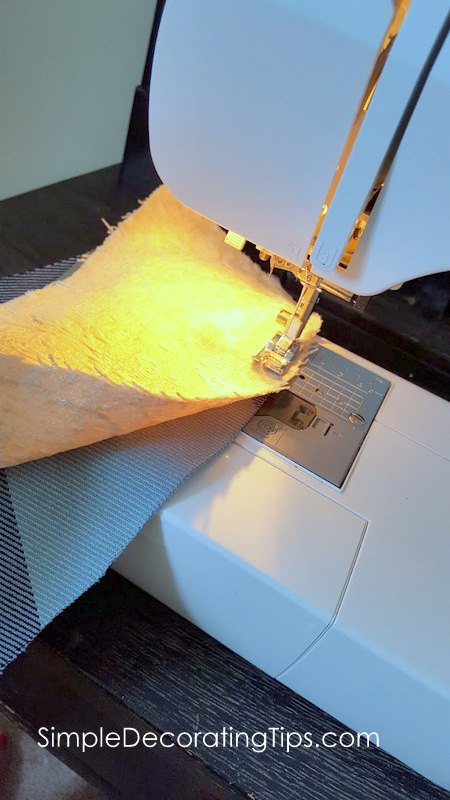
Sew proper cuff pieces onto front back and lining pieces.
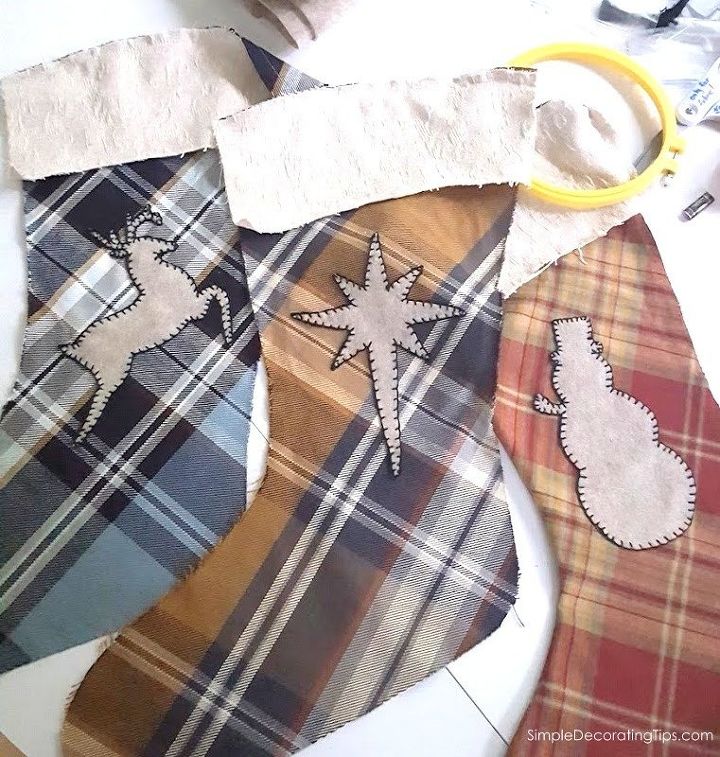
Fronts done ready for stitching to backs, then lining pieces.
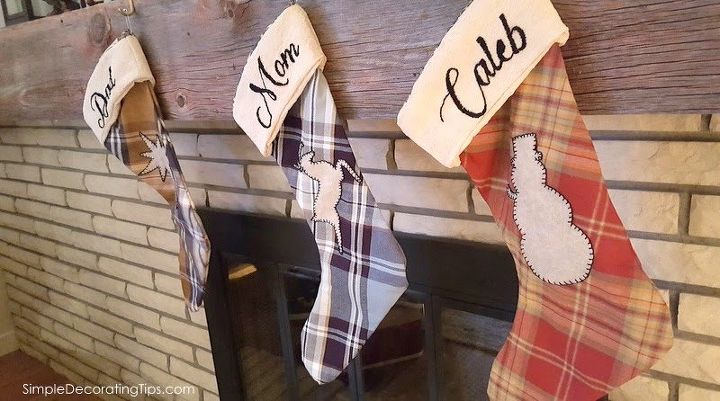
Hung by the chimney with care...
click here to get the full video slideshow on my DIY & decorating blog!


Frequently asked questions
Have a question about this project?