


A Fun Diy Bottle Opener to Make

4 Materials
$8
3 Hours
Medium
This is really a fun and easy wood project. That said. there is a fair amount of shaping and sanding involved....but so cool! So let's make this primitive looking bottle opener...I'll show you
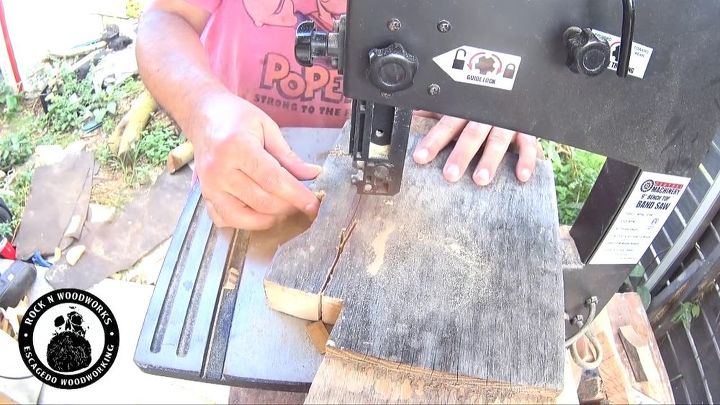
Cutting oak on the bandsaw
I have this chunk of oak wood. It's actually a closet door I was given after working for a client. I had replaced their doors and they said, 'hey, this is oak, you want it?' So I took it home with me.
Anyhow, I'm using my bandsaw to cut a piece out that we can shape into a handle.
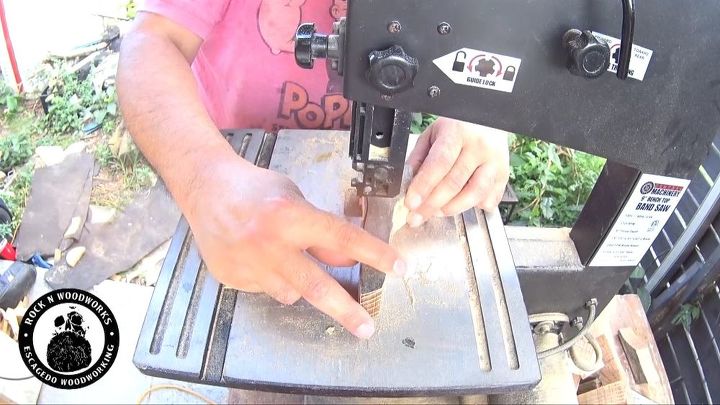
Shaping the handle on the bandsaw
I've managed to get a basic shape cut out for this soon to bee bottle opener. Check out the video for inspiration. There's more info about me and my day to day if you want to learn more. Let's keep going...
{
"id": "4592942",
"alt": "diy bottle opener",
"title": "diy bottle opener",
"video_link": "https://www.youtube.com/embed/tSOStbEtsFM",
"youtube_video_id": "tSOStbEtsFM"
}
{
"width": 634,
"height": 357,
"showRelated": true
}
This video will give you a good idea of the process. So be sure to check it out....
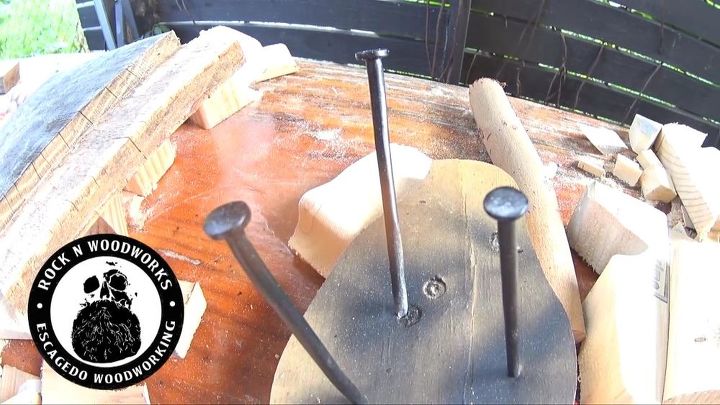
Spray painted nails for the hardware
Here are some nails. They will be used as the opener hardware. I painted them black with enamel spray paint. I wanted to show you this but I'll set them aside to dry while we continue to shape our handle...let move on
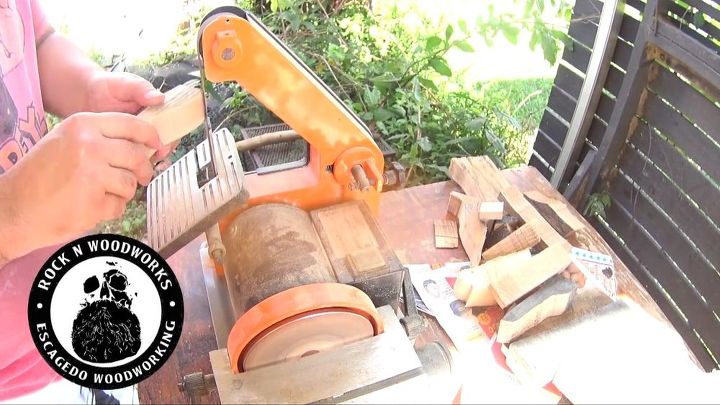
Belt sander
I'm using the belt sander to further shape the piece. This tool also helps smooth the wood a lot. It's a matter of working it til you have the shape that feels right in your hand.....but we have a little more sanding to do yet...
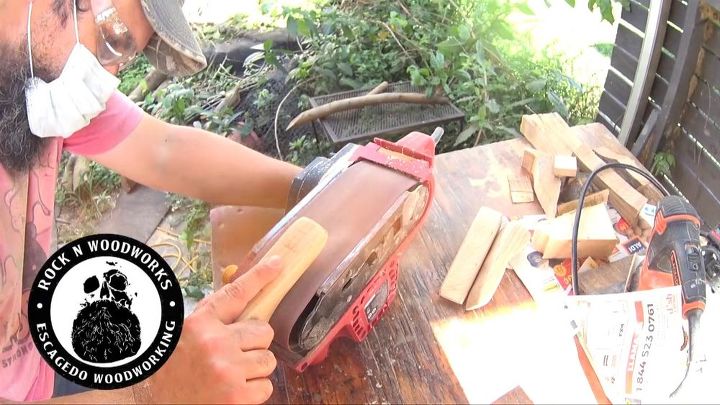
Another belt sander
Here's another belt sander. I'm shaping this a bit more aggressive to eat away more wood. I need the handle, like I mentioned, to be comfortable in the hand.
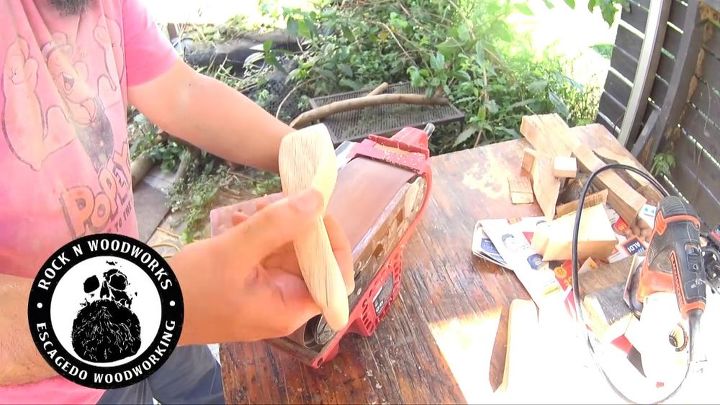
Taking shape
Now the shape is looking more like I want.
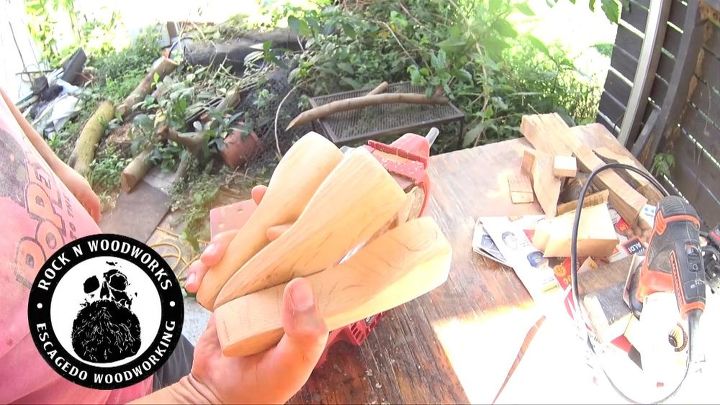
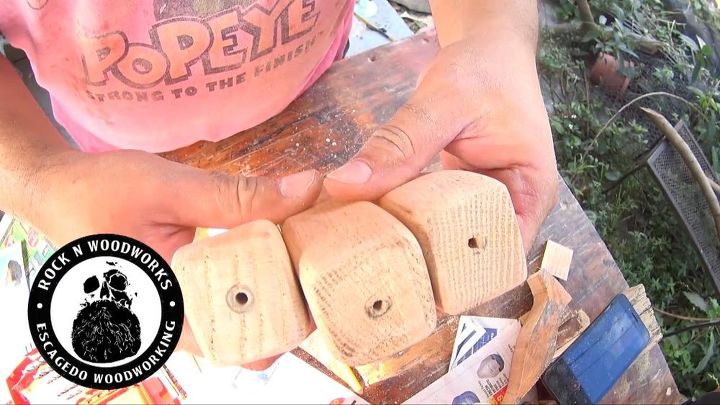
Batching out handles
By the way, I made a few at the same time. These are ready for the next step...
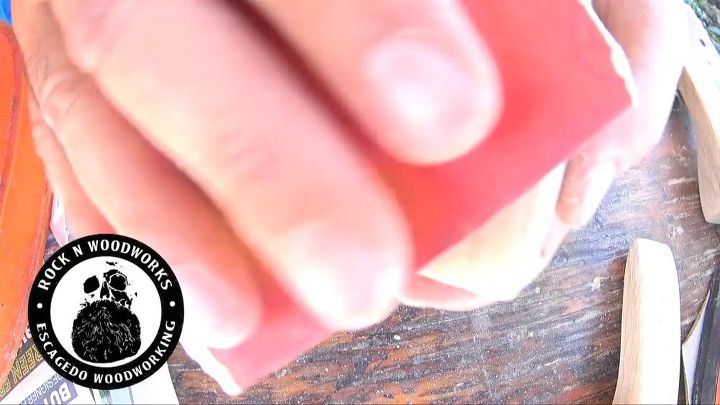
Hand sanding
I'll do a little hand sanding and then we can go to the next phase of this project...
Drilling holes for the nails
I drilled holes on the front of the handles. This will accept those nails I painted earlier. Let's show you that process next....
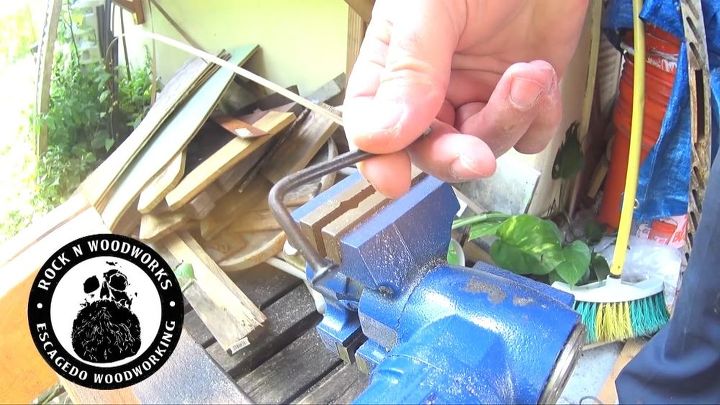
Bending nails
I used the vise to bend the nail. This will slide into the drilled out holes we made.
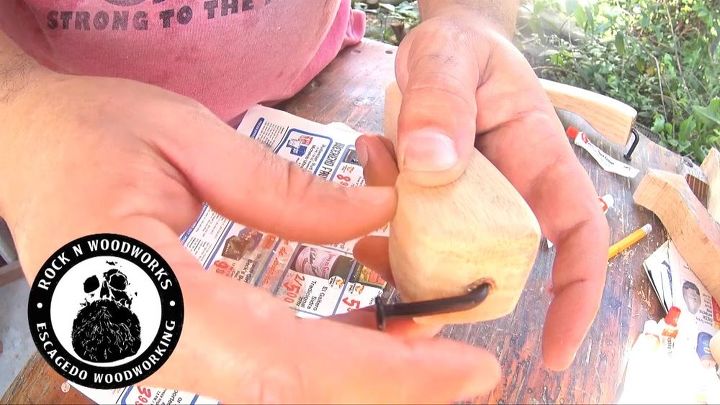
Epoxy and hardware
I mixed 2 part epoxy and filled the hole. Then I inserted the bent nail. We'll set this aside and let the epoxy cure. Let's move on...
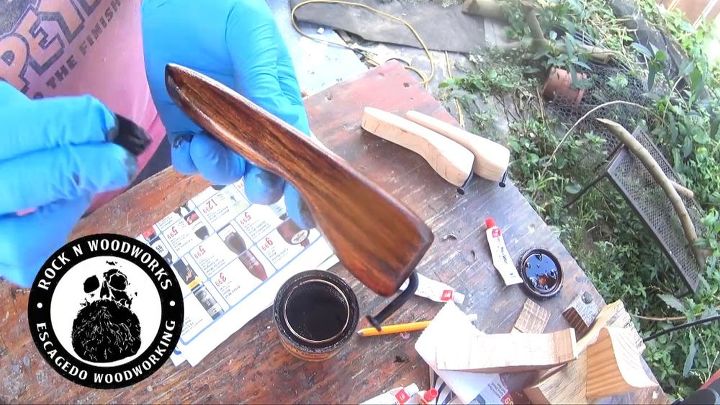
Staining the handle
I stained the handle and it really looks great! I'll just add a clear coat and we are done with this project. It's looking cool! Check out the finished piece....
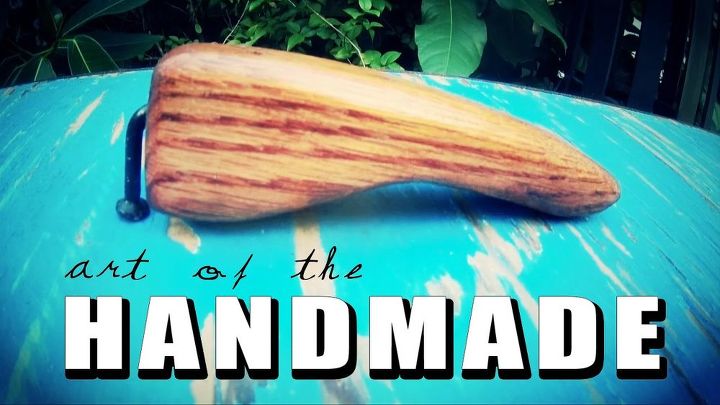
diy bottle opener
It looks great! I hope you liked the project. Check out the links and I'll catch you next time.
Comments
Join the conversation
2 comments
-
This is great! I loved it.
Neat how you did it.
My nephew likes to use wood and make things.
I was amazed how the nail worked.
Doing a great product.
Linda Gibbs
-
No, I don't have tools to do it.


Frequently asked questions
Have a question about this project?