


Painted Sideboard Buffet Cabinet From Plywood and Pine Boards

by
Ryan Hubbard
9 Materials
$250
5 Days
Medium
This is a sideboard buffet cabinet, or a simple stand-alone storage cabinet, made from plywood and pine boards. The counter top is a solid slab of maple, although it can be made from almost anything (such as dimensional lumber). There are two different videos on my YouTube channel to show how the cabinet was made separate from the slab counter top. I modified plans from Ana White, the original plans can be found here: https://goo.gl/PeSWzQ
{
"id": "4636479",
"alt": "",
"title": "",
"video_link": "https://www.youtube.com/embed/NDLslRMW5u4",
"youtube_video_id": "NDLslRMW5u4"
}
{
"width": 634,
"height": 357,
"showRelated": true
}
Watch the whole build process and subscribe to my YouTube channel! https://www.youtube.com/c/hubbardshandmade
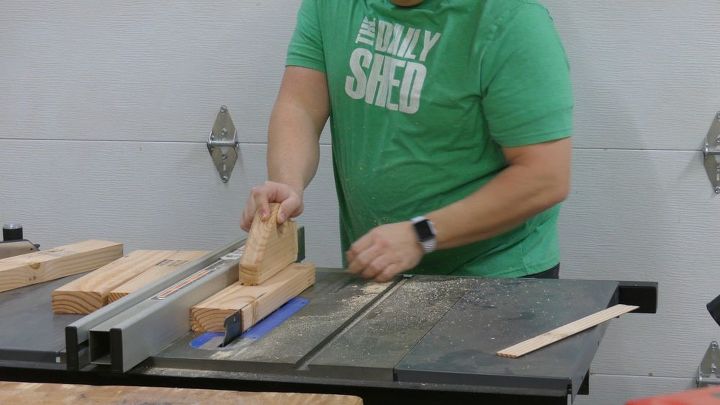
I'm starting with the sides of the cabinet. When working with 2x4 lumber, I usually start buy cutting the lengths I need then removing the rounded corners or planing the thickness later. That way I'm not struggling with 8 foot long pieces at the table saw or planer. I took my side pieces to the table saw to adjust the width and remove the rounded corners. I also cut my 1x4 pieces to length. These get pocket holes and are glued up into side panels.
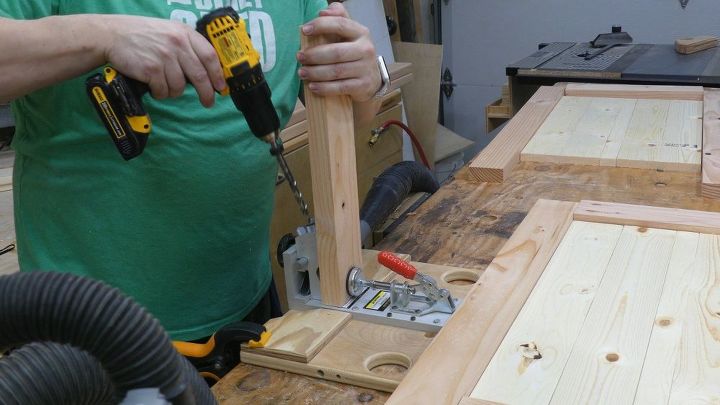
I laid out my sides to see where I need pocket holes, drill each piece and put it back in place to keep track as I go. Each joint gets glued the screwed. Clamps help prevent the pieces from separating as each pocket hole screw goes in. Then the glued up panel gets screwed into place.
Each side is set aside for glue to dry.
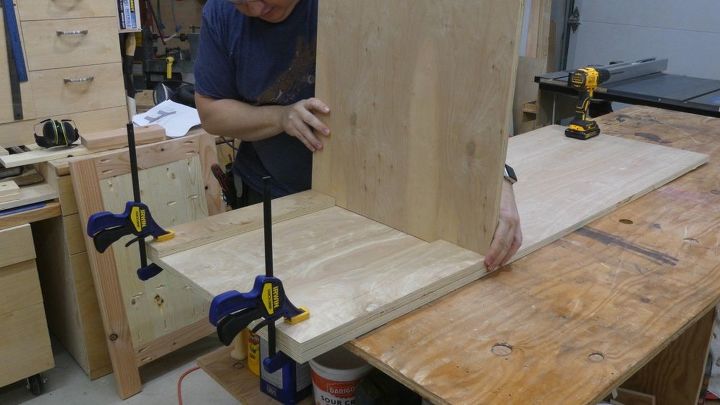
I used a home made straight edge guide to cut the plywood cabinet bottom and dividers. The small boards clamped on the end here will become the support at the back/top of the cabinet so I am using them to set the distance while screwing in the dividers.
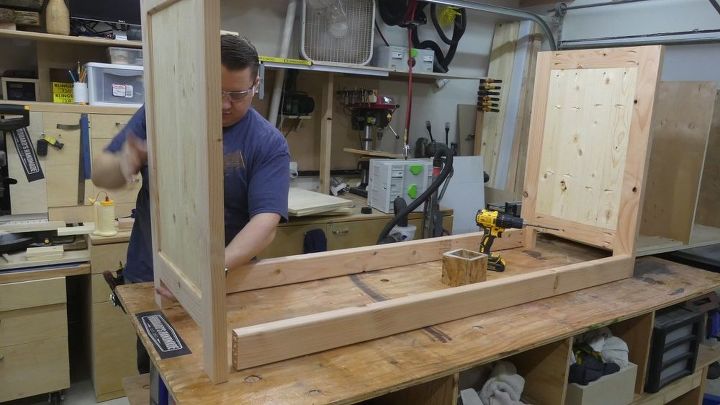
More glue and pocket hole screws hold the long stretchers to the sides. These 2x4s are only cut to length and do not need to be cleaned up because they will be covered by baseboard moulding.
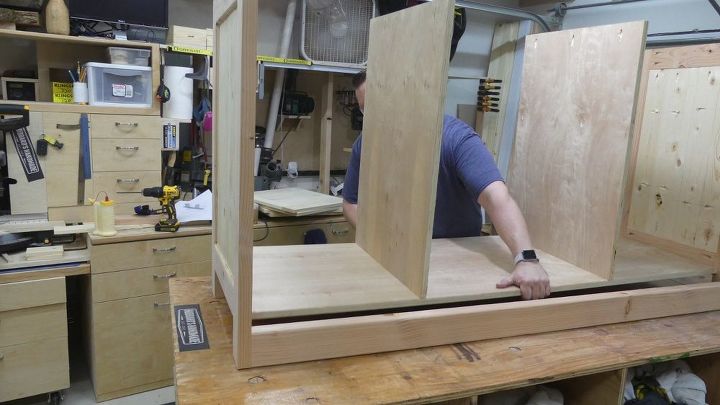
The plywood bottom then gets screwed into place. This could also be nailed down. The plywood dividers are connected at the back/top to the sides pieces by the narrow plywood support pieces as seen in other pictures.
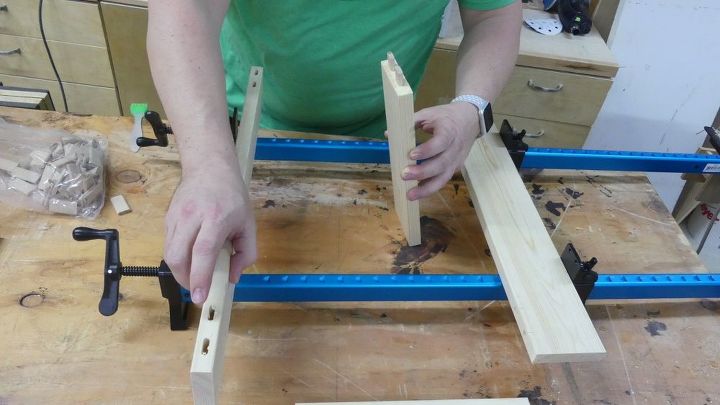
I used a Festool Domino Joiner for the doors but there are many options for making doors from pocket holes to mortise and tenon joints.
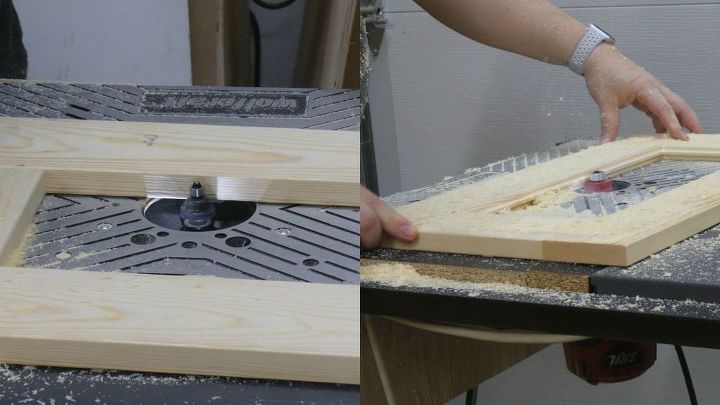
The outside of each door gets a round over at the router then each door is flipped over and the inside gets a rabbet to hold a panel. The panel can be plywood, but I used more 1x4 boards (planed thin) to keep a consistent look with the sides. I used European hidden door hinges which need a 35mm Forstner bit to drill two flat bottomed holes in the back of each door.
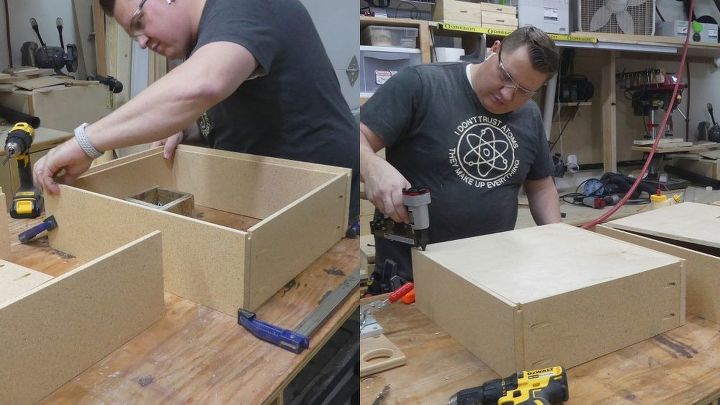
As with other steps, there a many ways of making drawers. These are cut from particle board and plywood, pocket holes are drilled on the back and front where they will not be seen due to the drawer front, then glued and screwed together. The plywood bottom then gets nailed into the rabbet at the bottom.
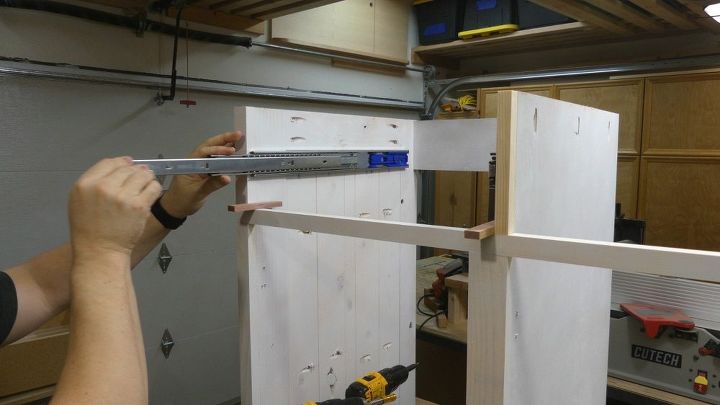
Pine boards are cut to size as front face pieces then nailed in place and the drawer slides installed. Care must be taken to ensure these are the same distance from the top (or bottom) so the drawer is level. I used spacers to hold up the drawer and screwed it to the slides.
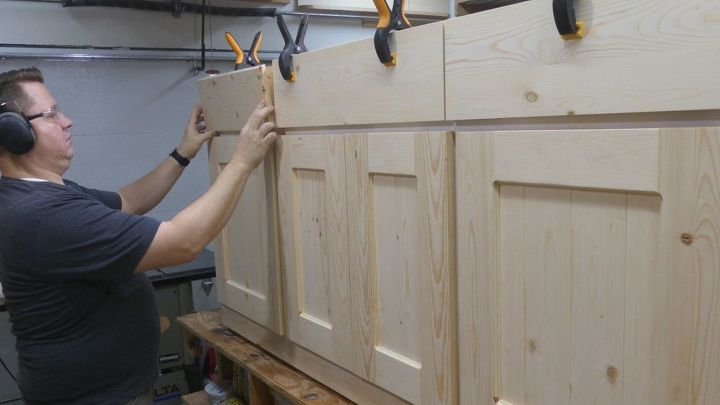
The doors were installed with European hinges and the drawer fronts cut from more pine boards. These were given the same round over as the doors to give a uniform look.
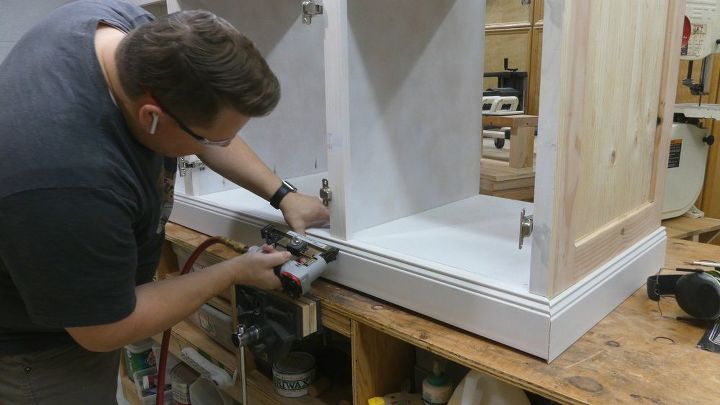
The moulding was nailed in place and a thin plywood back was installed to complete the cabinet. The doors and drawers were then taken off and the hardware covered with tape for painting.
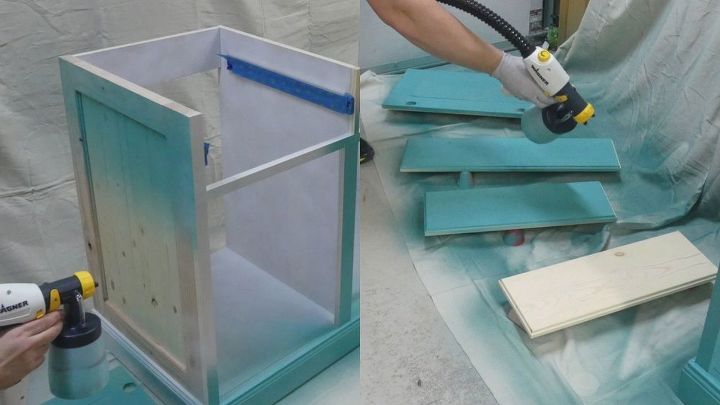
I used a Wagner paint sprayer which I find the EASIEST way to paint my projects. I painted everything inside and out the same color. After the paint dried I did my best to "weather" everything with flat black paint.
The hardware installed, the cabinet was moved into the house (without the counter top first as it was too heavy) then assembled. One of my favorite things about making my own furniture is that it can be customized to fit just what you need. I love how it fits on the wall space in our dining area!
{
"id": "4655528",
"alt": "",
"title": "",
"video_library_id": "7072",
"thumbnail": "https://cdn-fastly.hometalk.com/media/2018/02/06/4655528/painted-sideboard-buffet-cabinet-from-plywood-and-pine-boards.jpg"
}
{
"width": 634,
"height": 357,
"showRelated": true,
"noautoplay": ""
}
The hardware installed, the cabinet was moved into the house (without the counter top first as it was too heavy) then assembled. One of my favorite things about making my own furniture is that it can be customized to fit just what you need. I love how it fits on the wall space in our dining area!
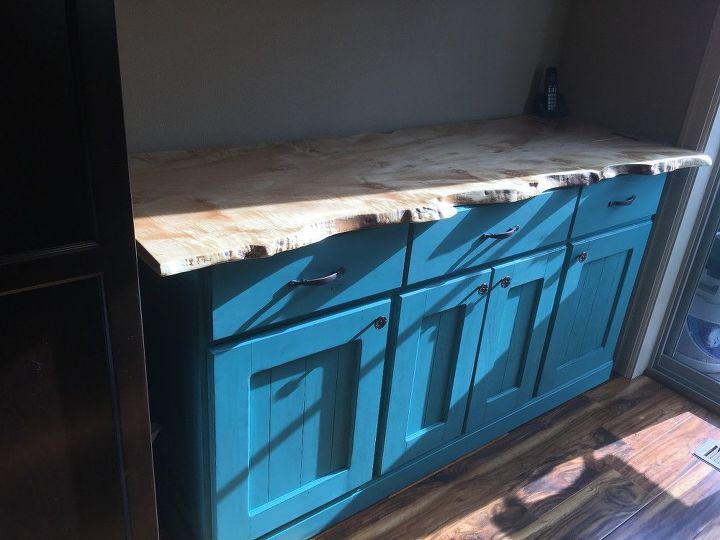
Here's how it looks finished, in the sunlight. My wife and I are SO happy with the finished product. Thanks for checking it out! Follow me here, and subscribe to my YouTube channel for more builds!


Frequently asked questions
Have a question about this project?