


The Super Simple Way to Recover a Chair Seat
2 Materials
$50
90 Minutes
Easy
Recovering a chair is an easy 15 minute project that any beginner can tackle. Here I teach you all of the basic principles of upholstery that you can apply to recovering a wide variety of furniture!
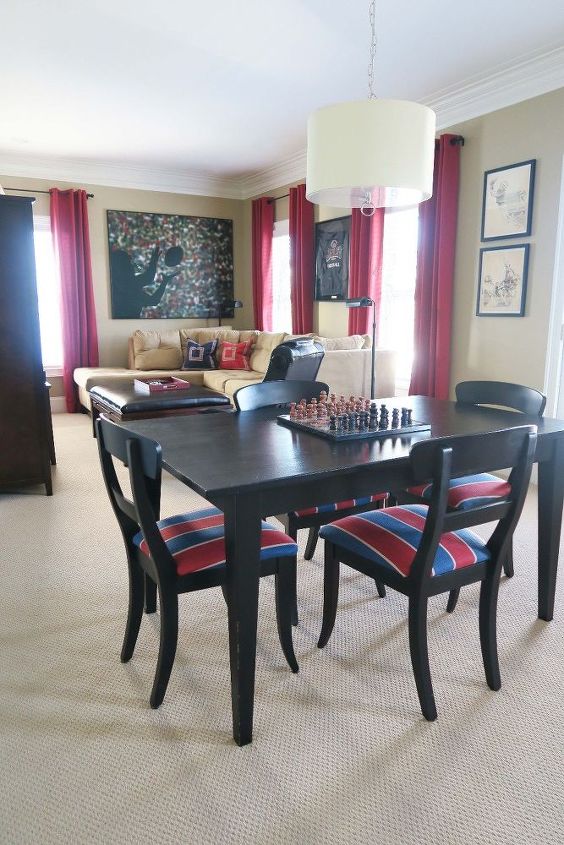
Here is the BEFORE and you can see that the chair seats are the only area upholstered on the chairs, so they are removable.
The table and chairs all were painted as well for this project from black to white.
Step 1: Flip over your chairs! Look for the 4 screws that are holding down the chair seat and remove to release the seat.
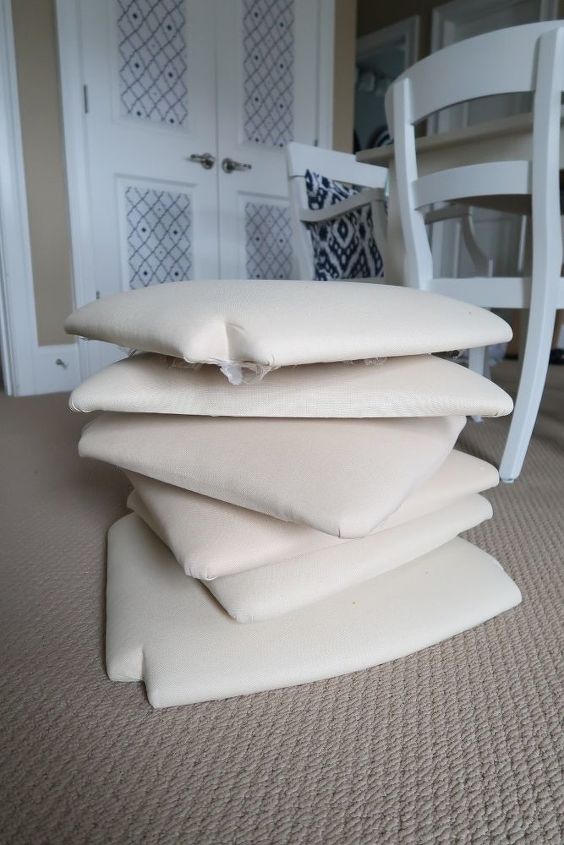
Step 2: Remove the existing fabric by pulling out all staples using a needle nose pliers.
Here are the seat covers with the red and navy fabric removed.
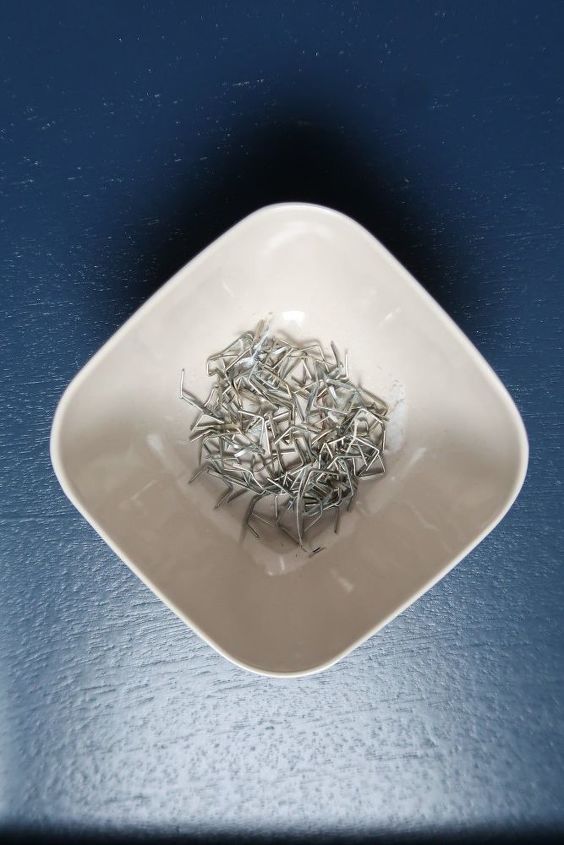
This is how many staples I had to remove from 6 seats! Get comfy in front of the TV during this process 
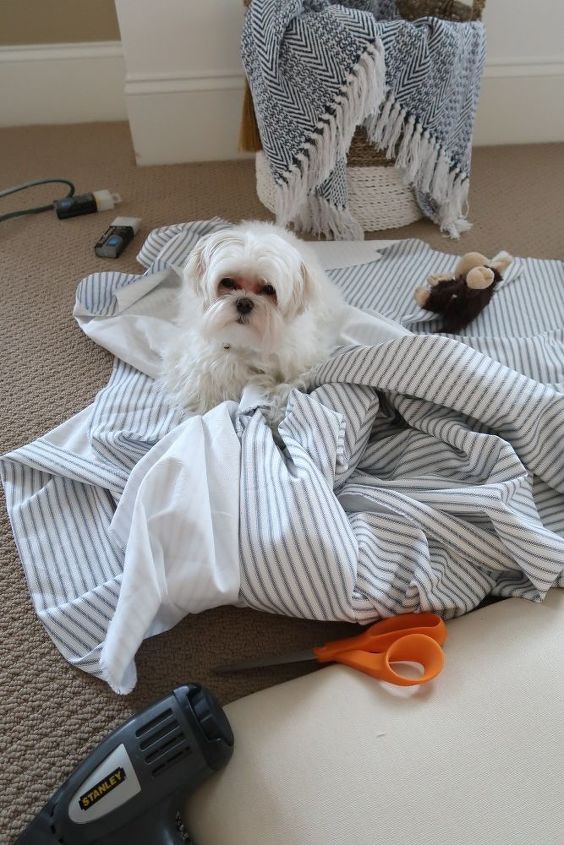
Step 3: Gather tools and layout fabric. My dog Mick thought it was the perfect space to lay.
- Place new fabric under chair seat and cut the fabric to leave about 6 inches around all 4 sides. I pull it up on each side to make sure I have enough room to add staples.
Step 4: Trim off excess fabric and place one staple on one side to hold fabric in place.
Flip over and make sure it's straight and then add a staple on the opposite side.
This helps to keep it secure as you work on the corners.
DON'T ADD ANY MORE STAPLES AT THIS POINT.
Step 5: Starting with the front corner, pull it straight up from the point and secure with a staple that is centered on the point.
If you have a cut out area like mine does for the chair legs, you pull in exactly the same way and secure in the middle with a staple
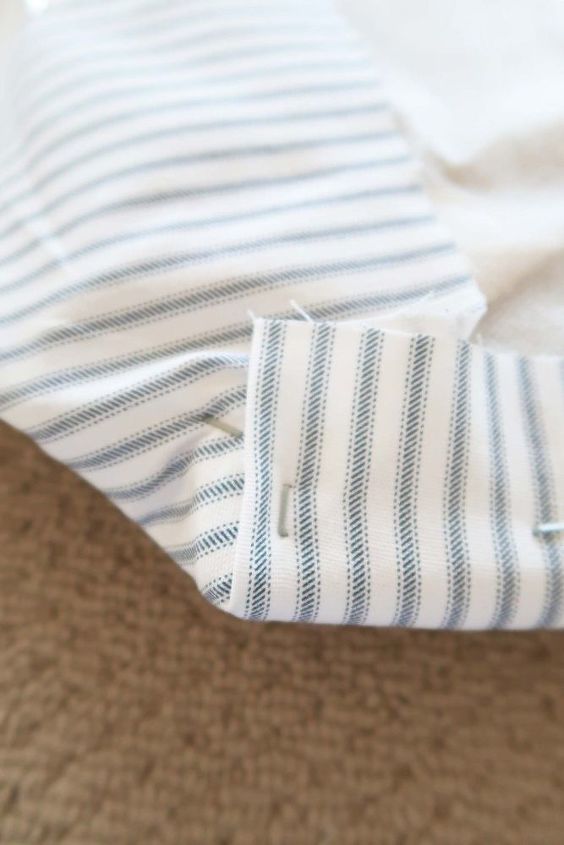
Step 6: Then, folder over and secure each side like when you make a burrito or swaddle a baby :)
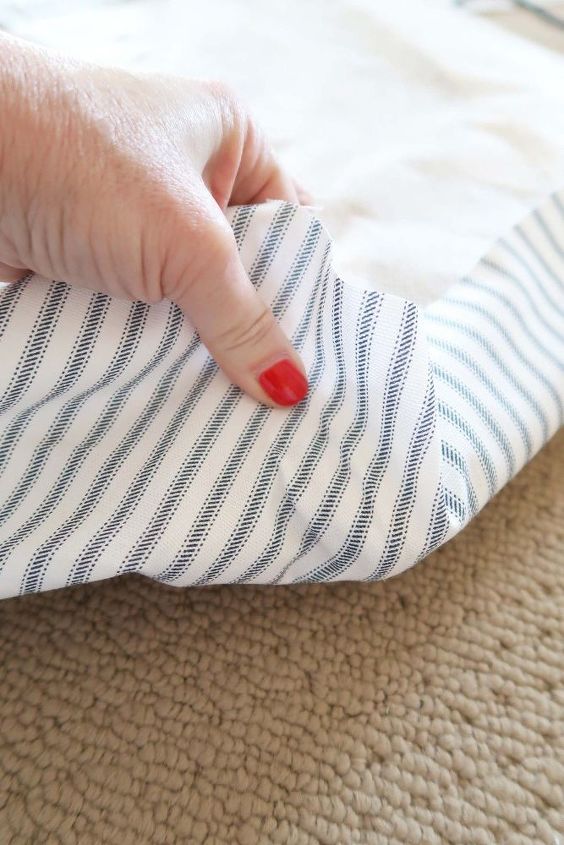
Step 7: Trim off excess fabric in the corners as you go. Pull to make sure you have enough to staple down!
Folding in the corners leaves a lot of excess fabric and in order to secure the seat to the chair it's important that everything is nice and flush.
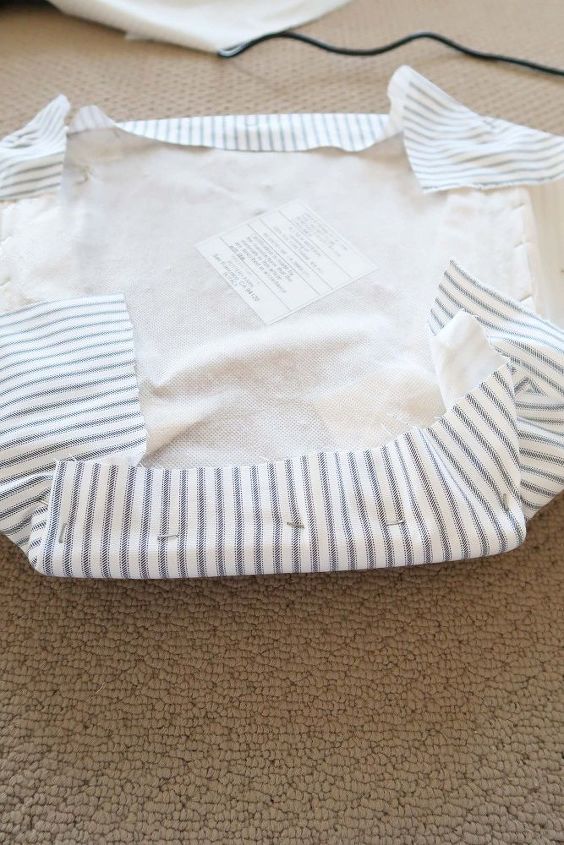
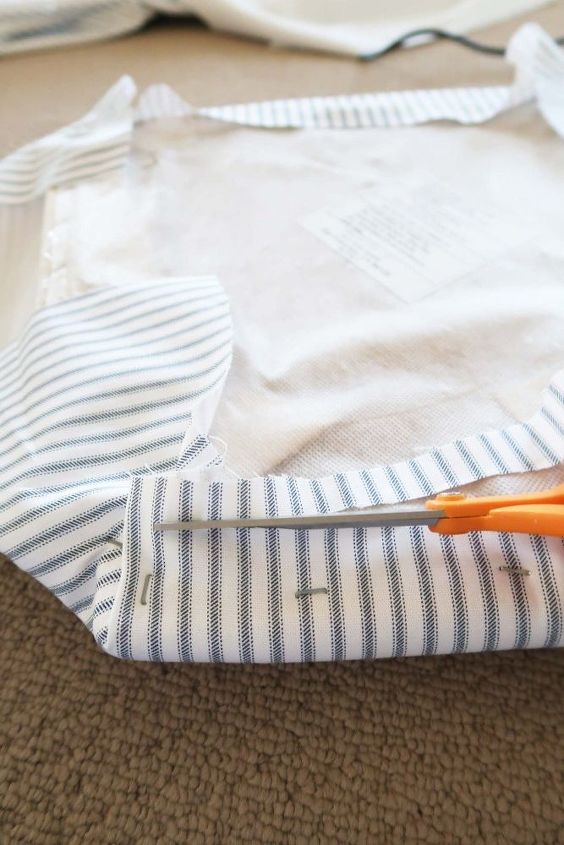
Step 8: As you get one corner done, pull and staple down the sides and ends.
Keep flipping over to make sure the fabric is taught against the seat. If you have to, pull out staples with needle nose pliers and adjust and re-staple.
You CAN'T make a mistake!
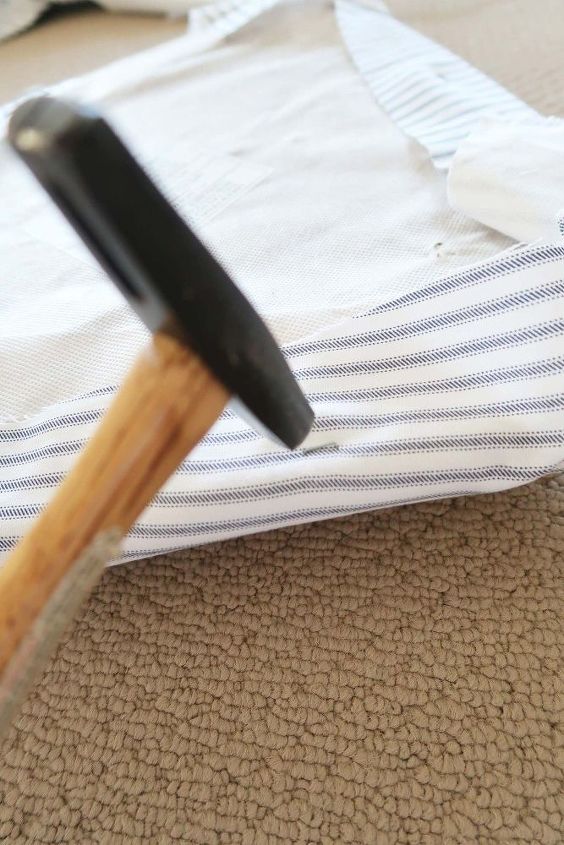
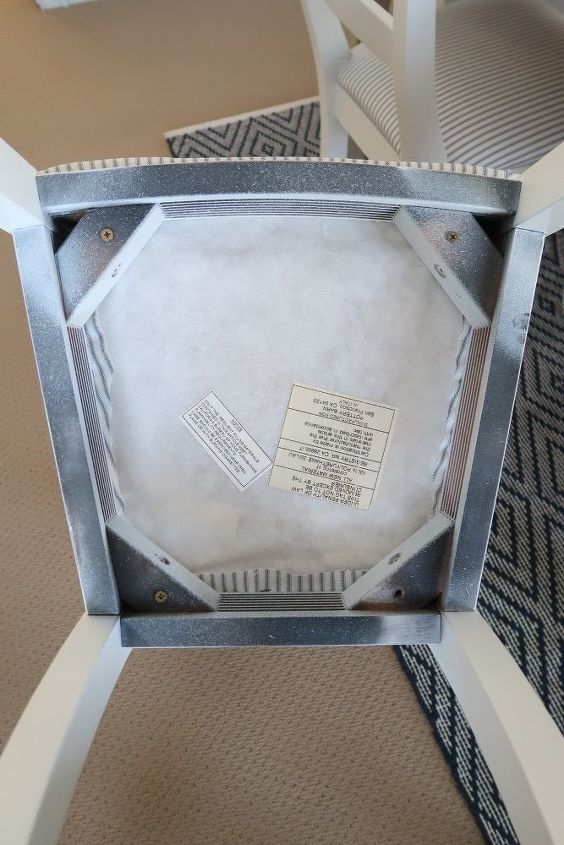
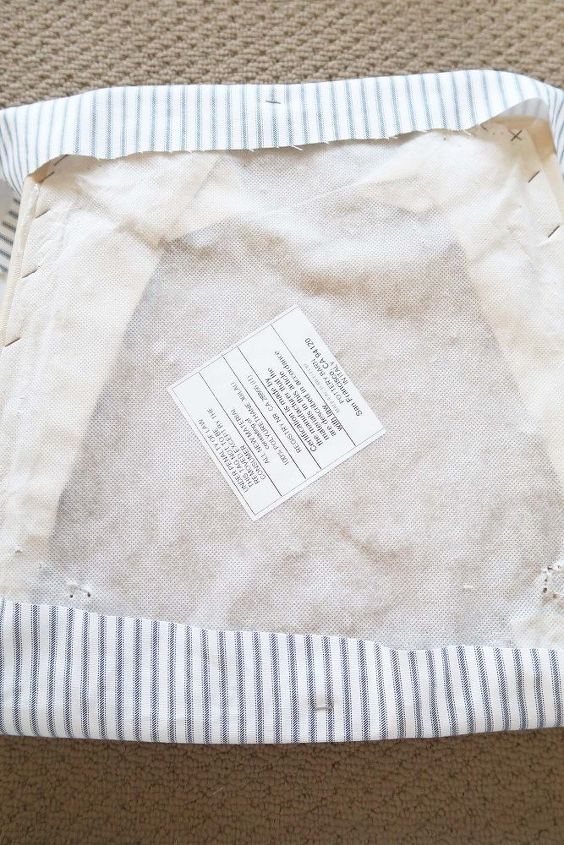
Step 9: Go around and pound down all staples so they are flush and secure.
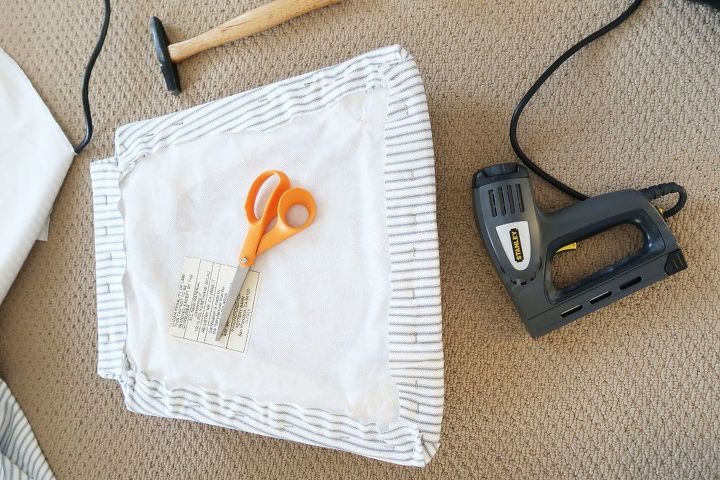
This is what it will look like underneath when it is complete!

Completed project!
Please visit my website for more project ideas, home decor trends, and stuff that makes life better!


Any price and availability information displayed on [relevant Amazon Site(s), as applicable] at the time of purchase will apply to the purchase of this product.
Hometalk may collect a small share of sales from the links on this page.More info

Want more details about this and other DIY projects? Check out my blog post!


Frequently asked questions
Have a question about this project?