


Bedroom to Craft Room

2 Materials
$200
8 Days
Medium
When we moved to Florida, I had the opportunity to create my own craft/sewing room. The bedroom had really good bones, a whole wall of bookshelves and cabinetry with a built in desk/dressing table with mirrors. The floors are ceramic "wood" 6' x 24" tiles, perfect for rolling chairs and clean up!
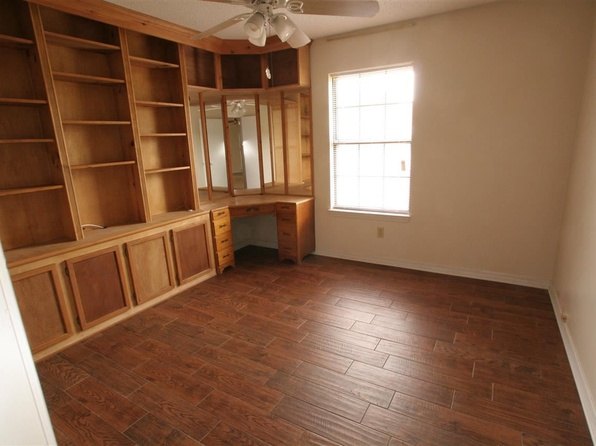
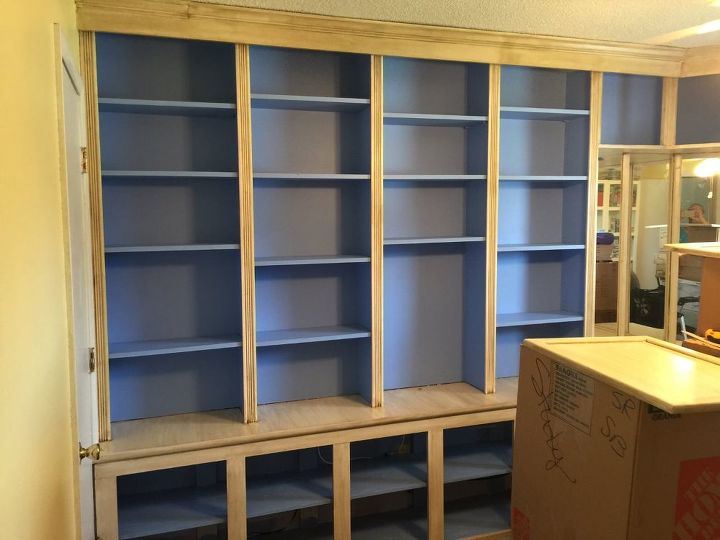
Here was my blank slate! First step was to refinish the unfinished shelves and cabinetry. My first step was to paint the walls a lovely pale, but sunny yellow.

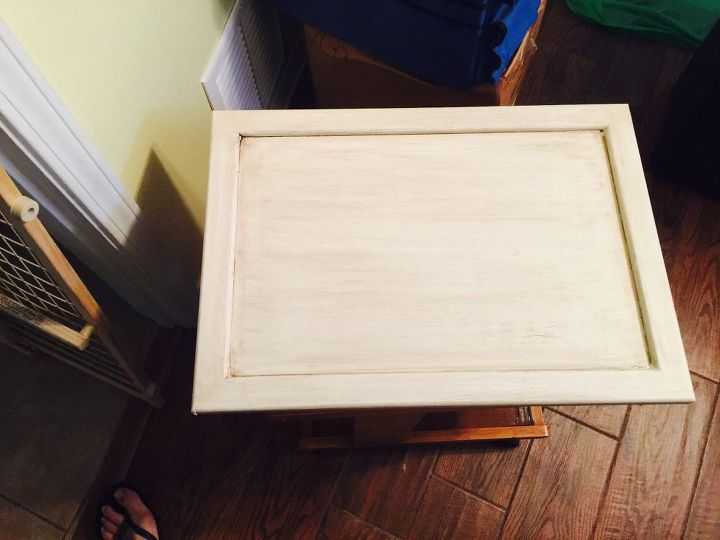
First step is to remove all the cabinet doors numbering with painters tape from left to right. Also removed all shelves. Dust down the entire unit to be sure it is as clean as possible. I used Rustoleum's Refinish product to avoid having to strip and sand. In this case, there was no finish. I wanted to try this product with the idea of redoing my kitchen cabinets down the road.
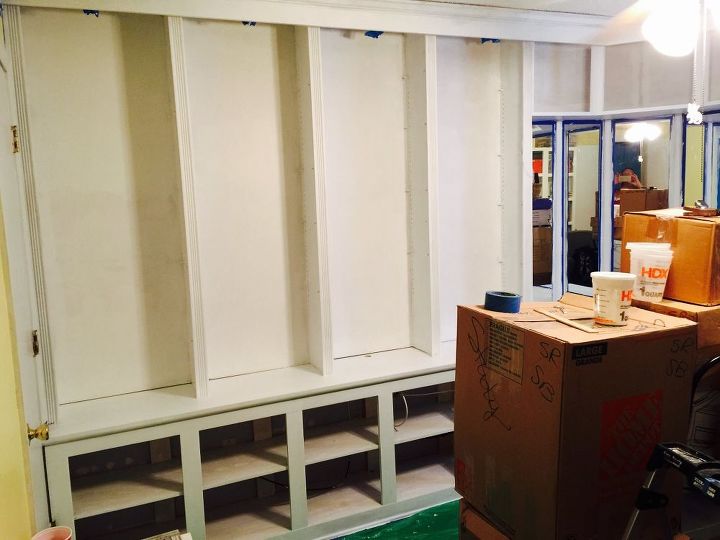
Next I painted the base coat of the Rustoleum on the wall unit.
Then proceeded to paint the fronts and backs of the doors. Give ample drying time. I painted the backs first so that when I flipped them, if they weren't quite dry, the smudges wouldn't show, but since I wasn't on a tight time line to be finished, this wasn't a problem.
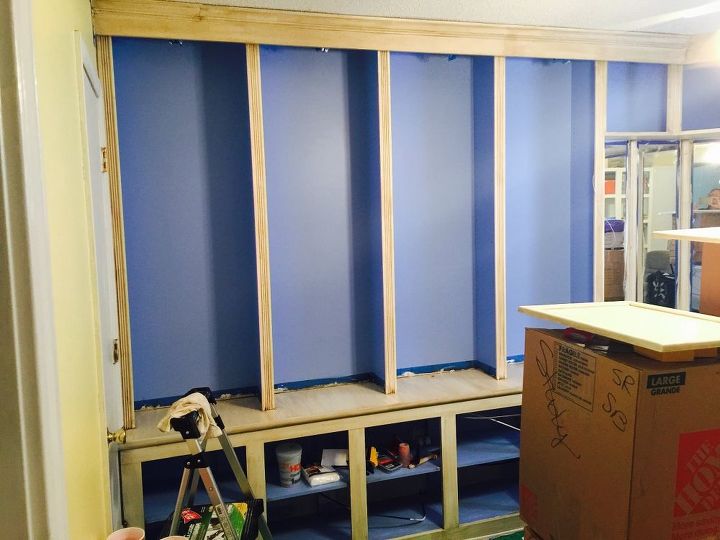
Next, I painted the interior wall and shelves blue. The next step involved applying the glaze. Rustoleum provides really good instructions, and all the materials needed. I did however, purchase an extra package of cheese cloth for the glaze application.
Here you see all the shelves have been placed back.
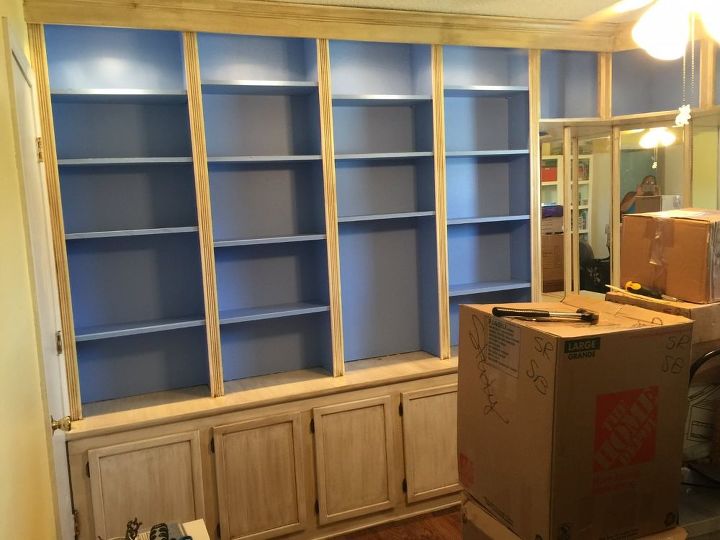
Reattach the cabinet doors. At the top you might note it looks lighter, this is due to the lights that are installed at the top edge of the cabinets.
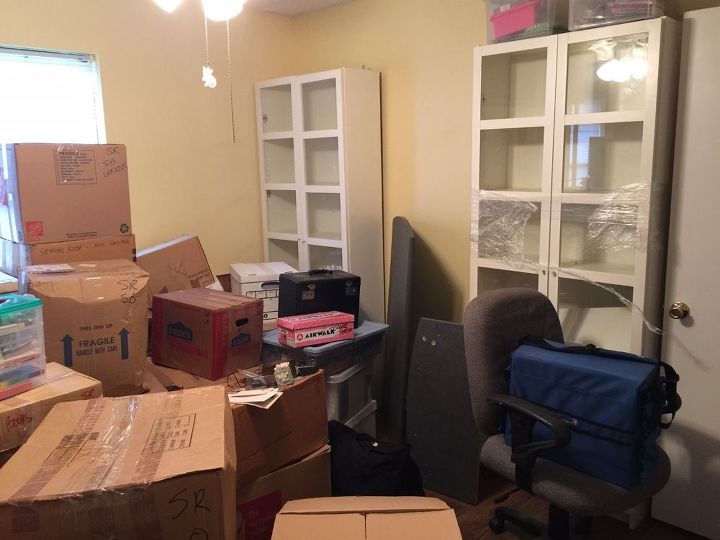
As you can see, I have ALOT of stuff that has accumulated from 40+ years of quilting, sewing, and now scrapbooking! LOL! These book cases are from IKEA, the Billy Book cases. I secured the tops to the wall with L brackets into molly bolts. Between them is a book shelf which you'll see in the final pics.
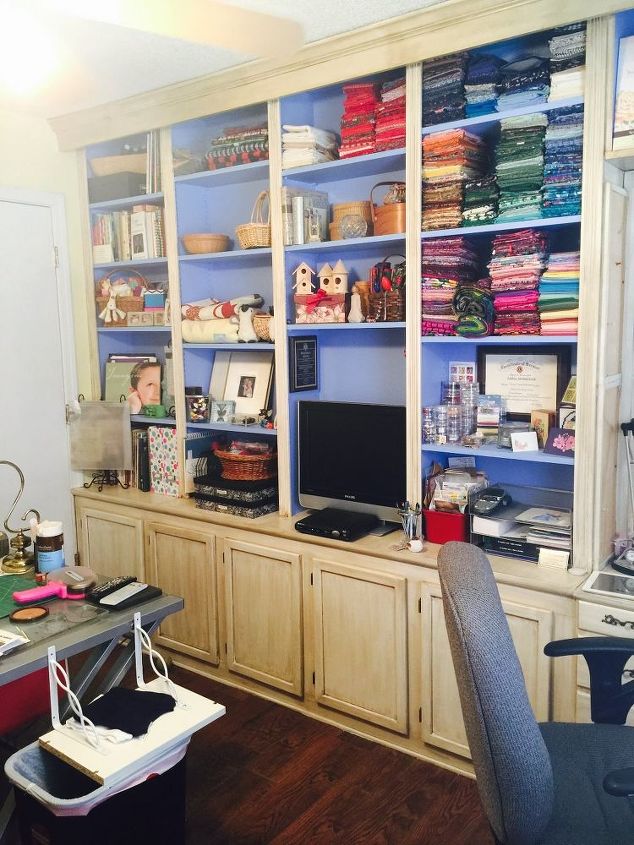
Here is the final product, filled with fabric, supplies, books, keep sakes, and a TV just in case.....
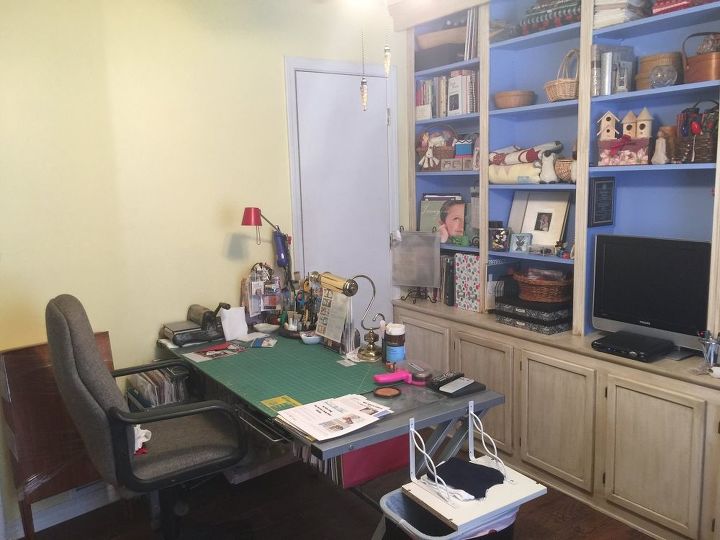
At first, I didn't think my desk would fit, but it does, just perfectly. on the wall above I moved my Recollections shelf to store my inks, glues, ribbons, some stamps, and glitters.
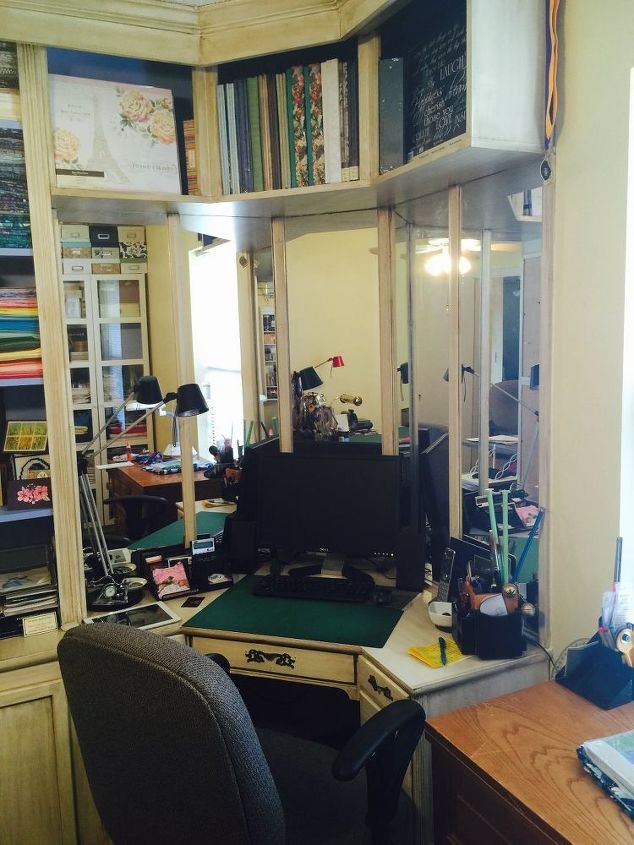
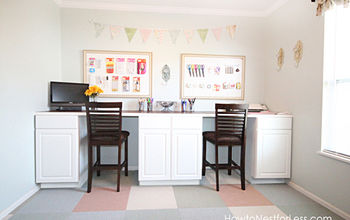
Here is my desk with my computer. I left the mirrors, but may replace the two outside mirrors with cork board for an inspiration board, or quilt piecing.
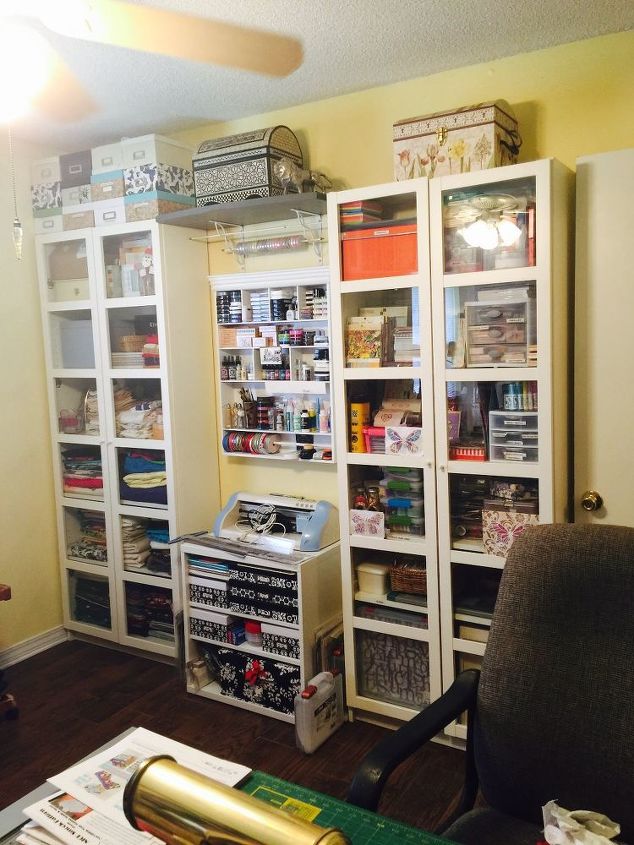
Directly across from the cabinets are my Book cases, and storage. Beneath the book shelf are small curtain rods on which I can store ribbons and other supplies on hangers. I did move the little Recollections shelf to the wall above my desk and replaced it with a deeper Recollection cube with 6 cubbies.
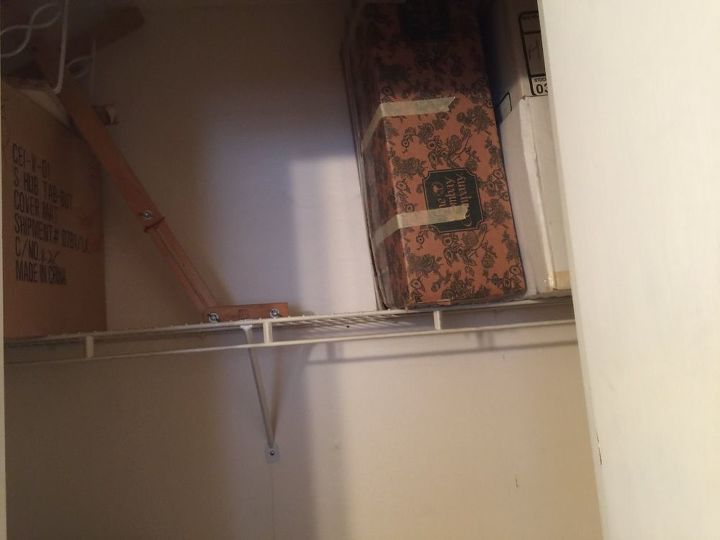
In the standard closet, I removed the wire shelf from the top back and cut and installed metal wire shelves (from previous house) on each side to store more fabric, patterns, and misc. supplies. Here you can see a bit of the closet revamp.
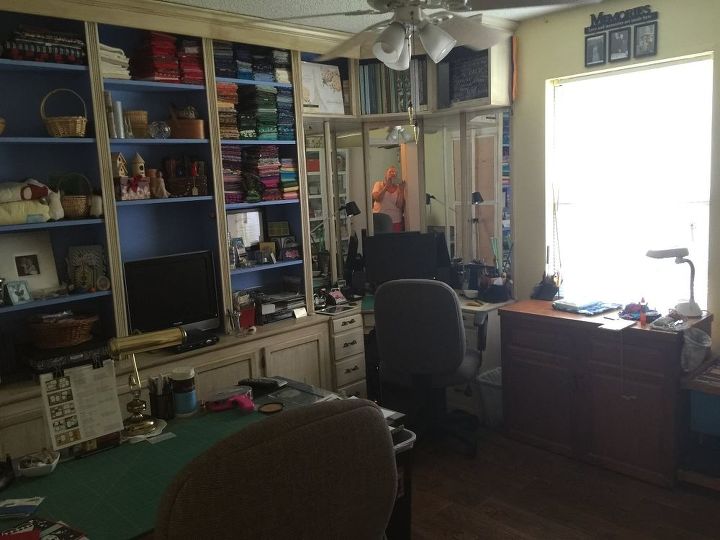
Here is a picture of the room finished. A little on the dark side due to the light from the window. I placed my sewing machine cabinet in front of the window. When opened my serger and portable Ironing board all have a place to be used. I'm very pleased with how it turned out and is very workable.
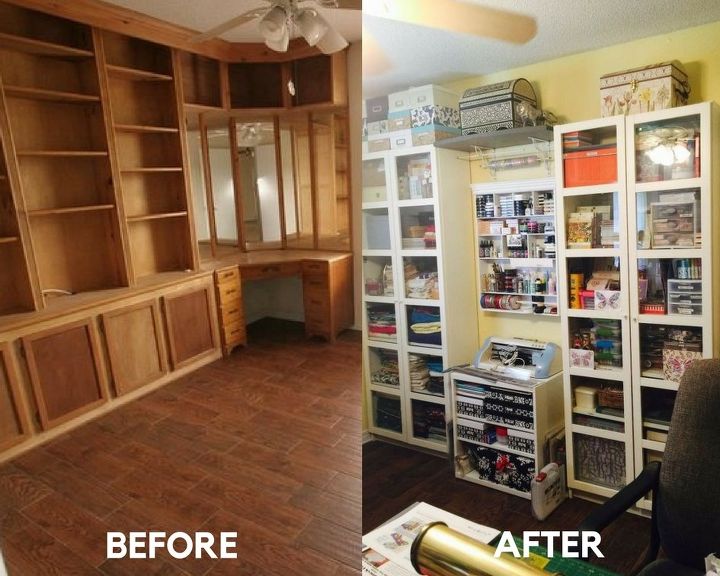
Here you se the built in's before they were refinished, and the opposite wall with the added IKEA and Recollections shelving installed. Very happy with the room. The key for me is to be able to see my supplies. If they are hidden (like in the bottom built ins) I often forget they are there. I think I may, sometime in the future, take the center panels out and replace with glass, still haven't decided on that as yet.
Comments
Join the conversation
2 comments
-
The room is a dream come true!
-
So jealous!


Frequently asked questions
Have a question about this project?