How to Use Milk Paint

by
Holly Conway
(IC: blogger)
3 Materials
$40
2 Hours
Easy
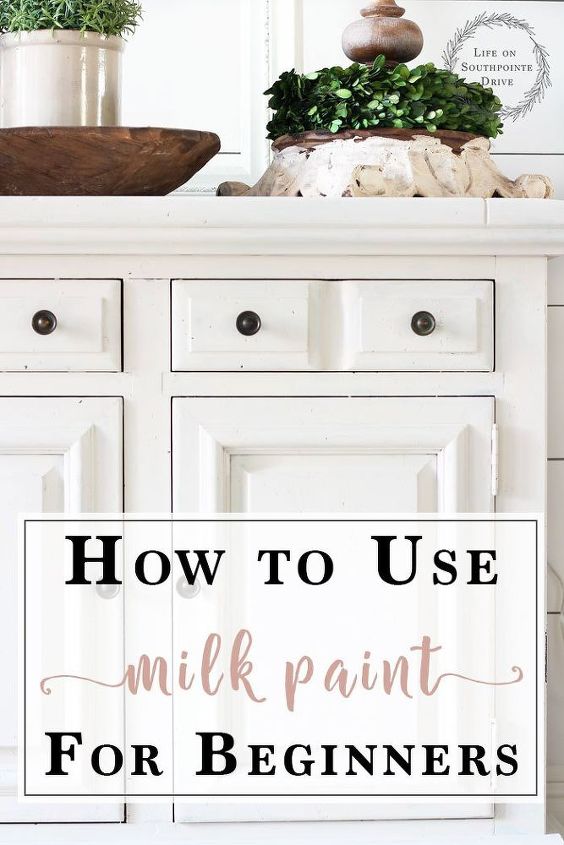
Looking for a way to get that naturally distressed finish? Milk paint may be your solution! Be sure to check out the Milk Paint for Beginners tutorial below for a quick and easy furniture transformation.
I am a sucker for a good furniture makeover....is there anyone else out there that feels me on that?! You can turn even the ugliest piece of furniture you find on the side of the road into something breath taking just with a little coat of paint. As some of you may know I am usually a major lover of chalk paint, and I still am. Some of my favorite DIY projects have used chalk paint like this Restoration Hardware inspired chandelier, these awesome book transformations with chalk paint, and this upholstered chair! I am still a lover of chalk paint and always will be, but lately I have found room in my heart for some milk paint love! Depending on the look you are going for, depends on which one you want to use. I will walk you through all of that in this Milk Paint for Beginners tutorial.
First lets talk about a little history of milk paint....
Milk Paint is one of the oldest forms of paint around. Some of the oldest buildings in the world were painted with some form of milk paint. This paint even goes back into the days of cave wall painting and the pyramids! ;-) The way milk paint gets its name is that it is made out of casein, the protein that you find in milk. In order to make the casein (which is the base of milk paint) into milk paint it is also mixed with chalk, clay, oxide, and limestone. Milk paint comes in a powder form which makes a lot of people nervous, and uneasy (I was one of them), but it really is such a simple paint to use.
So why would I choose milk paint over chalk paint? Well, milk paint is going to be my go-to when I want a piece to look authentically old! Over time if left unsealed, milk paint will naturally chip away to make a beautiful naturally chippy finish. So you're thinking, Holly you say this is easy but just how easy? Well let me walk you through this milk paint tutorial for beginners! Just so you know, the paint I use in this tutorial is Miss Mustard Seed Milk Paint, and I love it!
How to use Milk Paint:
1) Mix it up - this paint really is hard to mess up. I think a lot of people are scared because they have never mixed dry paint before. It's really simple.
- First pour a small amount of milk paint into a mixing bowl or cup. If you're painting something small, start out with 1/2 cup, for something a bit bigger start with 1 cup of milk paint.
- Next add equal parts water. Meaning if you added 1/2 cup of milk paint add 1/2 cup of water.
- Mix it up well. I usually use my wooden spoon, but will sometimes use a small blender just to make sure I get all the lumps out.
- The paint will naturally be thinner than other paints and will feel pretty watery. Sometimes you will need to add more water or milk paint to get the consistency that you're looking for, but remember it should be a bit watery.
- Chances are it will have small lumps and that is ok.
- Let the paint sit for about 15 min to thicken up a bit.
2) Sand off your furniture - While the paint is sitting for the 15 min, this is when I will start sanding the piece. Unless you are painting directly onto raw wood, I always give my piece a light sanding before painting. I am only wanting to scruff if up to get off the shiny and let the paint adhere better to the wood. A little tip if you're wanting your piece to be really chippy is to sand more in areas that you want to paint to stick better and less in areas that you want the paint to chip off.
3) Time to start painting! - Your paint has sat for about 15 min and you have sanded down your piece of furniture and now is the time to start painting. You really don't need to have a great technique with milk paint. I love how forgiving this paint is and you can just brush it on in even strokes. I usually use a chip brush for this. The color I am using is called marzipan and it is the perfect creamy color with a tint of gray!
4) Let it dry - Let this be a warning that after your first coat of paint, you are going to hate it! It will not look like you're expecting and you will think you've ruined it, but trust me, after you apply that last coat it's a world of a difference. Here is what mine looked like after the first coat.
5) Apply the second coat - I usually only apply 2 coats, but some will apply more. For me the second coat usually does it. Sometimes I will lightly sand down a few spots between coats depending on if there are any lumps. As you're applying the second coat you're really going to see this piece come together! Here we are after the last coat.
6) To seal or not to seal - I decided to let mine sit unsealed for a while so it would start to naturally chip away with me helping it a bit along the way. I know you all are wanting to see that right now, but I will be bringing that process to you soon! If you decide you want to have it like it is then you would want to seal it with some clear wax or other furniture sealant. And you're done!
Enjoyed the project?
Suggested materials:
- Miss Mustard Seed Milk Paint (Amazon)
- Chip Brush (Amazon)
- Sanding Sponge (Home Depot)

Want more details about this and other DIY projects? Check out my blog post!
Published February 26th, 2018 10:22 PM
Comments
Join the conversation
2 comments
-
 Zac Builds
on Feb 27, 2018
This is my first time ever hearing about Milk paint, thanks for the tip. Now I need to think of a project to use it on!
-








Frequently asked questions
Have a question about this project?