


From a Dated 90's Finish to a Stunning Modern Finish!

6 Materials
$100
5 Days
Easy
The lady I purchased this set from said it had been her husband's set since he was 12. It definitely had a 90's vibe to it. I decided to go out of my comfort zone and try a modern monochrome finish on this set. Do you think I accomplished it? I love the finished pieces, and the young lady that purchased them does as well.

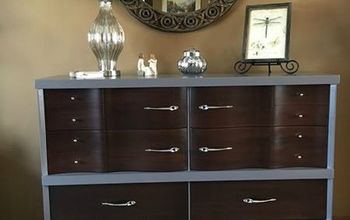
This is the way the pieces looked in their old home. Well used, but just outdated.
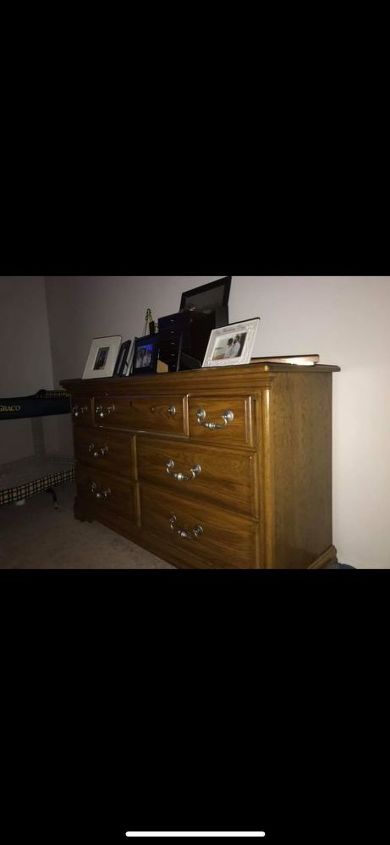
You can tell the pieces served their owners well, but they just wanted something different.
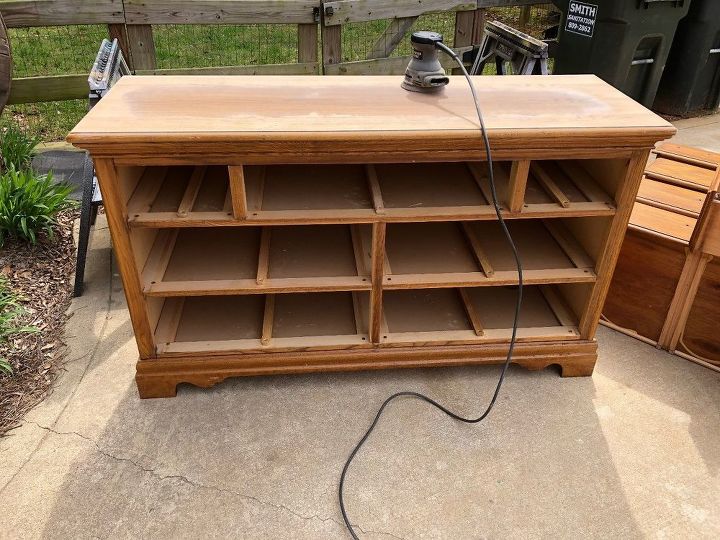
Prep work! Never the fun part, but always necessary. Wash down if needed, and let the sanding begin. Here you can see the dresser being sanded down. Each piece had to be sanded. The top sanded down to bare wood so I could stain them, and the bases roughed up so I could paint them out. I rely on the orbital sander for the parts I want to stain, but use my mouse sander or sandpaper for the parts I need to rough up.
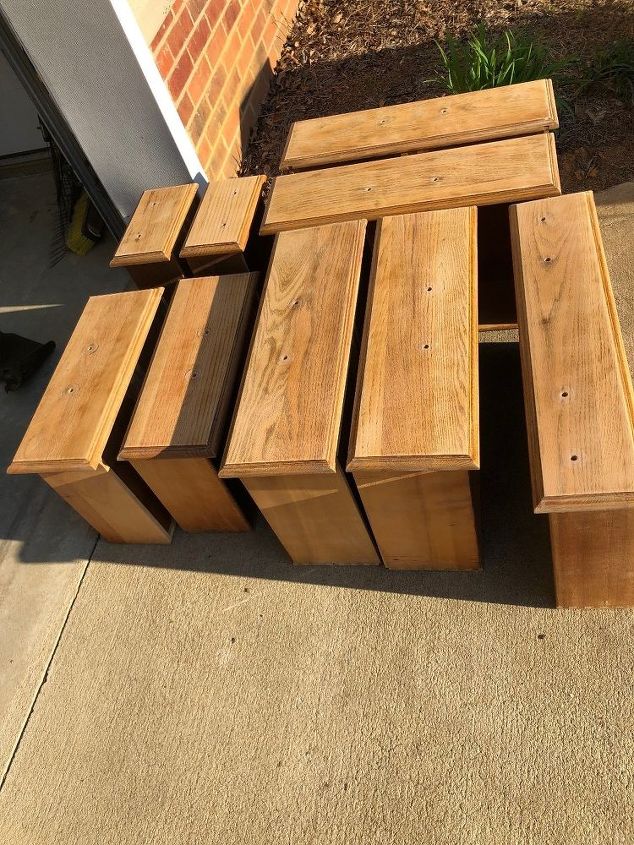
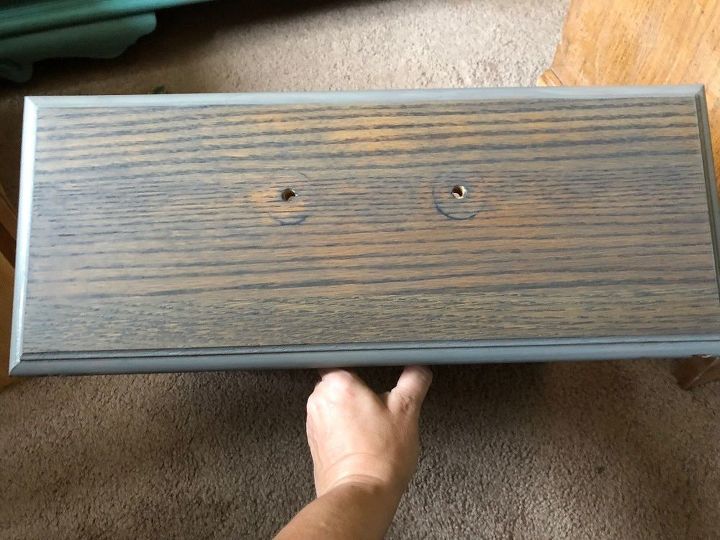
All the drawer fronts had to be sanded down as well! Now for this set, I opted only stain the front panel...you will see what I had in store for the border.
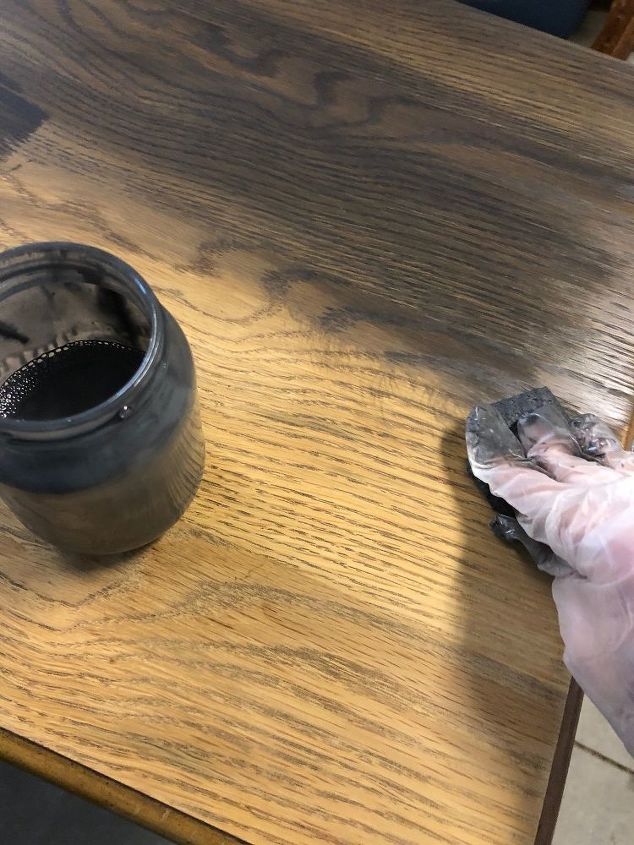
I knew I wanted a grey stain, so I mixed up three parts minwax classic gray with one part minwax ebony. I apply stain with a paper towel, as you can see here.

Chalk paint time! I had Lowe's mix me up a quart of Valspar "Chalked" paint in a nice black. Every piece got three coats of chalk paint. I give a light sanding with a 320 grit sandpaper in between each coat to give the final product a nice soft finish.
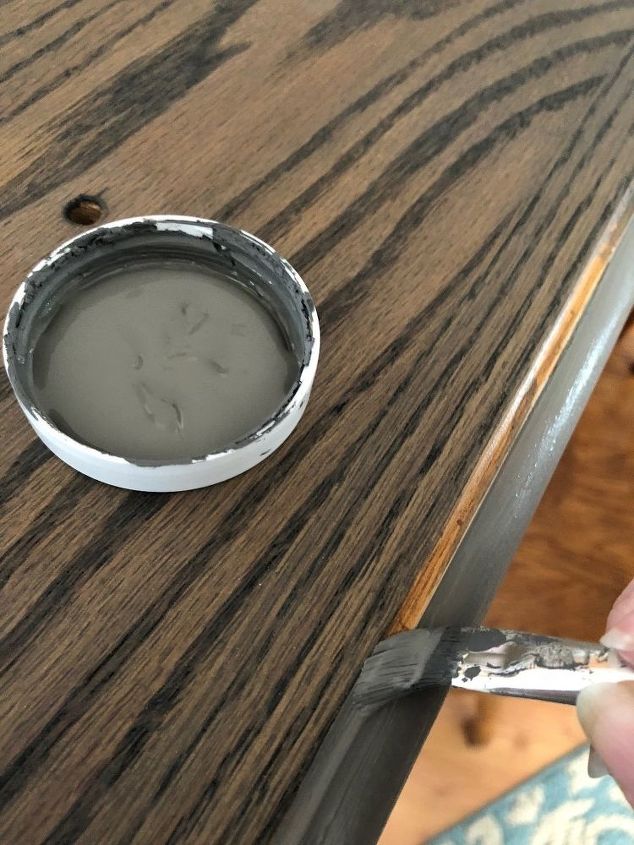
Remember when I said I had something in mind for the borders of the drawers? Well, I mixed some dark gray chalk paint with a bit of white (I had both on hand, otherwise I would have bought a lighter gray). I could have taped off the stained part...but 14 drawers...so I sucked it up, grabbed a small artist brush, and went to town.
After stain and paint...poly it all up! I prefer poly over wax. So, I quit using that pesky wax. I use wipe on poly, wipe it on with a lint free cloth, allow it to dry to the touch, and add additional coats as necessary! I usually do 3 coats on the tops to help provide good protection.
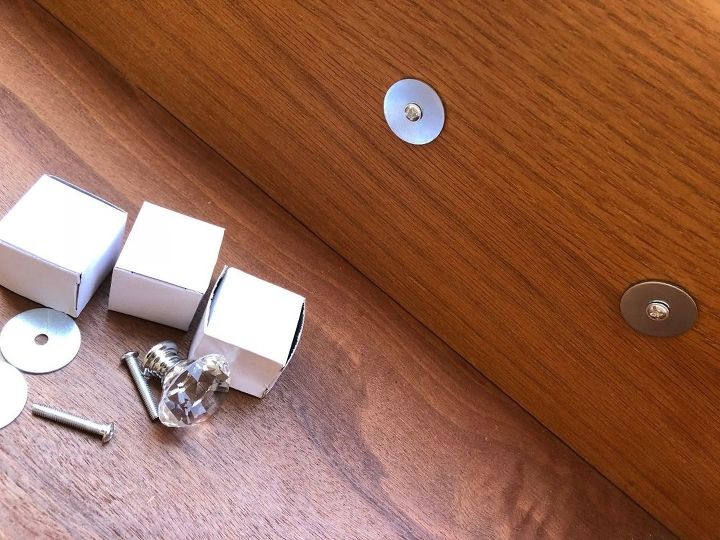
Since this set was missing some hardware, I ordered some new knobs! Sadly the screws that came with the new knobs, had really small heads. *sigh* rather than buy all new screws (I had a total of 40 knobs to attach), I grabbed a small pack of washers, and improvised!
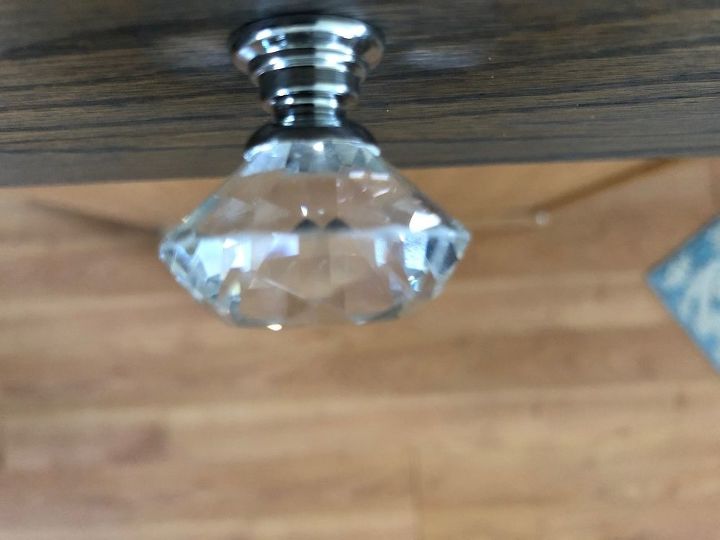
Look at these super cute knobs! With the monochrome color scheme, I wanted a little bling!
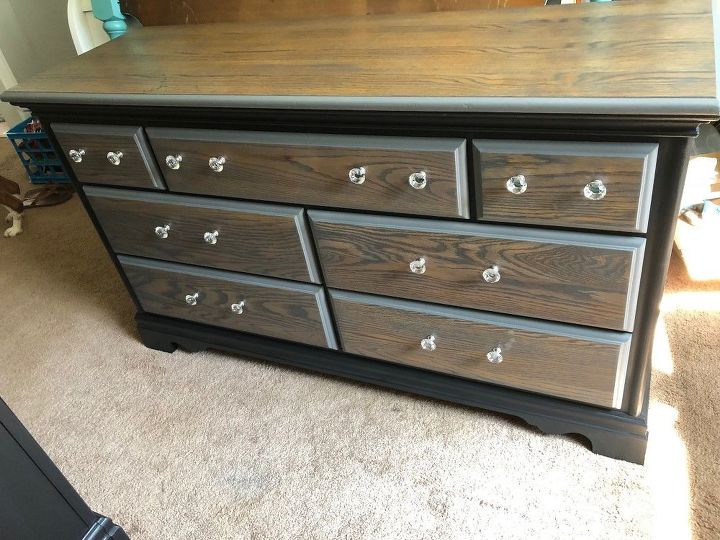
All wrapped up! These pieces turned out so nice!
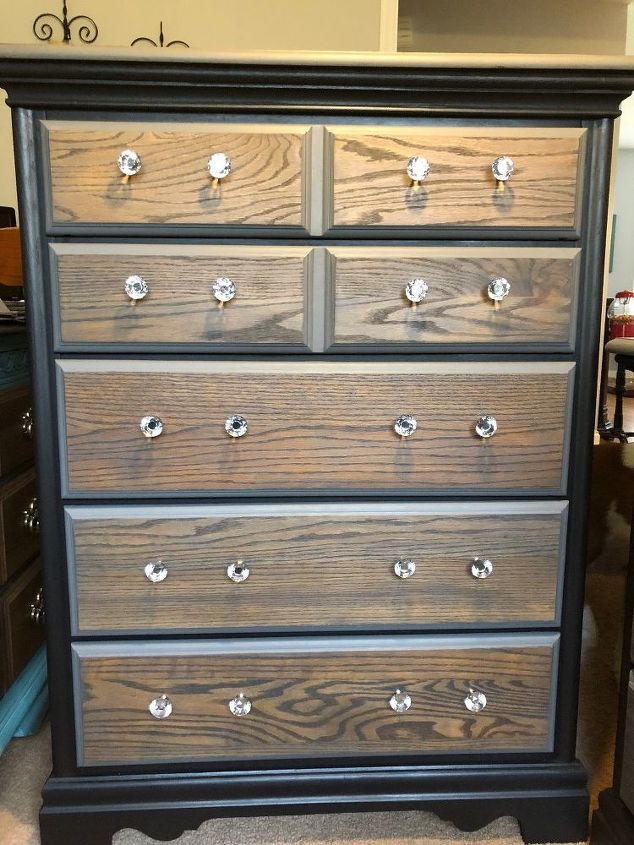
Who would know these bad boys were from the 90's?
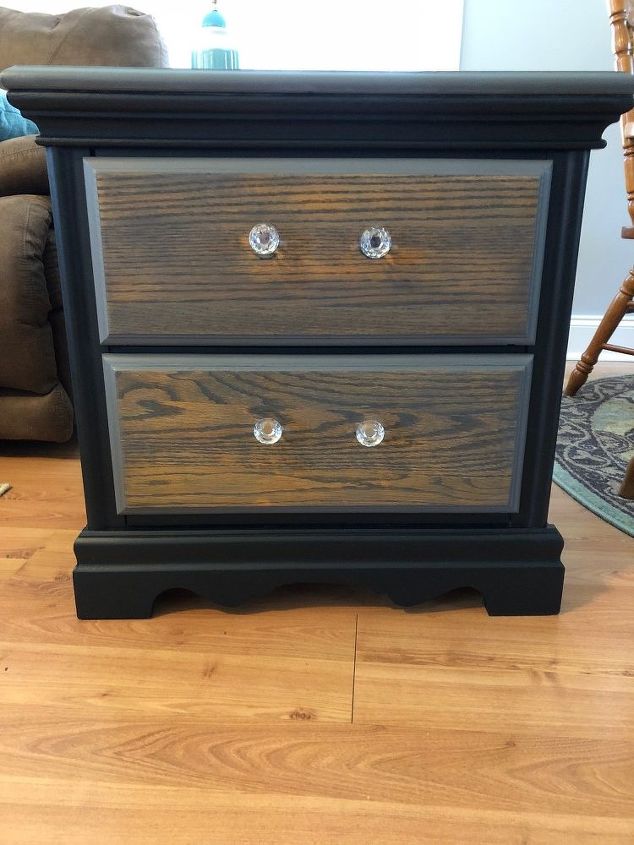
Okay, this little cutie didn't have a before picture...or during...but I didn't want to leave the finished product out.
Resources for this project:
See all materials


Any price and availability information displayed on [relevant Amazon Site(s), as applicable] at the time of purchase will apply to the purchase of this product.
Hometalk may collect a small share of sales from the links on this page.More info
Comments
Join the conversation
4 of 16 comments
-
I absolutely love it, it turned out beautifully. I do love the color you chose . I just love it. I get overly enthused when I see something on here I love , and I do love it.
-
What a difference! Came out beautiful...


Frequently asked questions
Have a question about this project?
Where could I find knobs? I need hardware similar to what you replaced. What I see at Lowe’s, etc. ... are for kitchen cabinets. The make over looks great, the dresser I grew up with make get a makeover similar. Thanks!
Where could I find knobs? I need hardware similar to what you replaced. What I see at Lowe’s, etc. ... are for kitchen cabinets. The make over looks great, the dresser I grew up with may get a makeover similar. Thanks!