


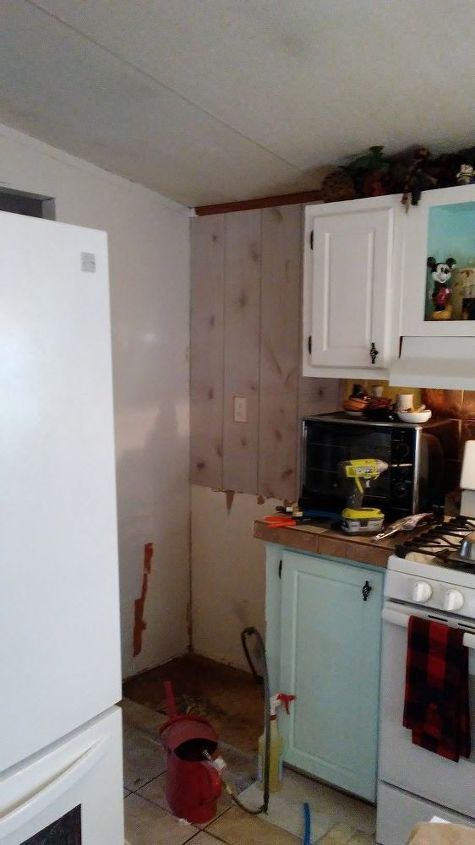
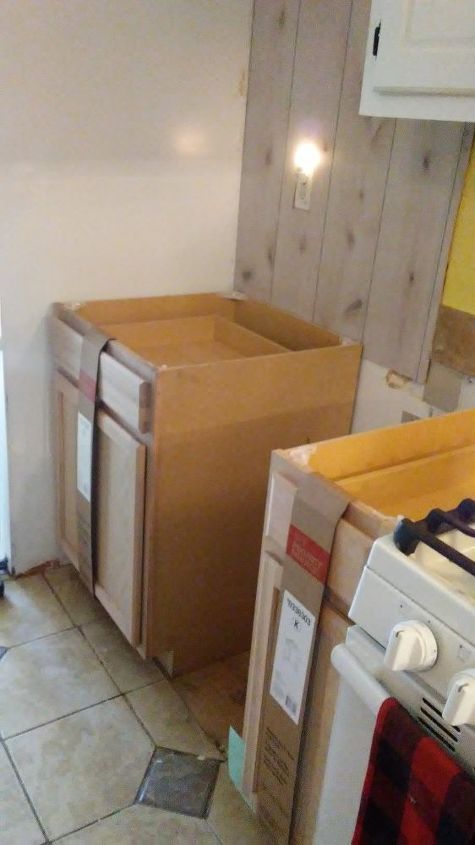
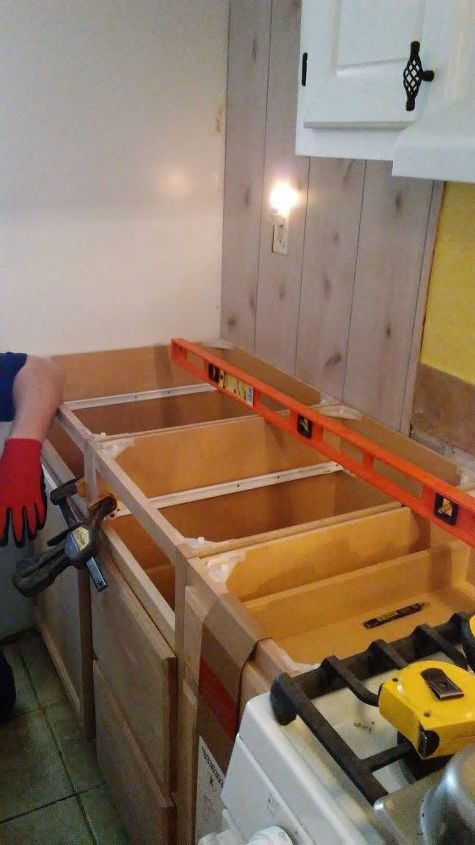
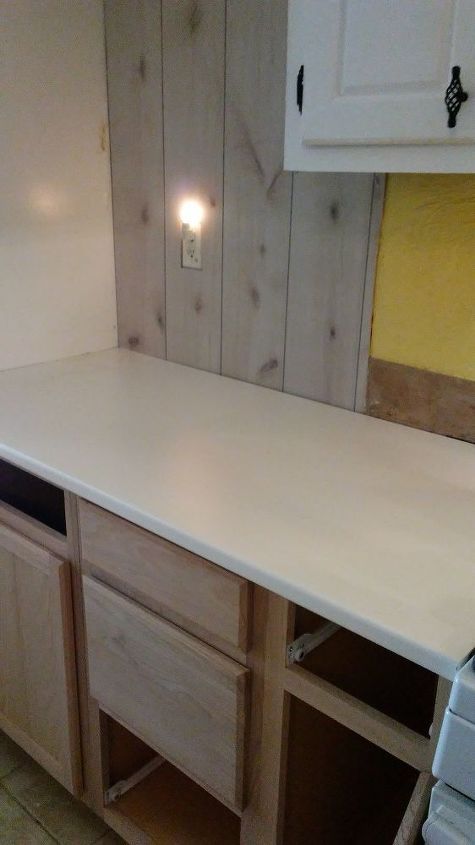
Kitchen Reno....part 1 for $1000.00


Resources for this project:
See all materials


Comments
Join the conversation
-
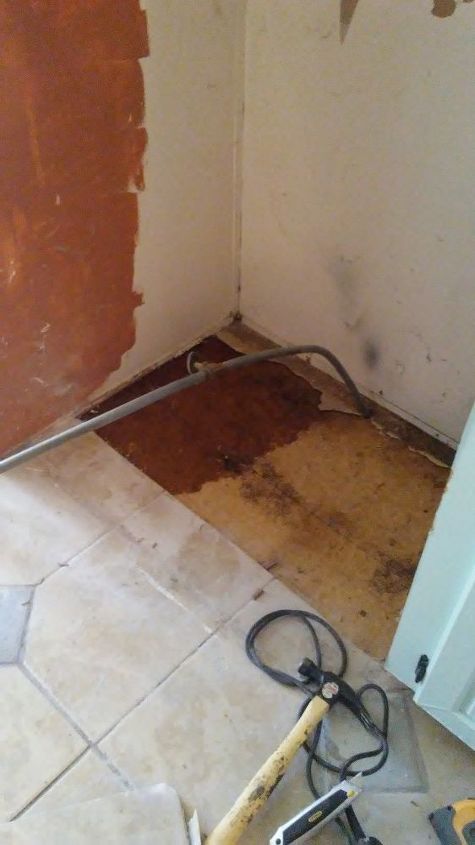
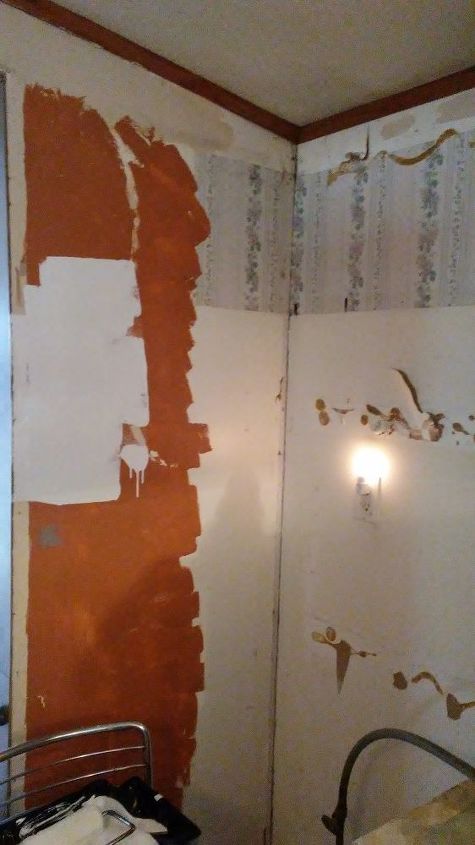
Wow! While I am sorry to see the tall cabinet you removed gone (hopefully you can sell or use elsewhere), I get the day to day function needed improvement. Looks like you inherited a real "Harry Homeowner special" - and those floors! Yikes! Exactly why I suggest removing all prior flooring especially when installing tile. Save these photos as evidence of why one should remove old linoleum before installing new tile. My tile guys would have refused the job. I like the direction you are going. Just keep at it when time and finances allow. I feel your pain, my kitchen is much worse, but I do not have the time or big enough budget to do all at once either. And I have a pile of pets that would need to be temporarily relocated too. Keep at it, Rome was not built in a day and celebrate each of your milestone achievements. 🌞
-
Congratulations! That's a whole lot of work!


Frequently asked questions
Have a question about this project?
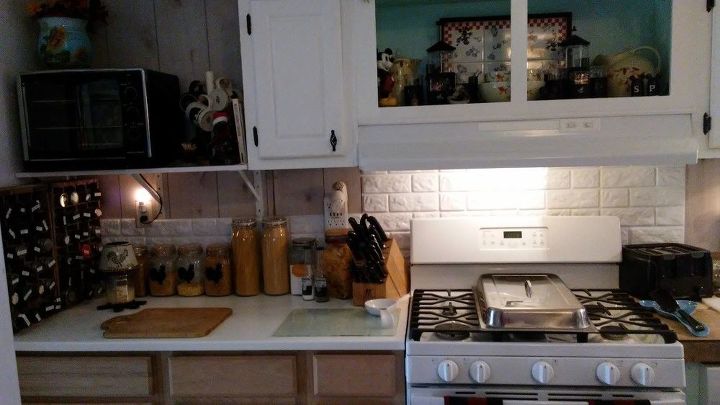
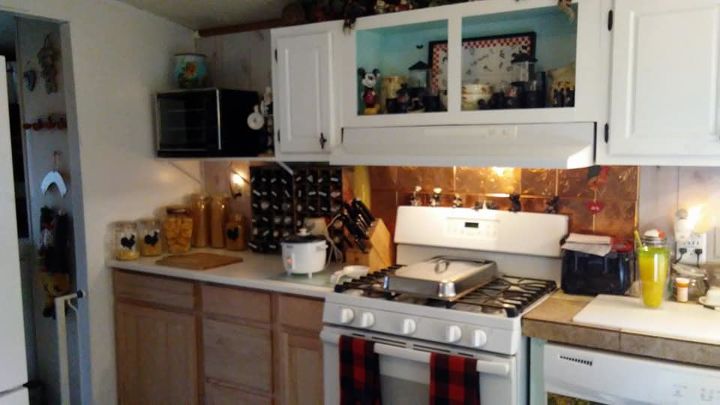
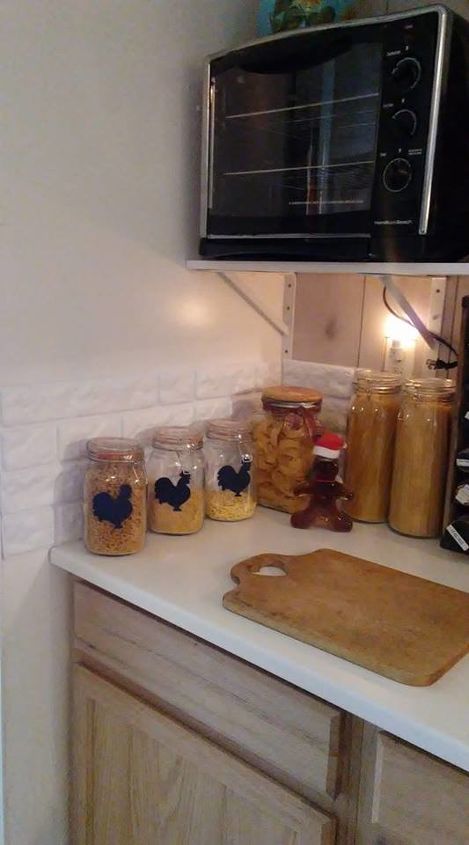
What product did you use for the faux brick backsplash?
I'm VERY interested in the backsplash. Is it a solid piece that you could cut to size? If so, what is it and where can I purchase this product? Thank you.
I know it's part one but I don't understand the look you are going for is it rustic /urban? I ask because you put up paneling but then used brick and you still want a border? So why put up paneling why not just use all brick or all paneling? Or did you mean crown moulding? And are you going to paint the cabinets?