


Simple DIY Wooden Storage Chest
16 Materials
$130
6 Hours
Medium
Think you can't create a pretty piece of furniture from a sheet of plywood? You can! Our contributor, Shara, of Woodshop Diaries, takes plywood and a few pieces of trim and turns them into a beautiful chest.
{
"id": "4785722",
"alt": "",
"title": "",
"video_link": "https://www.youtube.com/embed/J9oWnHegQ90",
"youtube_video_id": "J9oWnHegQ90"
}
{
"width": 634,
"height": 357,
"showRelated": true
}
Please be sure to watch our video tutorial for instructions and helpful tips in creating your storage chest.

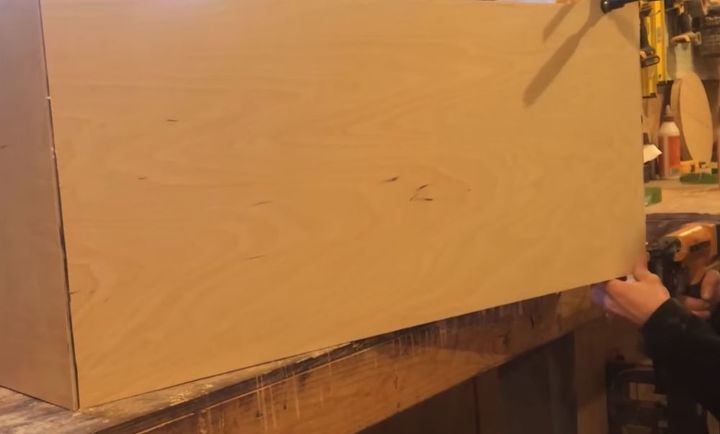
Using a table saw, cut your plywood according to the cut instructions. You can find the free cut list on our blog at Remodelaholic.com. Use a straight edge and round object to create the cut out on the front of the chest and cut with a jigsaw. Sand the pieces.
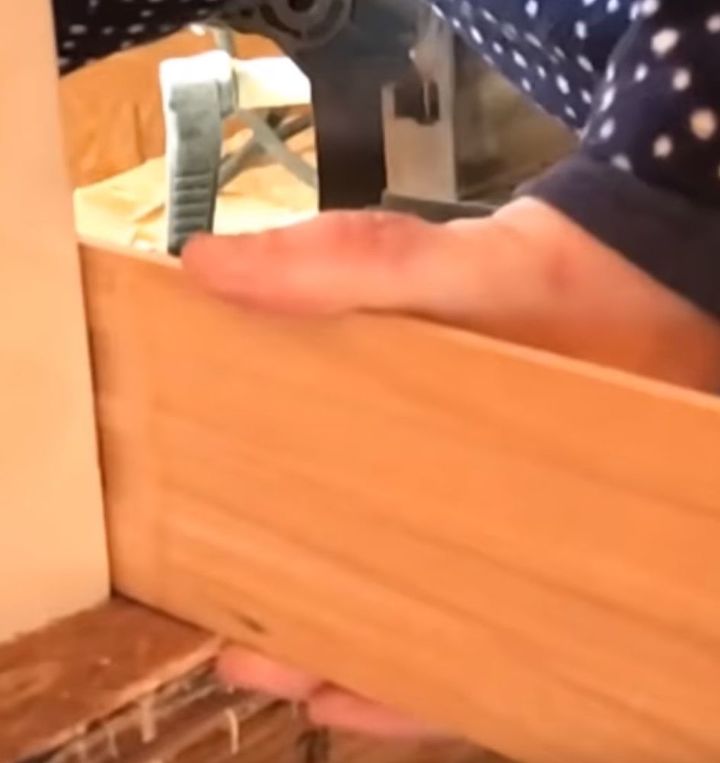
Apply glue on banding to the top pieces to create a clean look. Glue the mitered corners of the box together and then nail in place. Attach the bottom of the box and screw in place.
Create corner supports to give your box stability.
Create inside corner supports for the box. Cut and nail bottom trim in place. Fill all holes with putty.
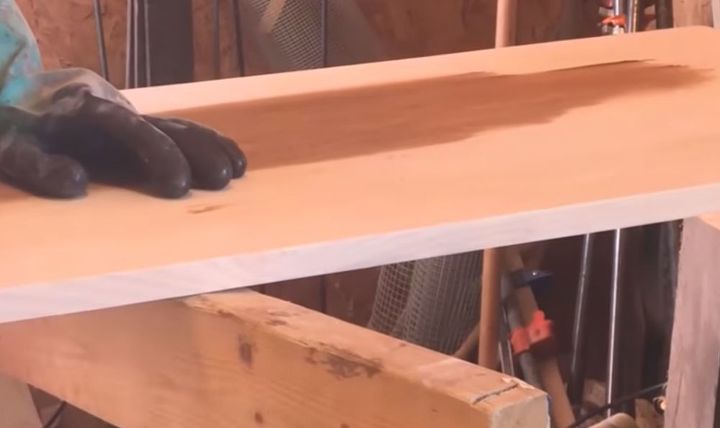
Cut out the lid piece, sand, apply banding, and then stain to your preferred color. Don't forget a coat or two of poly for durability.
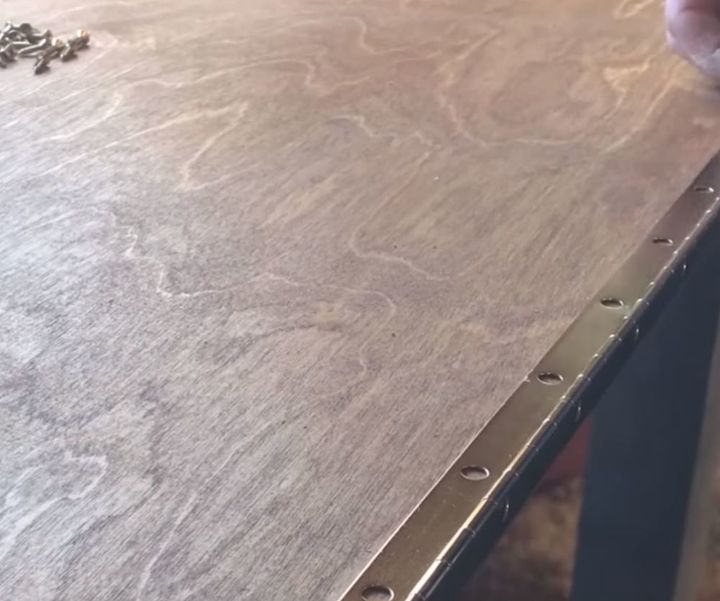
Now it's time to attach the piano hinge and the soft close hinge supports!
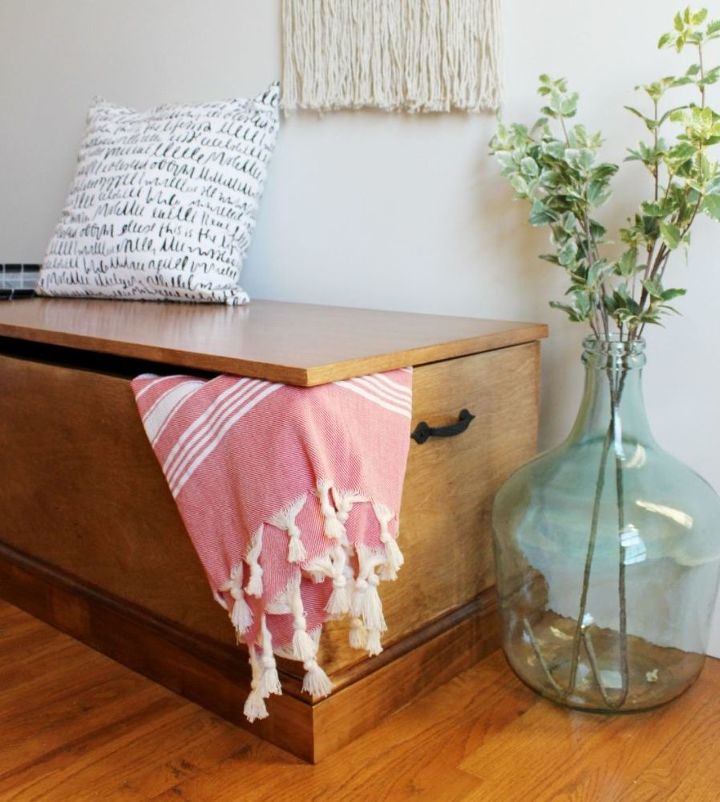
Isn't it gorgeous? We hope you'll try this build.

Want more details about this and other DIY projects? Check out my blog post!


Frequently asked questions
Have a question about this project?