


How to Build a DIY Storage Cabinet in 9 Simple Steps

Welcome to this step-by-step tutorial on building your own DIY storage cabinet. Whether you're looking to organize your space or add a custom touch to your home, this project is both practical and rewarding.
Follow along as I guide you through each step of the process, from measuring the space to installing the doors.
Tools and materials
- Two-by-fours
- Plywood sheets
- Brad nailer or drill
- Wood glue
- Corner clamps
- Pocket hole jig
- Paint or primer
- Paint sprayer, roller, or brush
- Countertop material
- Cabinet doors
- Screws
- Stud finder
- Measuring tape
How to build a storage cabinet
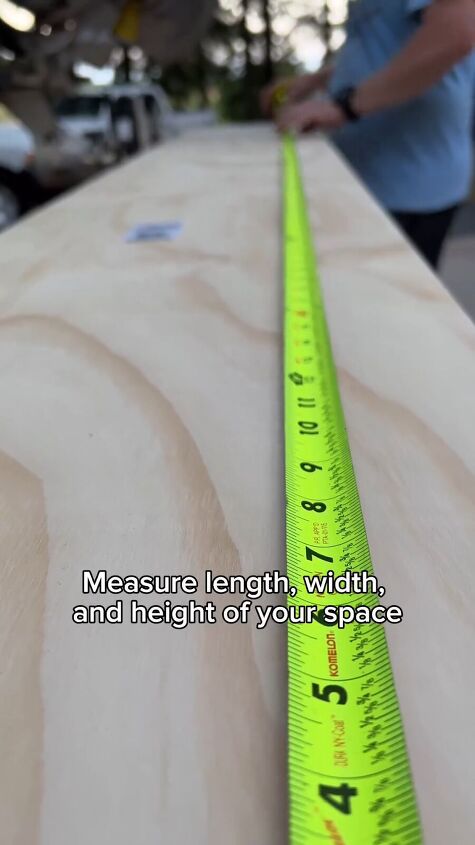
Step 1: Measure Your Space
Begin by measuring the space where you intend to place your storage cabinet. Note the dimensions as these measurements will guide the cuts for both the base and the box of your cabinet.
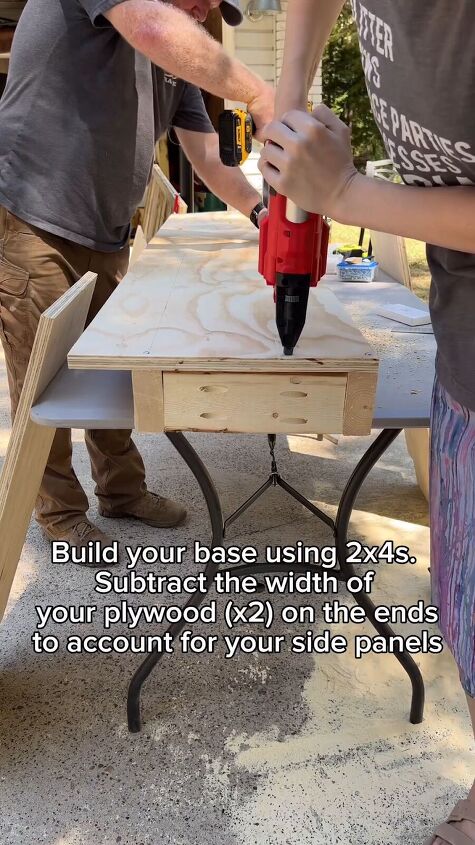
Step 2: Assemble the Base
Using two-by-fours, construct the base of your cabinet. Place a piece of plywood on top of the assembled base. This foundation provides stability and support for the entire structure.
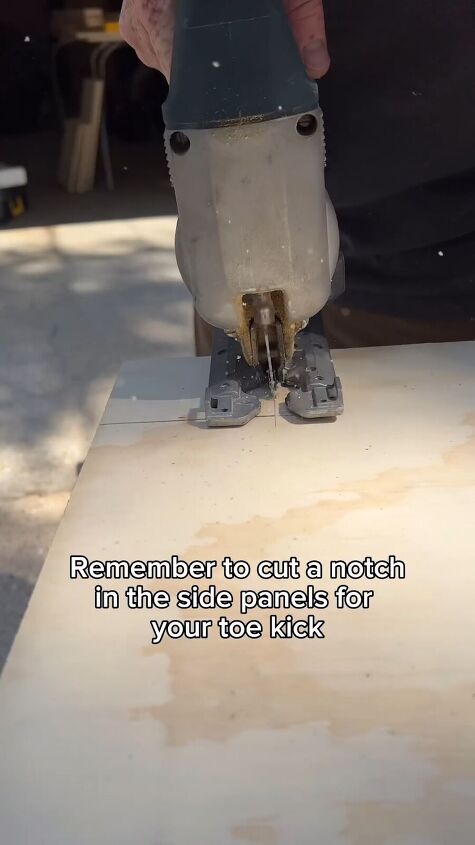
Step 3: Create Side Panels
For the side panels, notch out a section for the toe kick. Once you have these panels ready, attach them securely to the base using a brad nailer or a drill.
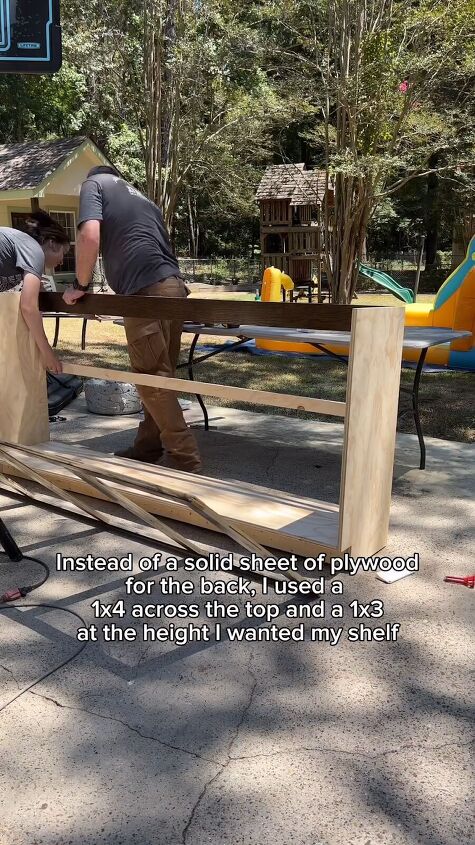
Step 4: Add Back Panel Support
Opt for two boards across the back for additional support, especially if your cabinet will be against a wall. Secure these boards to ensure the structural integrity of your DIY storage cabinet.
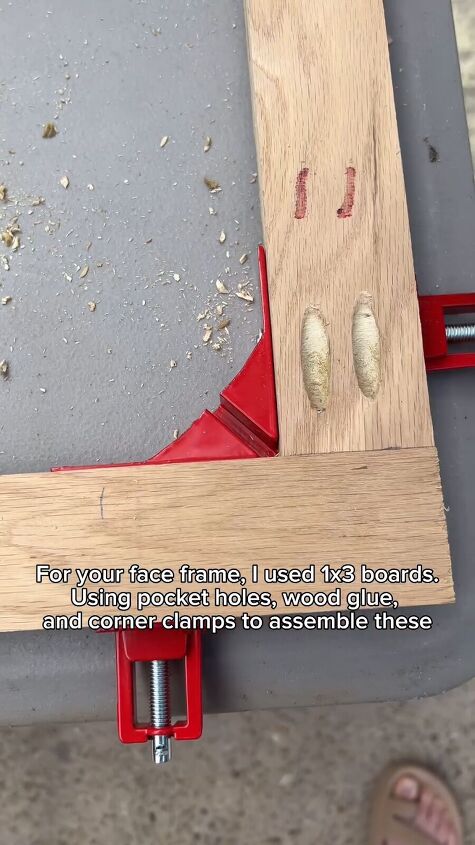
Step 5: Craft the Face Frame
Cut boards to the height and length of your cabinet for the face frame. Utilize pocket holes, wood glue, and corner clamps to piece them together securely.
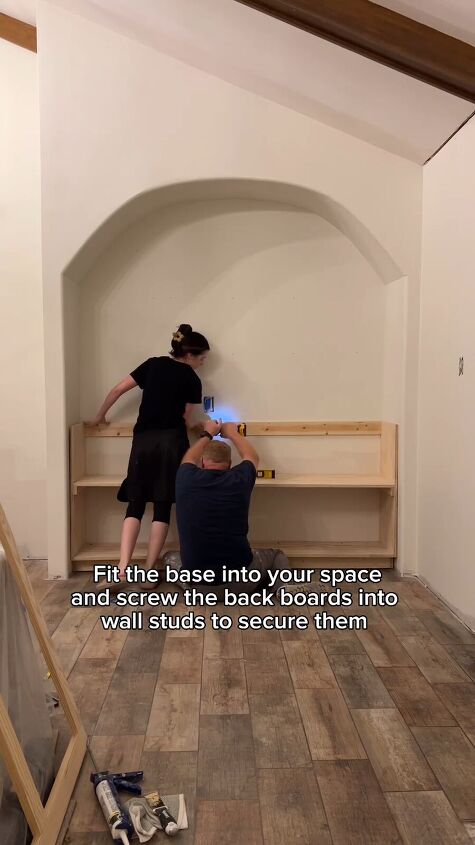
Step 6: Install the Cabinets
Fit the assembled cabinets into the designated space, ensuring they align correctly.
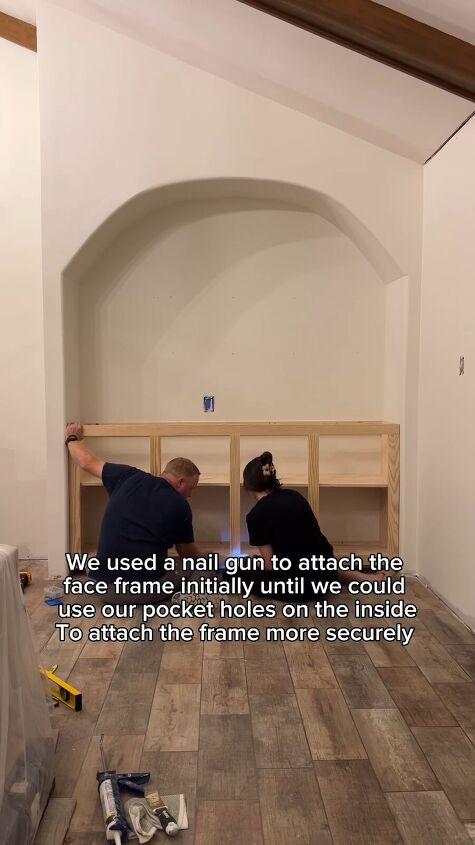
Attach them to the wall studs and add the face frame afterward, especially if space is tight.
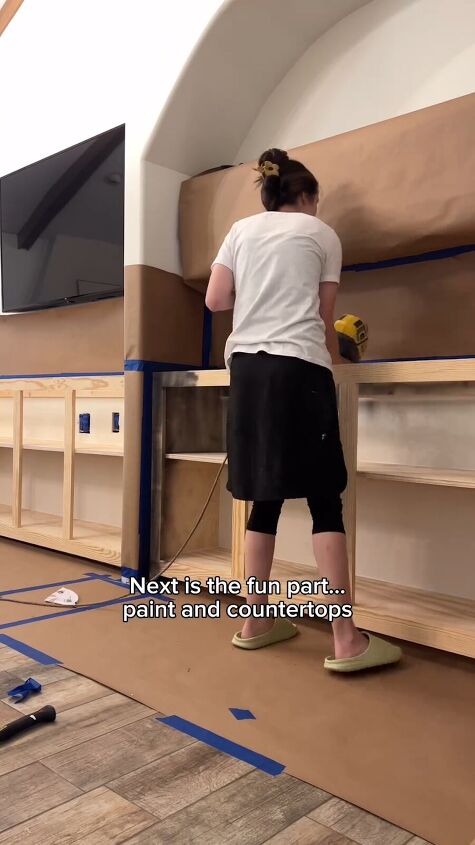
Step 7: Paint Your Cabinet
With everything in place, it's time to add a finishing touch. Apply paint or primer to the cabinet using a paint sprayer, roller, or brush, according to your preference.
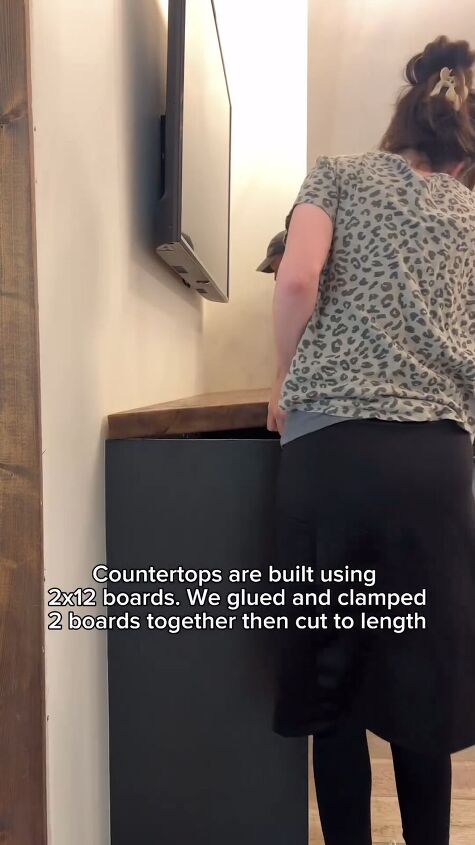
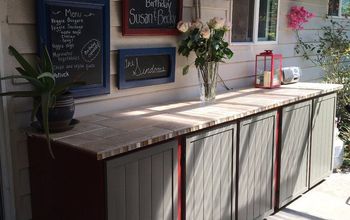
Step 8: Install Countertop
Place and secure the chosen countertop material on top of your cabinet. Ensure it fits snugly and complements the overall design.
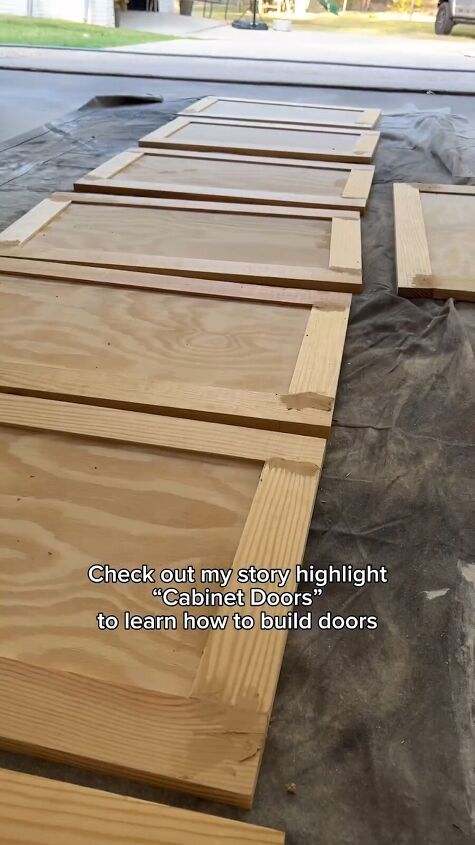
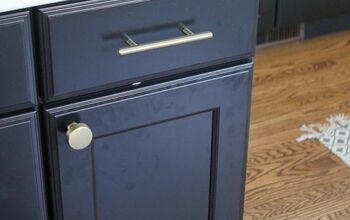
Step 9: Add Cabinet Doors
Finish off your DIY storage cabinet by installing the doors. Choose doors that match your aesthetic and attach them securely to the cabinet.
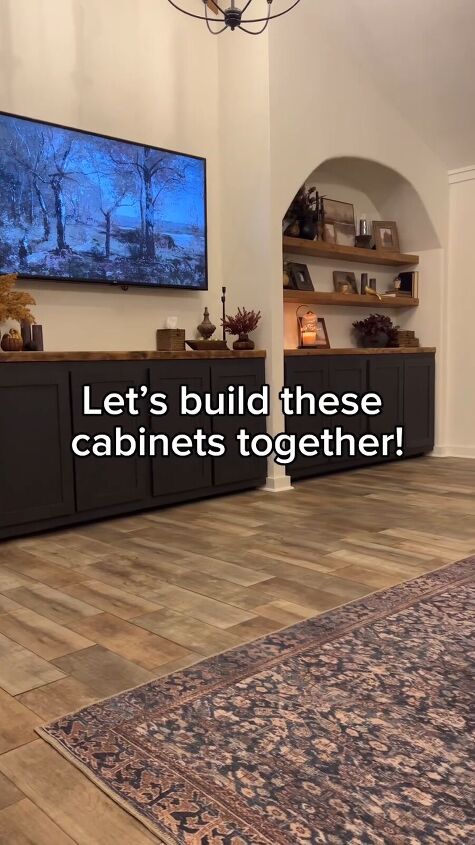
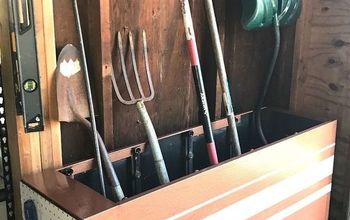
DIY storage cabinet
Congratulations! You've successfully learned how to build a base cabinet. This project not only provides functional storage but also allows you to showcase your craftsmanship.
Feel free to customize the design and paint colors to suit your style. Enjoy your newly organized and personalized space! Drop me a comment and let me know how yours came out.
Follow @hannah.is.home on Instagram for more DIY ideas.


Frequently asked questions
Have a question about this project?