How to Make Your Own Wrapping Paper: 3 Cute Designs

It's the holiday time and time to get creative. Let's make some wrapping paper with things right out of our kitchen drawers. I've created all three methods of wrapping paper using one roll of craft paper from Michael's.
Here's how to make your own wrapping paper.
This post was transcribed by a member of the Hometalk editorial team from the original HometalkTV episode.
Hometalk may receive a small affiliate commission from purchases made via Amazon links in this article but at no cost to you.
Tools and materials
- Craft paper
- Acrylic paint
- Scissors
- Aluminum foil
- String
- Business card
- Cookie cutters
- Sponge
- Marker
- Glitter
- Wrapping embellishments
How to make your own wrapping paper
DIY birch tree wrapping paper
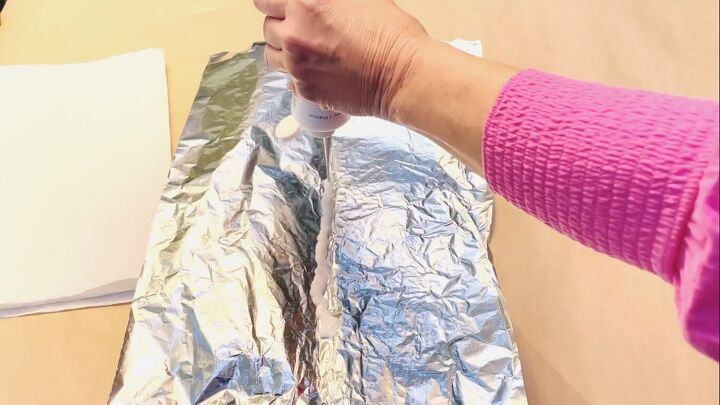
1. Squirt the paint onto the foil
Squirt some of the paint into the foil.
Pat it down gently to spread the paint a little bit.
2. Twist the string in the paint
Take your string and saturate it in the paint. Just twist it and turn it a couple of times so that you get a decent amount of paint on the string.
3. Make the birch tree shapes
Place the string on the craft paper and slide it slightly from left to right. This creates the trunk of a birch tree. Continue this process until you have as many trunks of the trees as you would like.
4. Make branches
Now we're going to add some branches to our trees. I'm using a business card and just dipping the edge into the paint and then stamping the branches onto the trunks of the trees.
5. Wrap the gift
I decided that I wanted this box to look really natural, so I added twine as my ribbon and then tied a small piece of birch branch with a craft paper hang tag and a piece of dried grapefruit.
DIY snowflake wrapping paper
1. Dip the cookie cutters in paint
For our second wrapping paper, we're going to use brown paper again, some acrylic paint, and some cookie cutters. I chose to use snowflakes.
Squirt paint onto a plate and spread it out a little bit. Dip your cookie cutter into the paint and then print it onto the paper.
2. Make the stamp designs
I also used both edges of the snowflake, the top and the bottom, as one was a little thicker than the other.
3. Wrap the gift
I wanted this package to look a little bit more elegant so I added some glitz. We're going to do that by adding some very pretty silver ribbon, white pearlized berries, and then a nice hang tag around the knot. This tag has the cutest silver reindeer on it.
Tip: I love to use wired ribbon because it gives such structure to your bow.
DIY Christmas tree wrapping paper
1. Draw a Christmas tree on the sponge
For the third and final method of making wrapping paper, I'm using a sponge and a Sharpie. I simply drew a Christmas tree on the sponge
2. Cut out the shape
Now I'm going to cut my Christmas tree shape or whatever shape you choose out of the sponge.
3. Apply paint
I chose a forest green color to make my trees. I placed the paint on a paper plate and then I'm going to dip my sponge into it. I'm going to offload some of the paint onto a paper towel before I start to print.
4. Stamp the Christmas trees
Just sort of place them here there and everywhere, dipping the sponge into your paint when needed.
5. Sprinkle glitter
I thought it would be fun to add some sparkle to our trees with a little bit of glitter. I sprinkled it on when the paint was still wet and look how pretty that is. The branches just sparkle.
Tip: Make sure that you recycle your glitter so that you can use it another time.
6. Wrap the gift
I wanted this to have a fun feel so I wanted to add stripes using a nice cotton ribbon that is not wired and a little floppy, which kind of seems to be the trend this year.
I added a hang tag with a little bit of plaid, trimmed my twine and there you have this pretty package that has a traditional feel with the plaid, stripes, and the green on the tree.
How to make your own wrapping paper
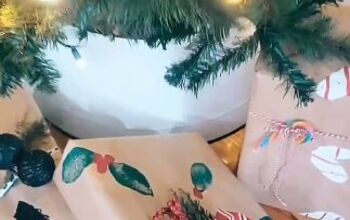
Once I was finished, I placed all of my packages under the tree. What do you think of these DIY wrapping paper ideas? I think they're so pretty and easy to achieve. Let me know your thoughts in the comments below.
Discover more creative ways to wrap a gift here.
Enjoyed the project?

















Frequently asked questions
Have a question about this project?