


Festive Holiday Storage: How to Master Holiday Clean-Up
Ready to bid farewell to the holiday chaos and welcome a clutter-free space next for the new year?
Say goodbye to tangled ribbons, misplaced ornaments, and the hassle of finding your wrapping paper.
In this post, I'll walk through some holiday storage ideas to keep your decorations and wrapping essentials neatly packed, making next year's decorating spree a breeze.
This post was transcribed by a member of the Hometalk editorial team from the original HometalkTV episode.
Tools and Materials:
- Scissors
- Plastic bin
- Dowel
- Basket
- Skewer
- Magazine holder
- Empty popcorn tin
- Apron
- Shoe organizer
Hometalk may receive a small affiliate commission from purchases made via Amazon links in this article but at no cost to you.
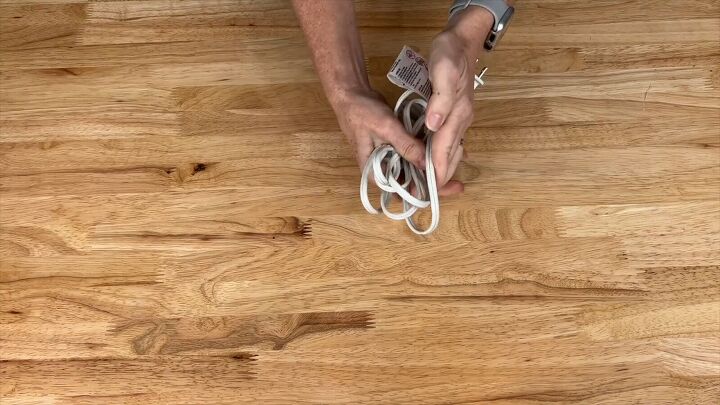
Extension Cord Storage Idea
1. Wrap and Wind
Wrap your extension cords in an orderly manner to prevent tangles.
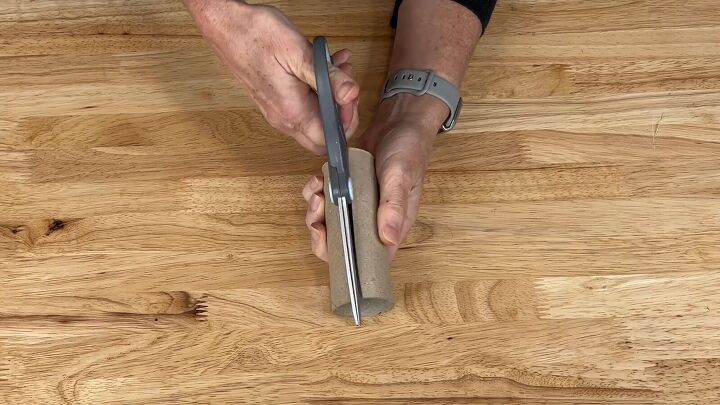
2. Cut Toilet Tube
Cut a toilet paper tube in half.
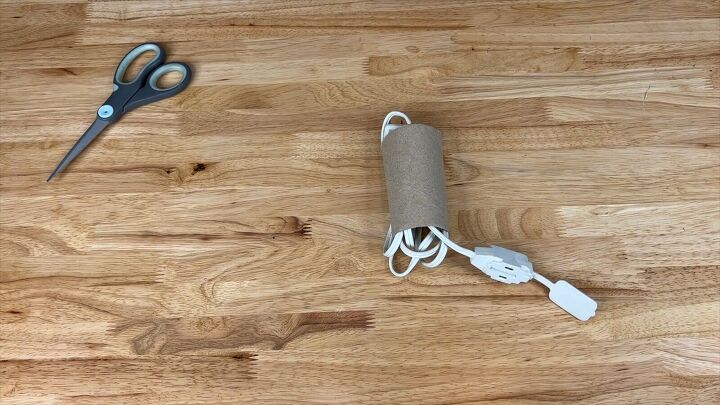
3. Wrap Cord
Neatly store the wrapped extension cord inside for easy organization.
Your extension cords will stay tangle-free and easily accessible until the next holiday season. No more wrestling with messy cords – just smooth and stress-free decorating!
DIY Christmas Ornament Storage
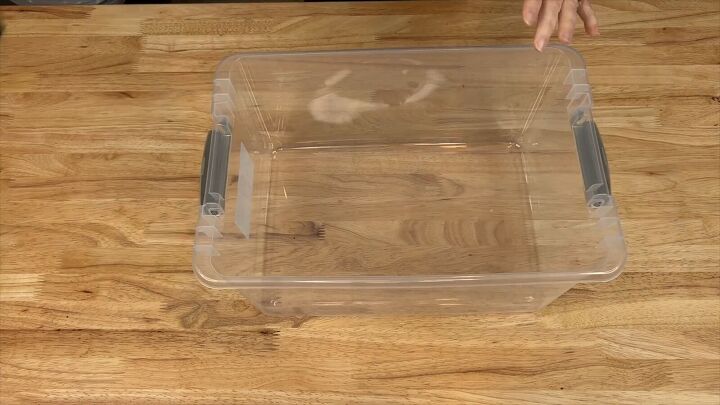
1. Find a Container
Choose a storage container in a size suitable for your ornament collection.

2. Dowel Prep
Grab a dowel and break it in half.
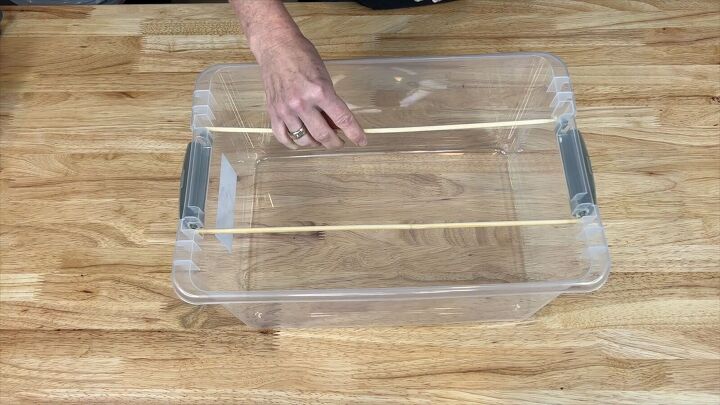
2. Place Dowels
Position each half of the dowel on either side of the handle inside the bin.
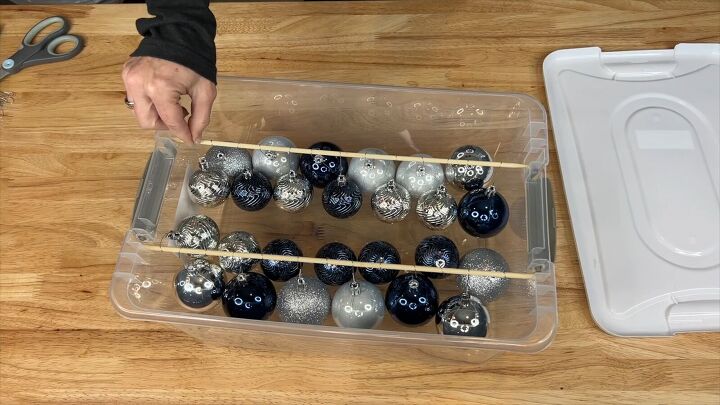
3. Hang Ornaments
Leave the hooks on your ornaments and secure them by hanging them onto the dowels.
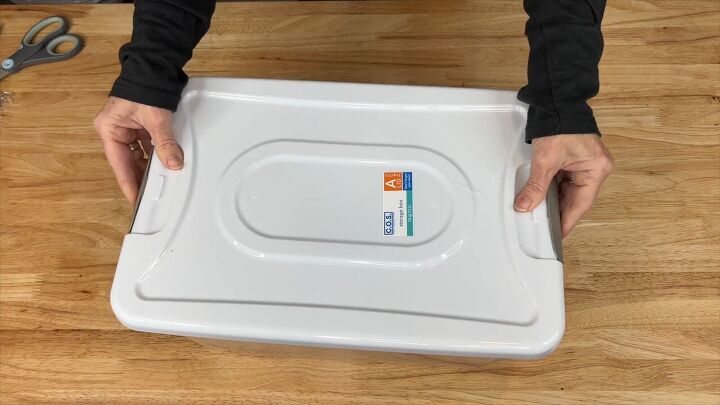
4. Ready for Storage
Place the bin's lid on top to secure and protect your ornaments.
You've created an organized and protective haven for your ornaments, ensuring they remain in perfect condition until their next festive debut.
DIY Ribbon Organizer
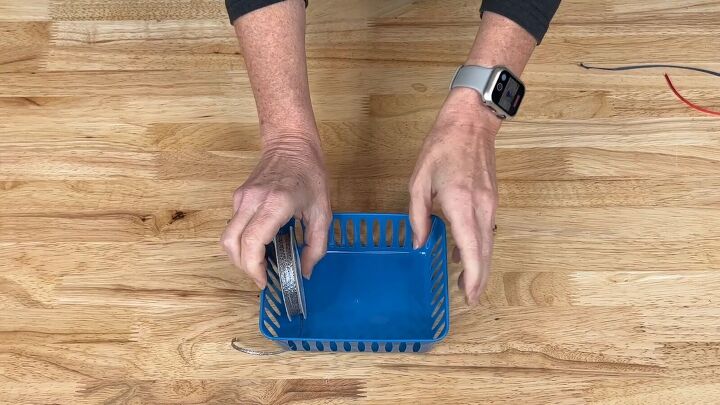
1. Gather Your Ribbons and Basket
Place all your ribbon spools into a plastic basket with holes.
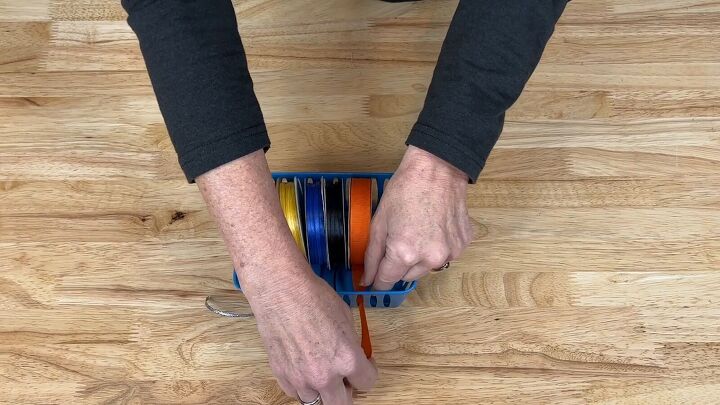
2. Thread Through the Holes
Pull all ribbon ends through the holes in the basket for a neat and accessible arrangement.
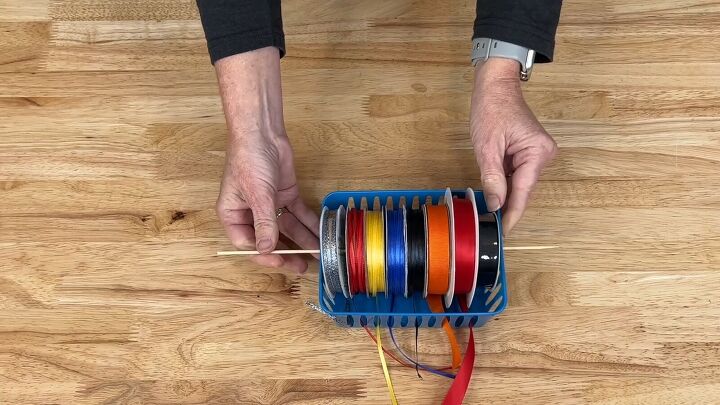
3. Secure with a Skewer
Take a small skewer and weave it through the center of all the ribbon spools to hold them securely in place.
Say farewell to tangled ribbons and hello to an organized and mess-free ribbon storage solution. Your future self will thank you during the next gift-wrapping extravaganza!
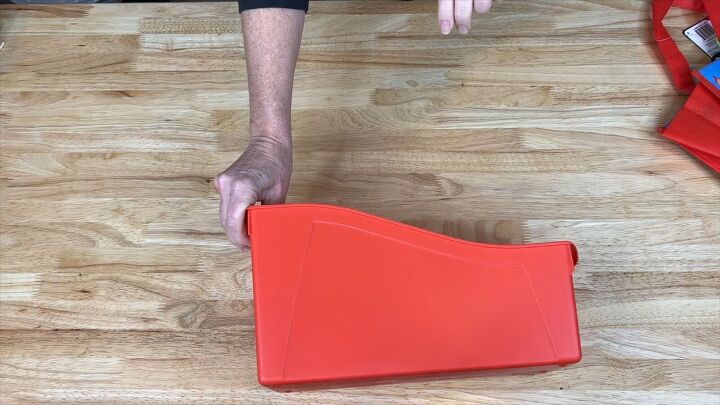
Gift Bag Organization
Gather all your gift bags from the end of the season for efficient storage.
1. Grab a Magazine Rack
Opt for a magazine rack to keep gift bags stored vertically, maximizing space and accessibility.

3. Load Up the Rack
Place all the gift bags into the magazine rack, ensuring they stay together and well-organized.
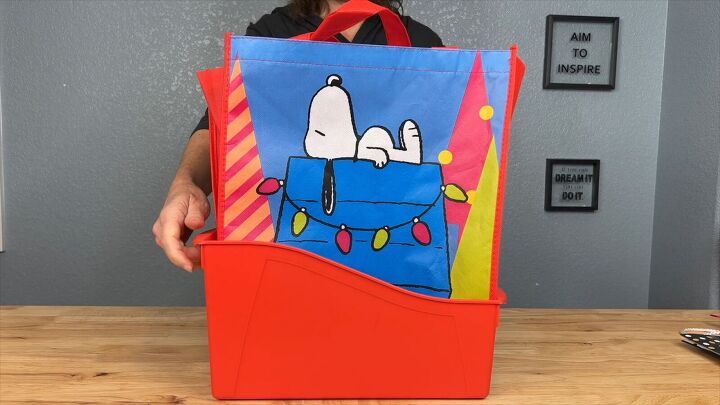
By using a magazine rack, you've transformed the chaos of end-of-season gift bags into an organized and space-efficient storage solution.
No more searching for the perfect bag – it's right there, ready for the next celebration!
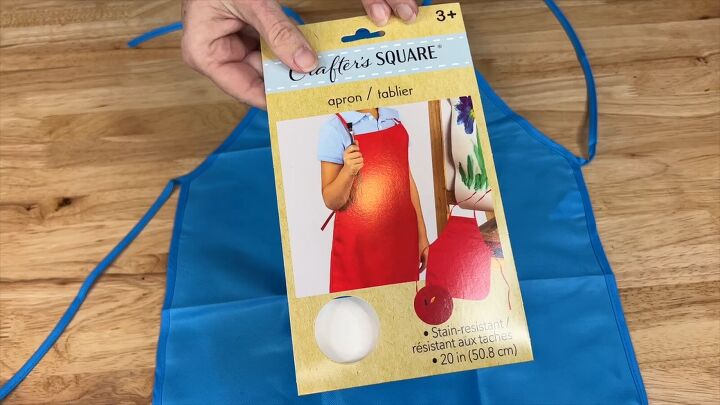
Apron Pocket Storage Solution
1. Find an Apron
Grab an apron suitable for your storage needs.
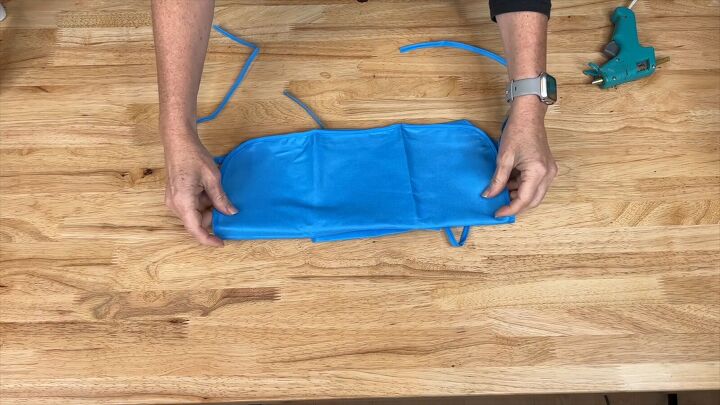
2. Crafting the Pockets
Fold the top of the apron down and then fold the bottom up for pocket creation.
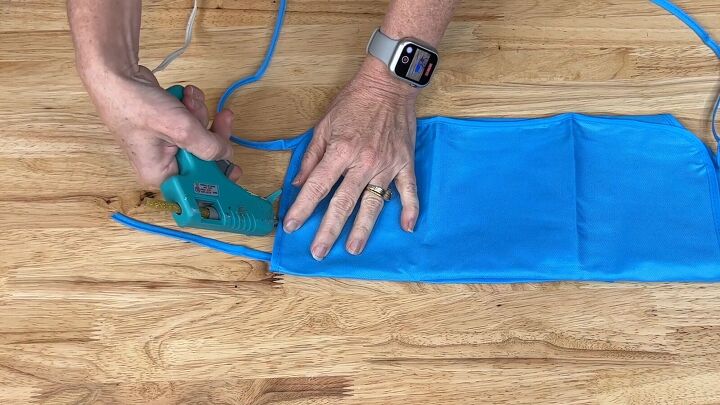
Secure the folded edges with hot glue for durability.
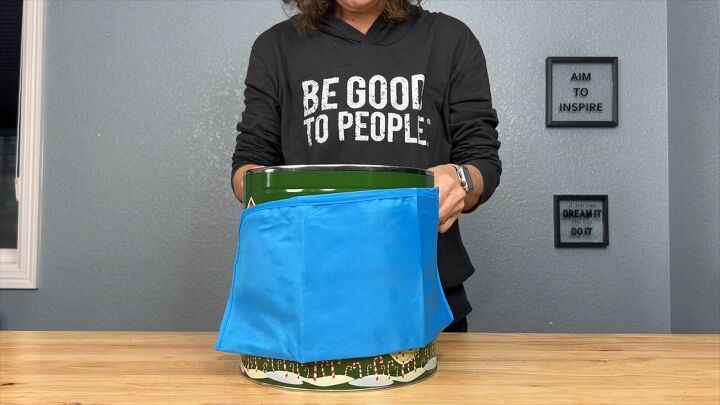
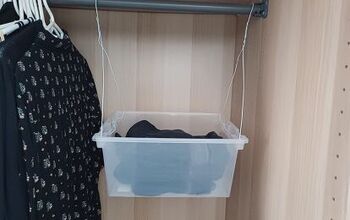
3. Customize with a Bucket
Wrap the pockets around a bucket of your choice for structure.
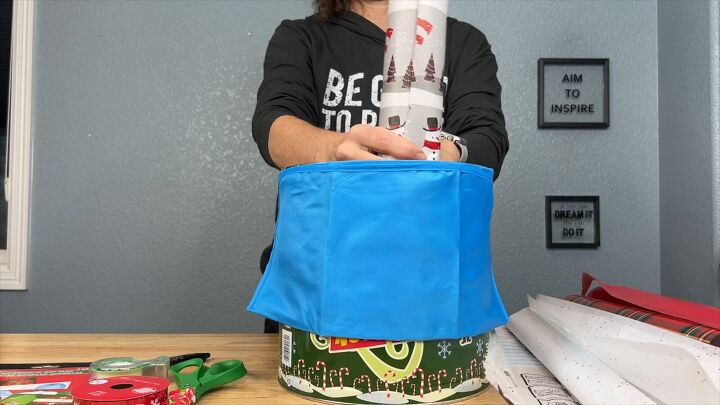
4. Fill Your Storage Container
Add various items to your storage container, such as wrapping paper, tissue paper, and scissors.
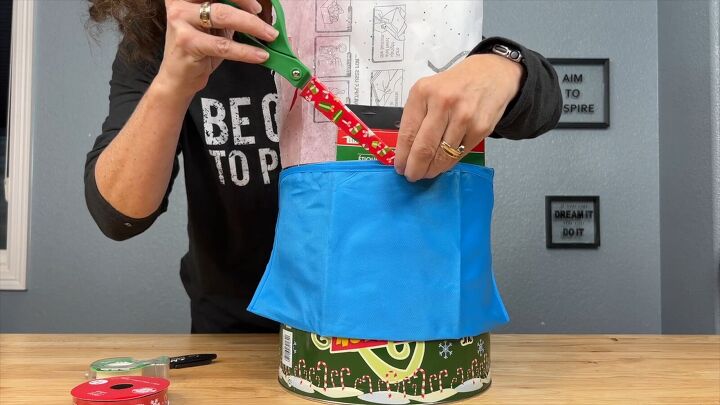
You've turned a simple apron into a practical and customized storage unit.
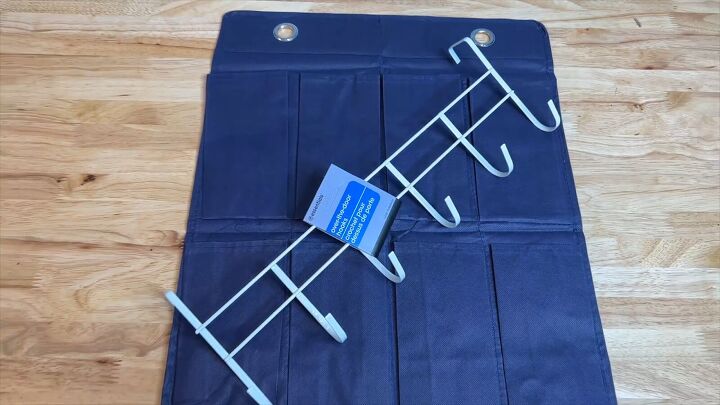
Wrapping Paper Organization
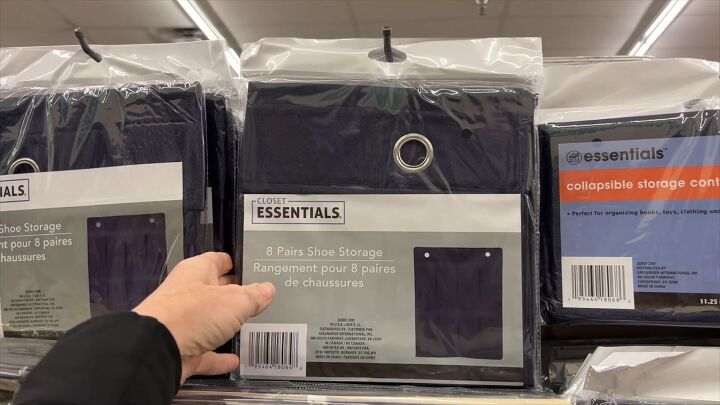
1. Gather Your Tools
Grab a shoe organizer and an over-the-door hanging rack for your wrapping paper storage project.
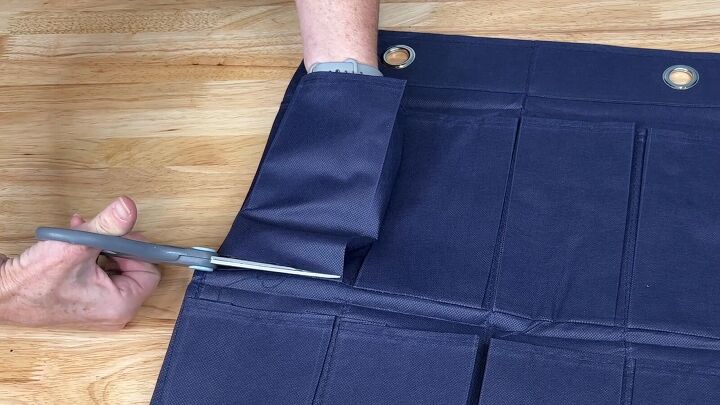
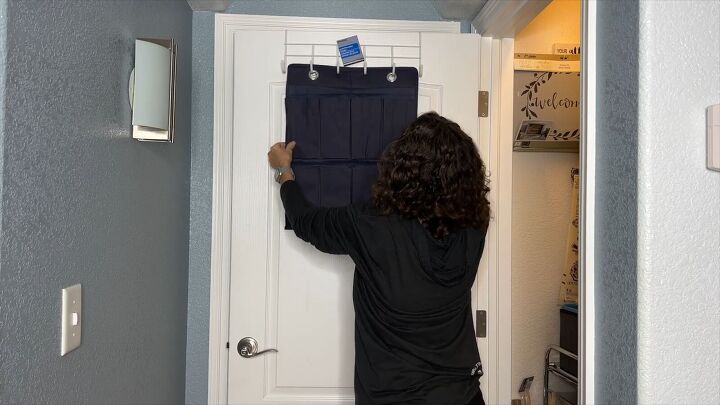
2. Prepare the Shoe Organizer
Cut the bottoms out of the top row of pockets in the shoe organizer.
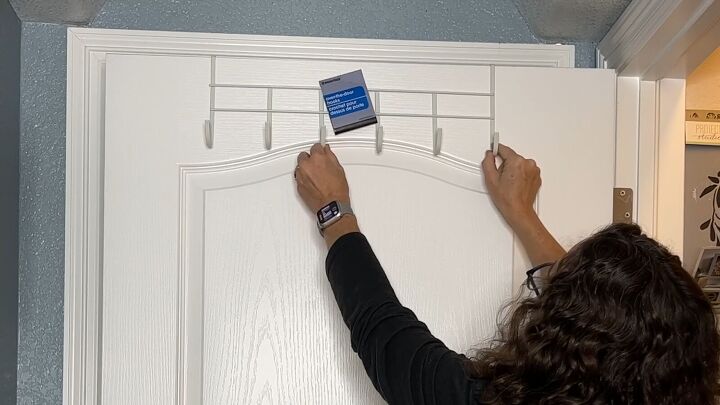
3. Hang the Shoe Organizer
Hang the modified shoe organizer onto the over-the-door rack for a secure and accessible setup.
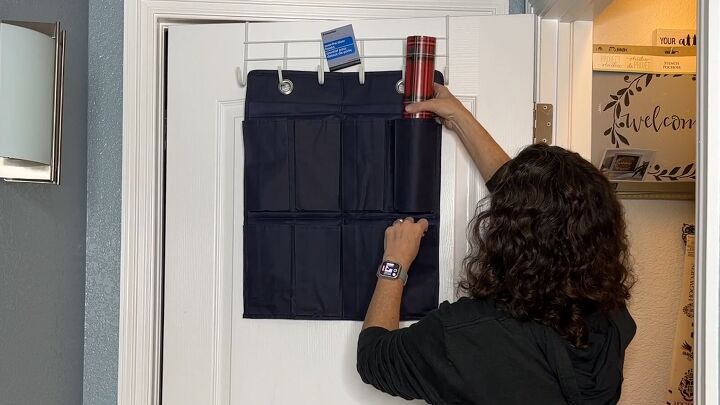
4. Slide and Organize Wrapping Paper
Slide your wrapping paper into the top pocket, allowing it to flow through, and neatly rest in the bottom pocket.
With the door-mounted wrapping paper organizer, you've created a convenient and efficient storage solution for your wrapping essentials.
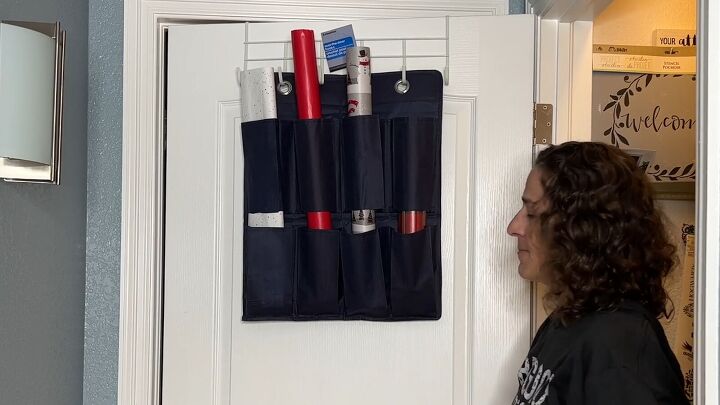
No more hunting for misplaced rolls – everything is organized and ready for your next gift-wrapping venture!
More Organizing Ideas
Holiday Storage Tips
Now that you know how to organize Christmas decorations with finesse, your post-holiday routine just got a whole lot merrier.
Transform the chaos into order and let the joy of the season linger without the clutter.
Let me know how your holiday clean-up went in the comments below.
I would love to have you stop by my blog Chas' Crazy Creations for the full tutorial as well as sign up for my latest creations, posts, recipes, exclusives, and more…
I would love for you to subscribe to my YouTube channel to see more of my crazy creations - https://www.youtube.com/c/chascrazycreations

Comments
Join the conversation
-
Thank you for sharingI'd love to invite you to join me ...Chas' Blog - https://chascrazycreations.com/Chas' YouTube - https://www.youtube.com/c/chascrazycreations


Frequently asked questions
Have a question about this project?