


Multi Purpose Rack.

3 Materials
$20
2 Days
Medium
I saw a really cool dying project a while back on Hometalk. I knew right away it was something I wanted to do. It was going to be a very large project so I was going to need a bigger frame for dying the fabric. https://www.hometalk.com/diy/outdoor/rugs/ice-dyed-linen-beach-picnic-blanket-17790085?r=2&device=desktop Amanda used a cooling rack for her blanket, I had about 20 yards of fabric.... Ok let's get to work making a cheap frame.

I got some 6', 1" X 2" pine boards from the hardware store. And something called hardware cloth. I used a circular saw for cutting the boards to length and a stapler to hold the pieces together. This was a mistake see below for why. Other useful tools are a speed square, pencil and tape measure.
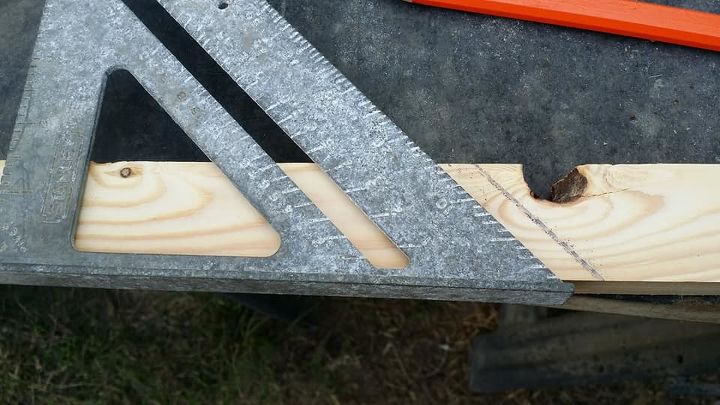
I wanted mitered corners. I thought they would be more sturdy. so measure and cut the boards to the desired length. I was originally going to do this over my bathtub. So I cut the boards so it would fit on the edges of the tub. I later decided this was a bad idea and used my garden wagon outside and the size just happened to be about perfect.
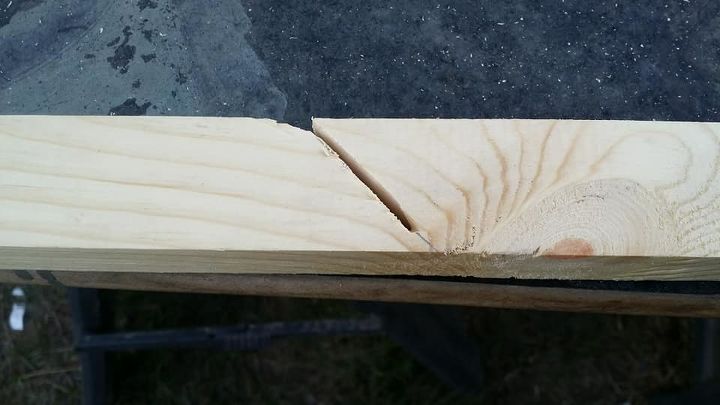
Knotholes are a pain in the... this isn't my first time dealing with these pests. And It doesn't matter what saw I use the battery operated or plug in kind both hate knotholes.
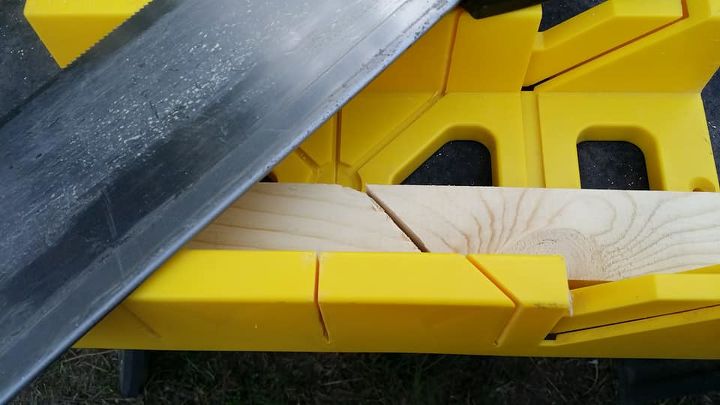
I had no choice I only bought enough wood for this project so I had to get through that tough piece of wood. If this was a steak this would be gristle. No one wants that. OK out come the primitive tools. This miter box and hand saw to the rescue.
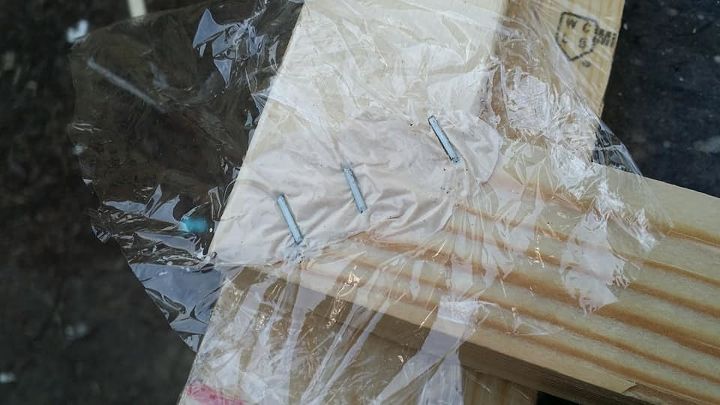
OK so since this was supposed to me a temporary one use kind of thing I used the stapler to hold the corners together. I then picked it up to take it to the bathtub to see if it fit. Guess what happened. It fell apart.  The staples just bent. I'm not a carpenter. OK Now what?
The staples just bent. I'm not a carpenter. OK Now what? 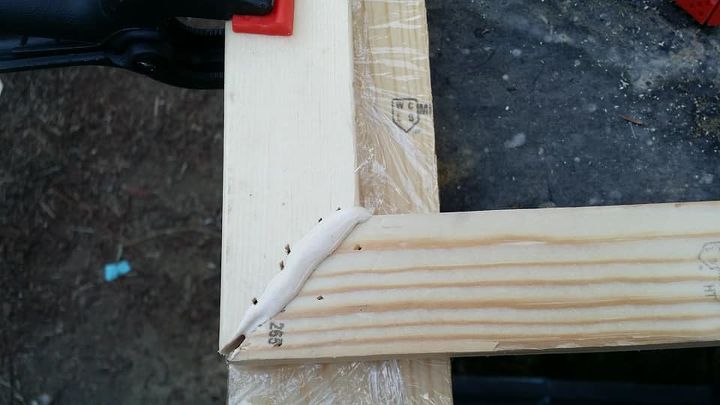
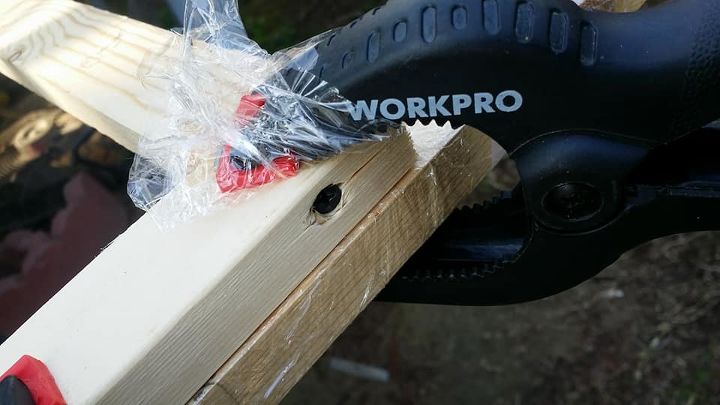
Now it becomes a permanent frame. I got the wood glue
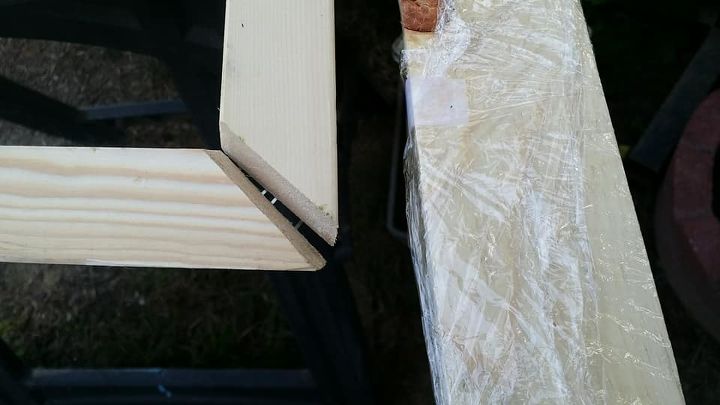
I covered the glue with plastic wrap and popped in some staples to hold it together.
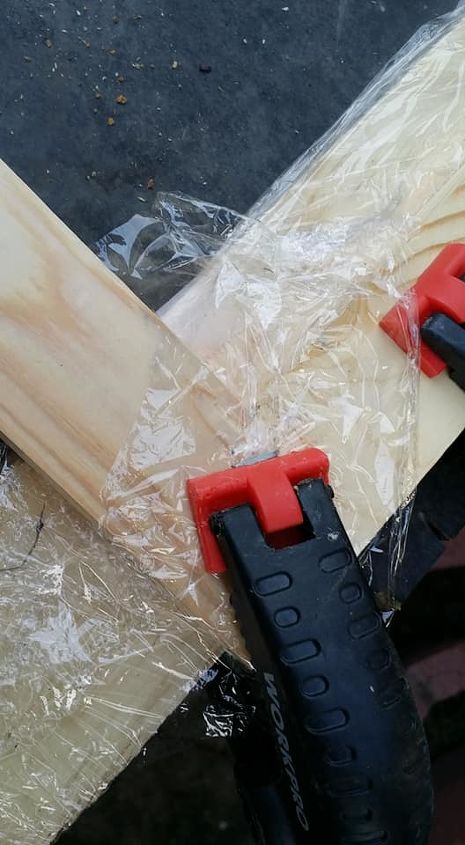
I then clamped it to another board covered with plastic wrap. This was done to hold the shape as my work bench wasn't long enough.
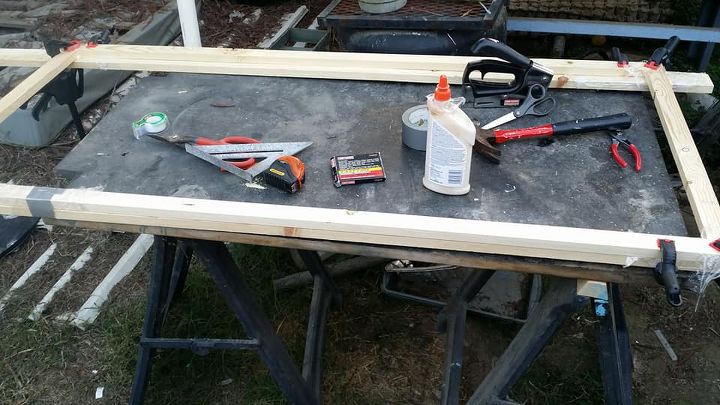
All glued and stapled and hopefully being held square.
I put some screws through to be sure it doesn't fall apart again. and I left it to dry over night.
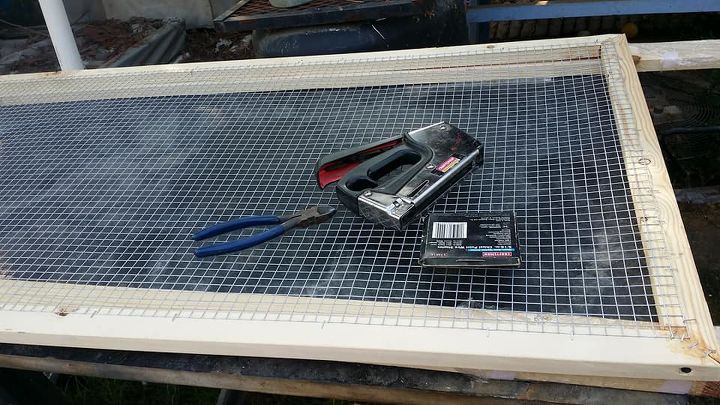
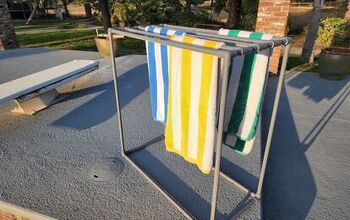
I laid out the hardware cloth it was just the perfect width. and I stapled it in place. The length needed to be cut. I used wire cutters for that.

Here it is being used for dying my cloth, this was the intended purpose.
To see how I dyed the fabric.
https://www.hometalk.com/diy/decorate/large-scale-ice-dye-36999800
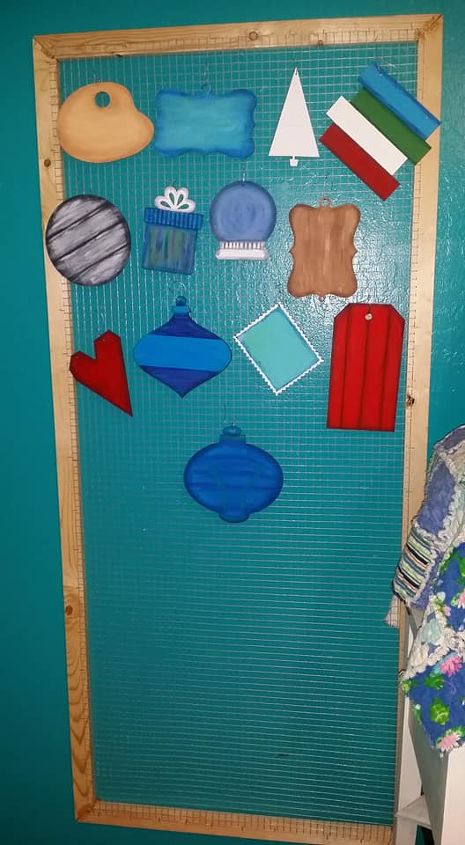
But it also came in handy to hold the wooden Christmas ornaments I was painting. Previously I could only paint a few at a time. But with this and some wire hooks I made, I could paint a bunch and let each section dry.
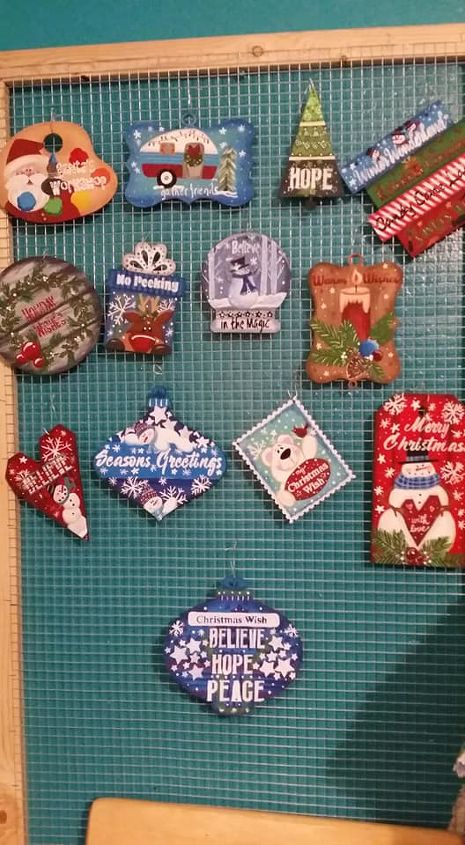
Clear coated and drying.
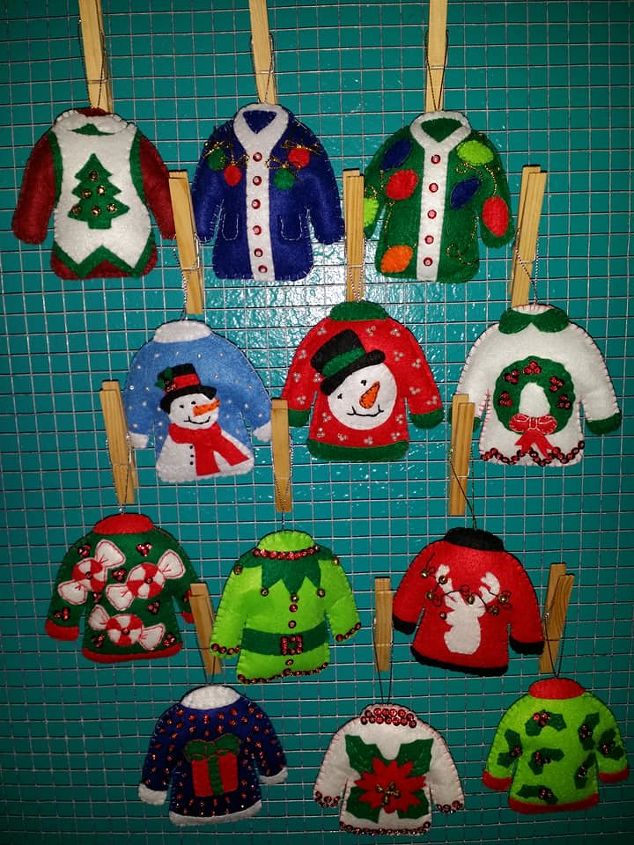
Some felt ornaments I made and hung here to snap a picture of them all at once. You could also use this as a memo board or take it out to the garden and let plants climb on it.


Any price and availability information displayed on [relevant Amazon Site(s), as applicable] at the time of purchase will apply to the purchase of this product.
Hometalk may collect a small share of sales from the links on this page.More info
Comments
Join the conversation
3 comments
-
I could definitely use one of these!
-
What an easy and useful project, thanks!


Frequently asked questions
Have a question about this project?