


Drill Charging Station
7 Materials
$40
1 Day
Medium
Why didn't I make this sooner? I have needed something to organize my drills for a while now. I finally got around to and I am so glad I did! This drill charging station/shelf was a fairly simple project a great way to organize some tools and other things as well as your drills. I did learn a lot of new things in the making so be sure to check out the whole process of how I did this and really get a feel for what I learned on the Youtube video of this project. Also I have plans available for free for on my website blog post that will give you exact measurements. All links are below
So lets get started with how I made this.
{
"id": "4889182",
"alt": "Check out the Video to see the whole process.",
"title": "Check out the Video to see the whole process.",
"video_link": "https://www.youtube.com/embed/BBfEOaTYmcI",
"youtube_video_id": "BBfEOaTYmcI"
}
{
"width": 634,
"height": 357,
"showRelated": true
}

The first thing I you will have to do is cut the boards you are using into the sizes you are wanting. This shelf consists of a top, bottom, two sides, and middle shelf for the main parts of the shelves. I used mdf for my shelf only because I already had a piece in my shop. You can use plywood or whatever else you want or have for this. The final dimensions of the main shelf part was 21” wide x 18” tall x 8” deep. To cut my pieces to size, I used a table saw but you can totally use a circular saw to do this. I cut them all to width, and then to length.
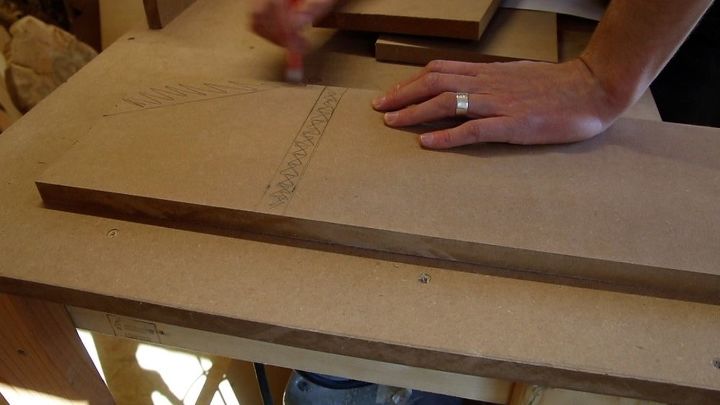
Where I marked out for the dato
I decided to try to install the shelf using a dato in the sides of the shelf. A dato is a basically a groove on the board for another board to sit into to make a stronger joint. I would typically just use a butt joint and screw the shelf in from the side, but I wanted to give the dato a shot. This was very simple to do.
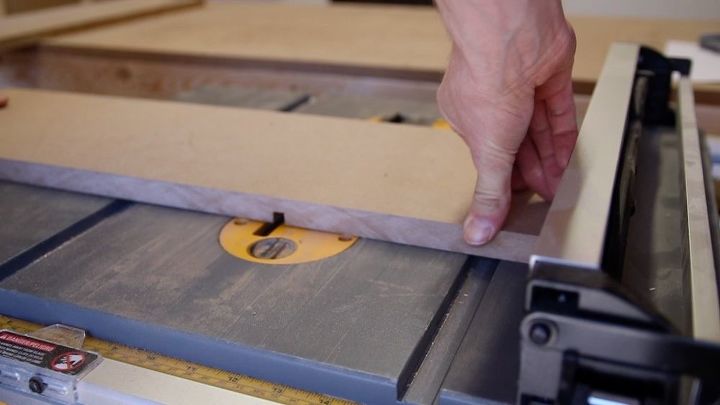
I set my table saw blade depth to ⅜”. Then I ran the board over the blade multiple times until it was the thickness of the adjoining board which is ¾” thick. I did this for each side piece if you do this properly, the shelf should fit pretty snug into place but you still may need to fasten it somehow. You can use screws, nails, or whatever you have.
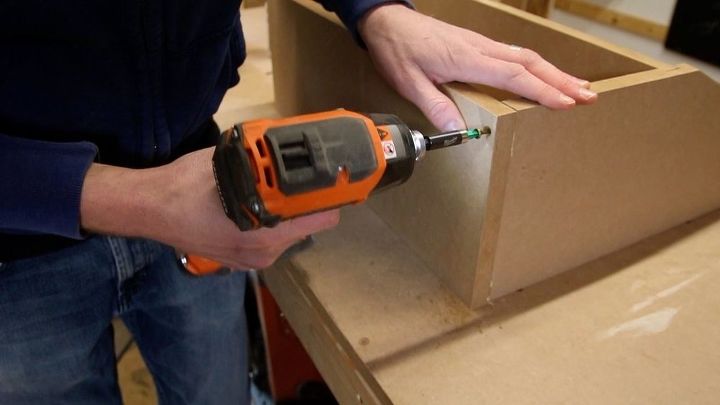
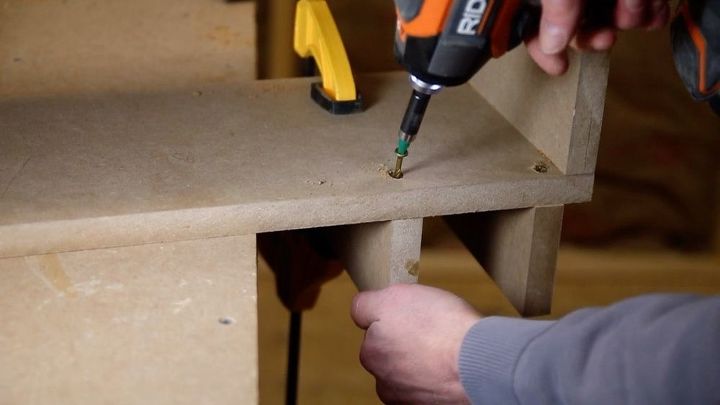
Assembling the shelf is pretty straight forward. I used wood glue and 2” screws to fasten the shelf together. MDF splits very easily so make sure you pre drill all the holes before adding the screws. One thing I so did was I used a countersink bit to countersink the screws I to the MDF that way the screws didn't stick out.
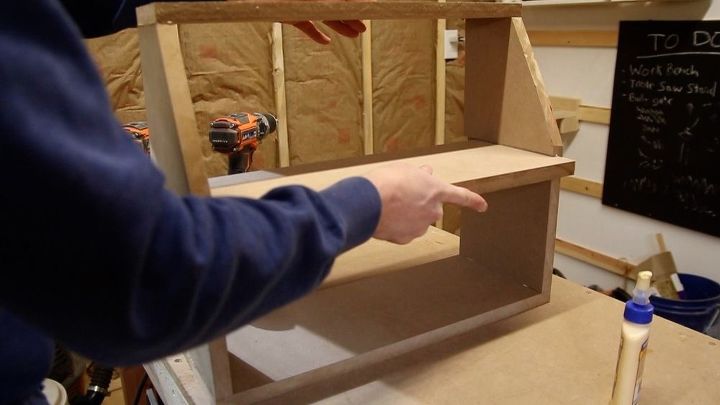
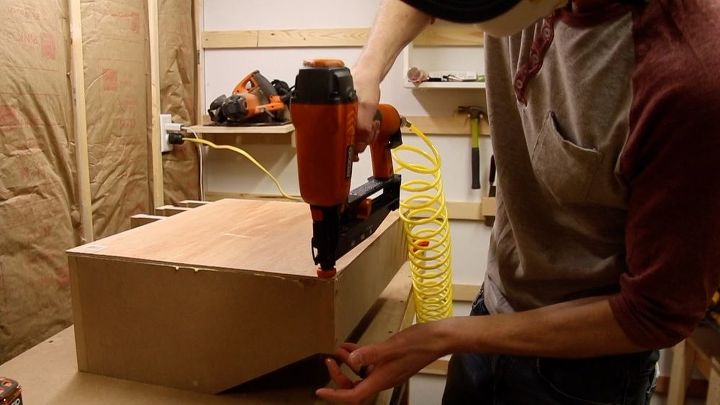
I added a back to the shelf that way everything would remain in tact and things wouldn’t fall behind the shelf. I used a piece of ¼” plywood. I just cut it to size, glued it on the back of the shelf, and then used a brad nailer to attach them to the shelf.
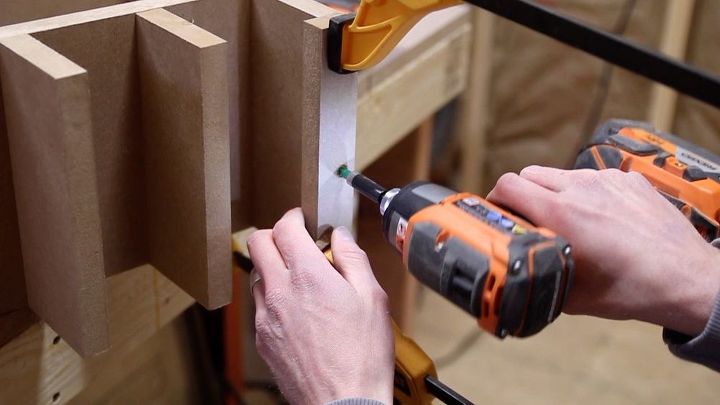
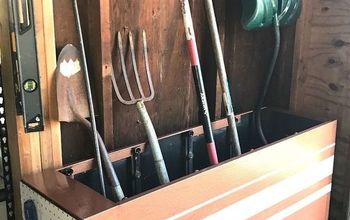
Next I added the drill hanging slots to store my drills in. I only needed two slots but I can add more at any time I would need them which is cool. To do this, I used the table saw to make the cuts. I made them the depth of the shelf and 3” tall. I clamped them to the bottom of the shelf and screwed them on. Then I cut 1 ½” strips and screwed this to the bottom of the 3” sections. There were three of these in total to hold my two drills.
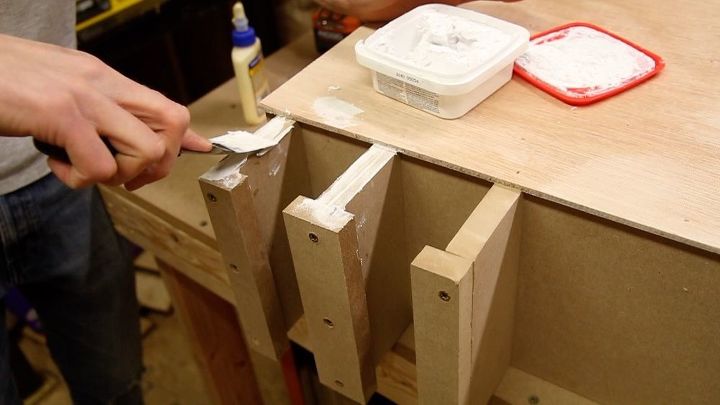
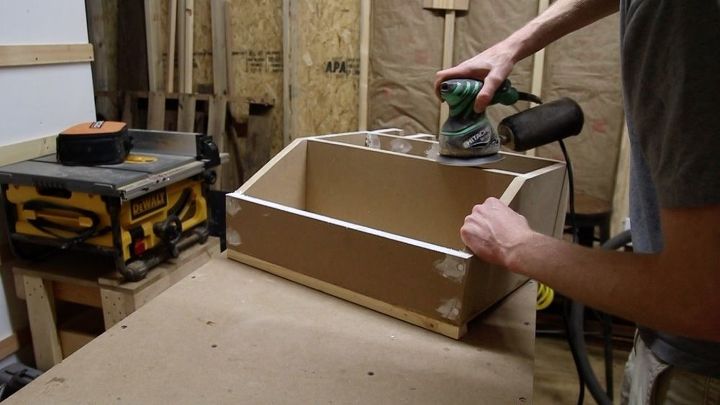
The next thing I had to do was prep everything for paint. First I sanded everything down to with 120 grit sandpaper, then 220 grit paper. On the edges of the MDF, it was very rough and there were a lot of places where there were cracks and splits from not pre drilling well enough. So I decided to add some nail spackling that you use for drywall. I used a putty knife and filled all the cracks and rough spots of the MDF with it. I let it dry for a few hours and then I sanded it smooth with 220 grit paper. This worked very well and I will definitely keep this in mind for the future.
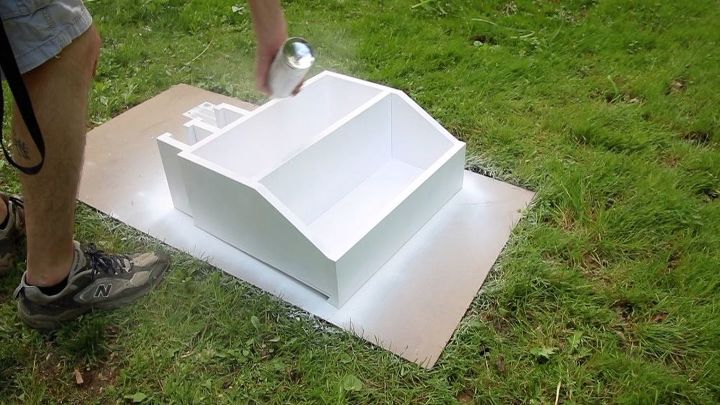
After this I used spray paint to paint the shelf. If I were to do this again, I would use a brush and latex paint. For whatever reason, the spray paint didn’t want to stick to the shelf very good at all. It took several coats. I actually had to go back to the store to buy more because I ran out. After I painted the shelf, it left a pretty rough finish, so I put two coats of polycrylic from minwax on the shelf. This is my go to finish. It is a water based product and in my opinion leaves a very nice feel to whatever you are applying it to. I use it a lot. After doing this, the shelf was complete.
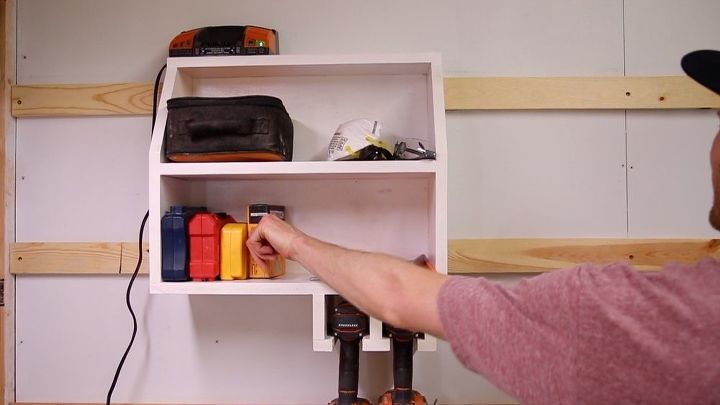

I used the french cleat system to hang this shelf with. I really like using french cleats and have an entire video explaining what they are and how the work on my youtube channel. I hope you enjoyed this project. It was fairly simple and made some great organizing space for my shop.
You can follow me around the web!
Youtube- http://www.youtube.com/madebymitch
Twitter & Instagram -@made_by_mitch
Website - madebymitch.net
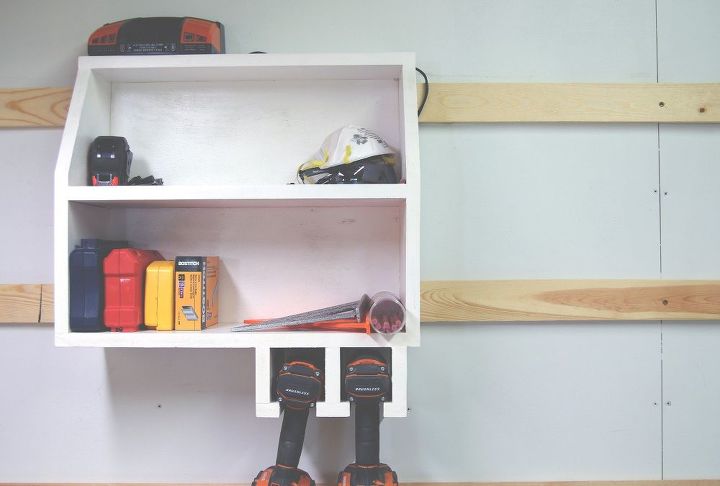
Finished Drill Station
Resources for this project:
See all materials


Any price and availability information displayed on [relevant Amazon Site(s), as applicable] at the time of purchase will apply to the purchase of this product.
Hometalk may collect a small share of sales from the links on this page.More info

Want more details about this and other DIY projects? Check out my blog post!
Comments
Join the conversation
4 comments
-
I'm going to try this.
-
Now this is a really cool idea. Thanks for sharing...I could definitely use something like this. Subscribed to you on Youtube


Frequently asked questions
Have a question about this project?