


Next Level Rock Painting: 3 Steps to Perfect Mandalas

by
Gabi Ralea
3 Materials
20 Minutes
Easy
There are no rules for drawing, as there are no rules for being creative.
Still, if you want to take your rock painting to the next level, then these 3 steps I took in my project for drawing perfect mandals are exactly what you need.
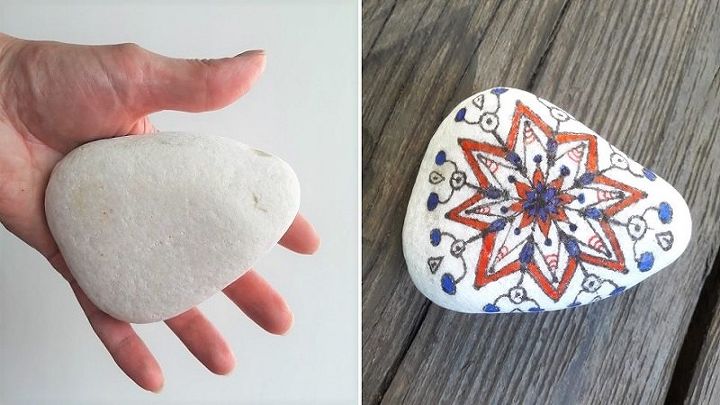
There’s no other list of materials than the usual one for rock painting: a rock, some thin markers in colors at your choice, and varnish for the final coat.
Wash the rock and let it dry, so you would draw on a clean surface, and the ink would adhere easily. from now on, there are only three mandatory steps to follow in order to draw your perfect mandala.
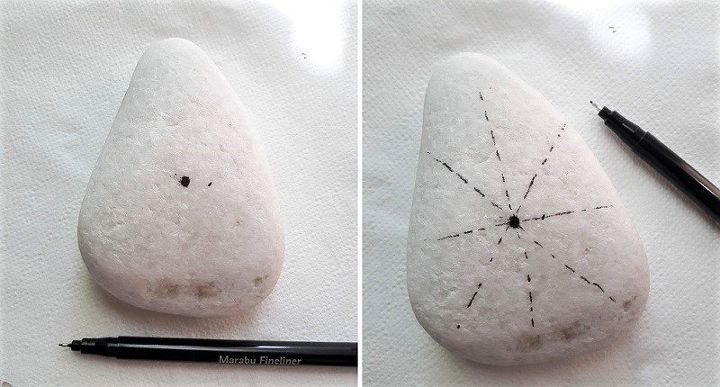
Step 1
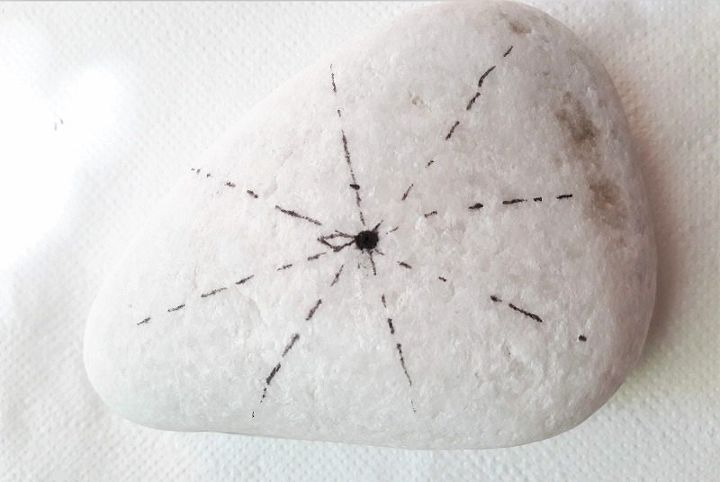
Find the center of your drawing surface and mark it with a small sign. Use this center to draw lines that cut the drawing surface in equal parts or slides, as you see below.
Step 2
Choose one of the slides and draw something in it, starting from the center. Choose something simple to start with, like a leaf or a petal.
Step 3
Duplicate the drawing in the next slides, in the same size. Yeah, I know, it doesn’t look very promising at the moment, but wait for it…
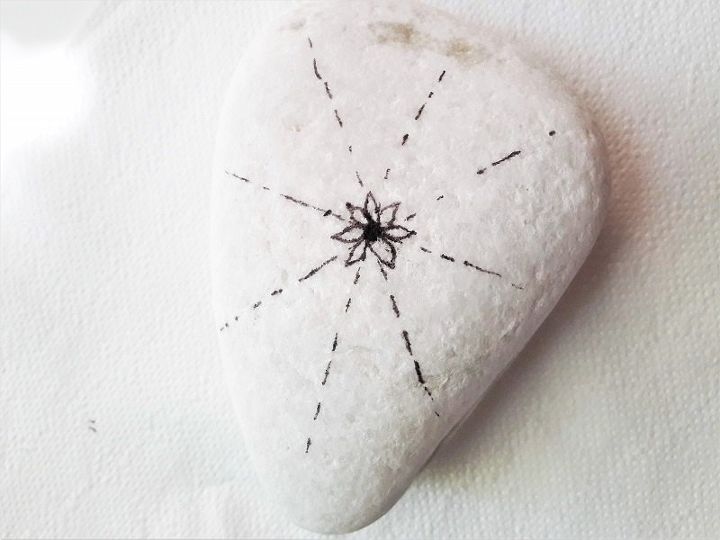
Next, all you have to do is to repeat steps 2 and 3 till you finish your drawing, and get to something like this:

OK, it’s pretty clear right now, but there’s still more you can do to improve your painted stone. My choice was to color it by adding red and blue. Pretty appropriate, since the 4th of July is around the corner, huh?
Finally, spray a coat o varnish to protect your masterpiece from sunlight, moist and dust.
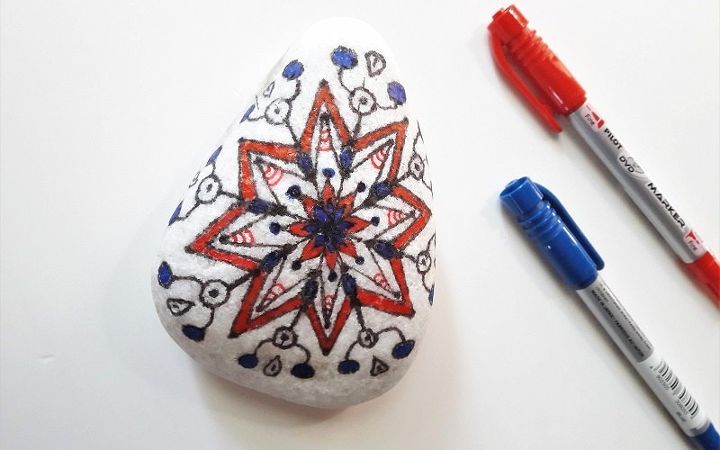
Does it look different now? Well, it’s the same stone that you were looking at in disappointment at the beginning of this article.
Do you want to see how I added elements one by one when drawing this mandala? Check the complete project HERE, and you'll also find who is going to get this stone, as a sign of forever friendship!
Resources for this project:


Any price and availability information displayed on [relevant Amazon Site(s), as applicable] at the time of purchase will apply to the purchase of this product.
Hometalk may collect a small share of sales from the links on this page.More info
Want more details about this and other DIY projects? Check out my blog post!


Frequently asked questions
Have a question about this project?