


Rotten Fence Post Cap? Cheap and Easy Repair!
4 Materials
$110
1 Hour
Easy
Are you looking at your rotten deck or fence post cap and dreading the time and expense it takes to repair it? Luckily, I found a no-paint 5 minute fix that you can install yourself!

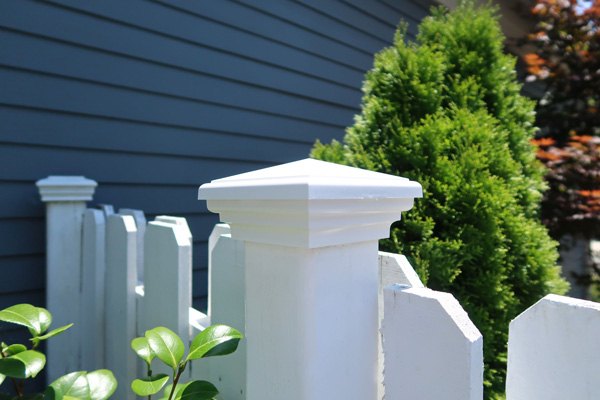
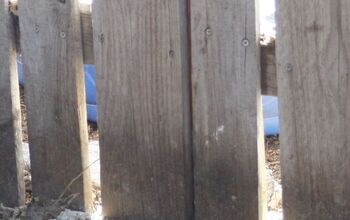
Here is what all of my white fence post caps looked like BEFORE.

Step 1:
Measure! Wood manufacturers use "nominal" and not actual measurements. So that means a 4 ft x 4ft post may actually measure 3.5 ft x 3.5 ft.
I chose a vinyl white post cap that would cover the unpainted area. The one I chose was for a 4 ft x 4 ft post and had a depth of 1.5 inches.
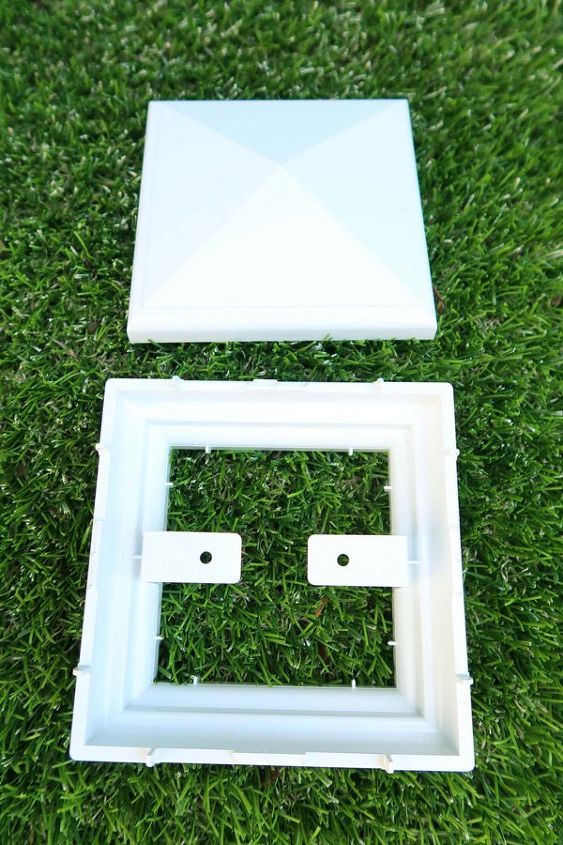
Here is what the post caps look like, before you install them and come in 2 pieces.
Step 2:
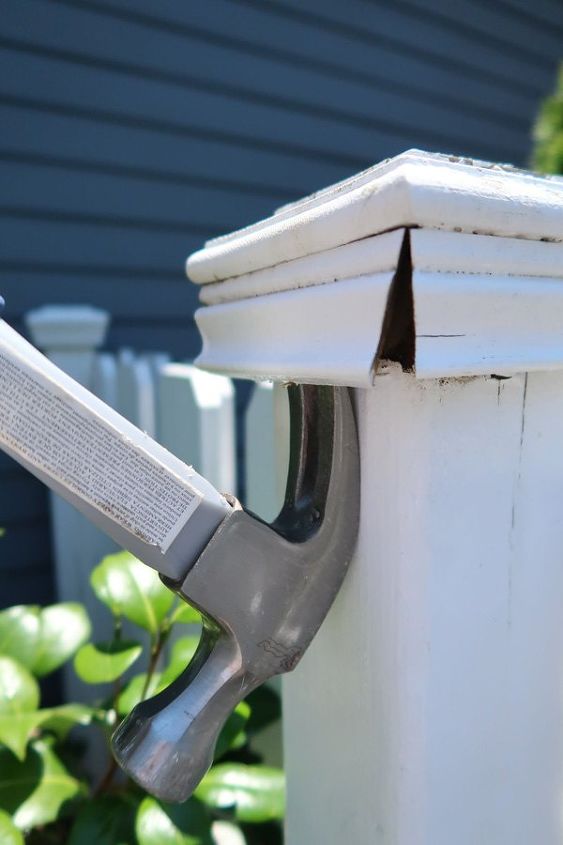
Using the claw of a hammer, pull up 2 to 3 sides to expose just the cap portion. Because my fence post caps were so rotten this took very little effort at all.

Step 3:
Using a hammer and with some force (I'm 5' 4" and on a stool, so it's not THAT much force), hit up on the underside of the top of the post cap to knock it off. This part is FUN :)
Do it after work, when you need to "hammer" out some stress. I crack myself up...
You can see it was just glued on and came off without having to remove nails or staples.


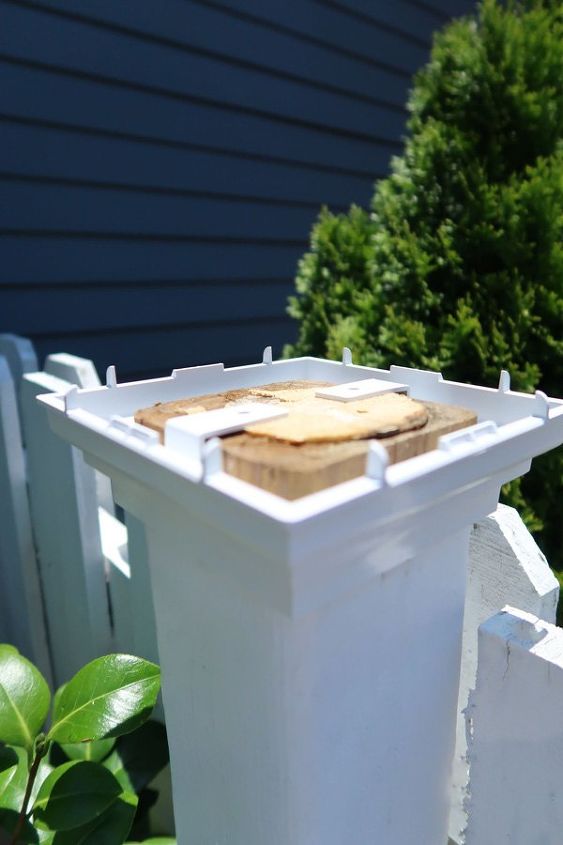
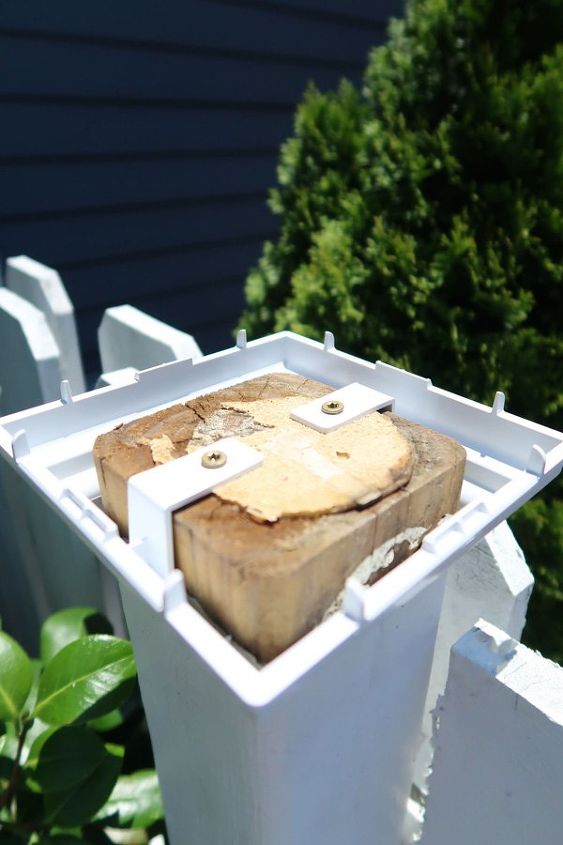
Step 4:
Place the bottom section on first. You know it is the bottom because it has the open holes to attach the wood screws. Make sure it's flush and straight (and covering the non-painted area).
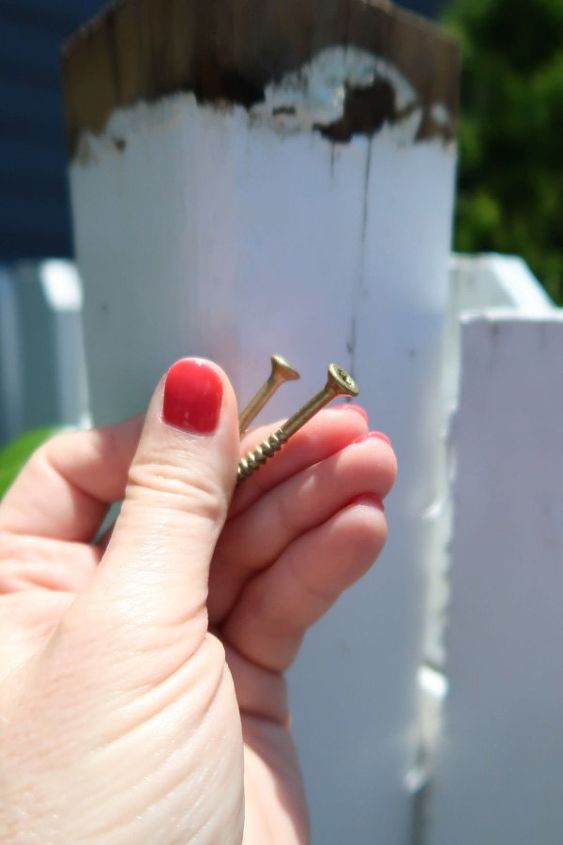
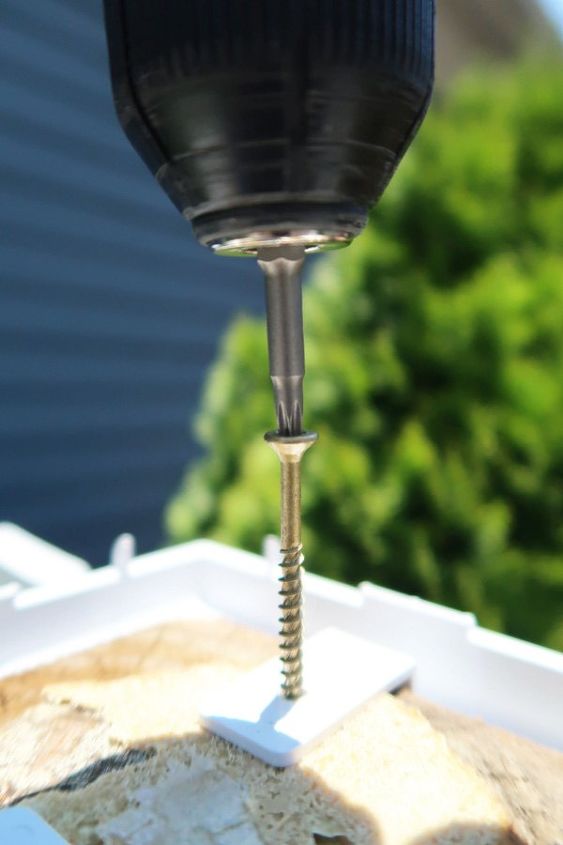
Step 5:
Using 2 wood screws, power drill, and hex bit - screw in the screws. They have a sharp tip, so no pre-drilling is required. The screws easily went through the adhesive on top as well.
A fun fact about wood screws is the top doesn't have threads, so you can hold onto them as you get started screwing them into the wood.
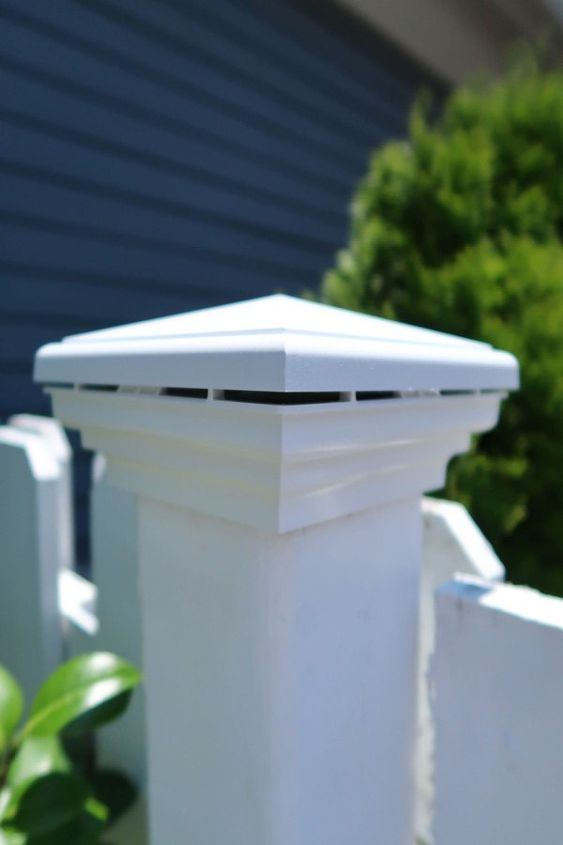
Step 6:
Snap on the decorative cover. Make sure all four sides have completely snapped into place. I noticed that on one side I usually had to push in the first section a bit, while pushing on the top to get it to fully engage.

All 4 sides need to be snapped into place.
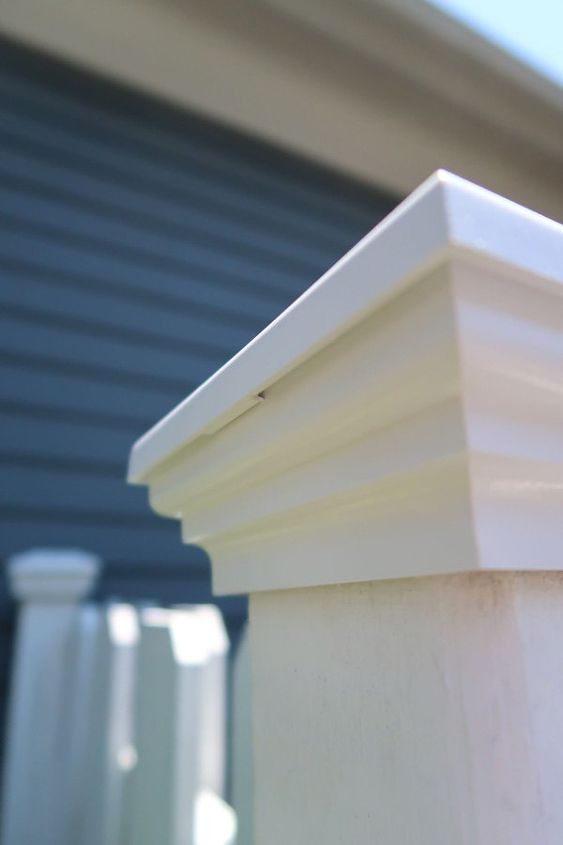
Final Step: ENJOY!
This was one of the easiest DIY jobs I've ever completed! I did each post cap removal and replacement in a matter of 5 minutes. The new post caps make SUCH a big difference. See for yourself and they have a 10 Year Warranty.
Come on birds poop away ;) The rain will wash it right off!
For more DIY projects and FULL instructions, please visit my website!
Resources for this project:
See all materials


Any price and availability information displayed on [relevant Amazon Site(s), as applicable] at the time of purchase will apply to the purchase of this product.
Hometalk may collect a small share of sales from the links on this page.More info

Want more details about this and other DIY projects? Check out my blog post!
Comments
Join the conversation
4 of 13 comments
-
Looks so much better, very nice!
-
I need to do that to my posts. It would really upgrade the look of my fence !!!


Frequently asked questions
Have a question about this project?
Would you happen to know if the have rounded top posts as well?
Which store (and state) carries that type of cap (2 pieces)?
Thank you.
My post has a bottom piece that is also rotten. Do they make a part to cover that, where you don’t have to remove the post to install it?