


Stairway to Heaven
3 Materials
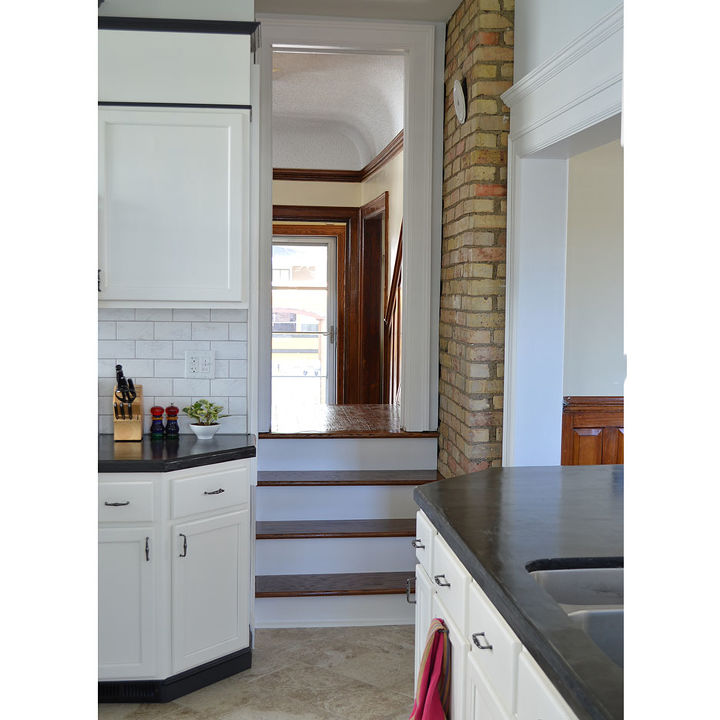
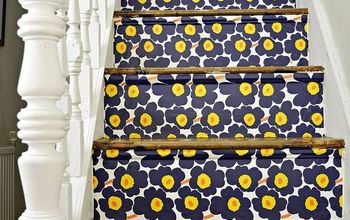
In order to put an official end to our 18-month-long kitchen remodel, I had only one project left to complete: refinish the stairs. They had to be pretty enough to deserve a place in the sparkly new kitchen. I'd say I accomplished that.
Sparkly new stairs.
And that means that the kitchen is officially done. Which is awesome. But we're here today to talk about stairs. So let's look at where this project started:
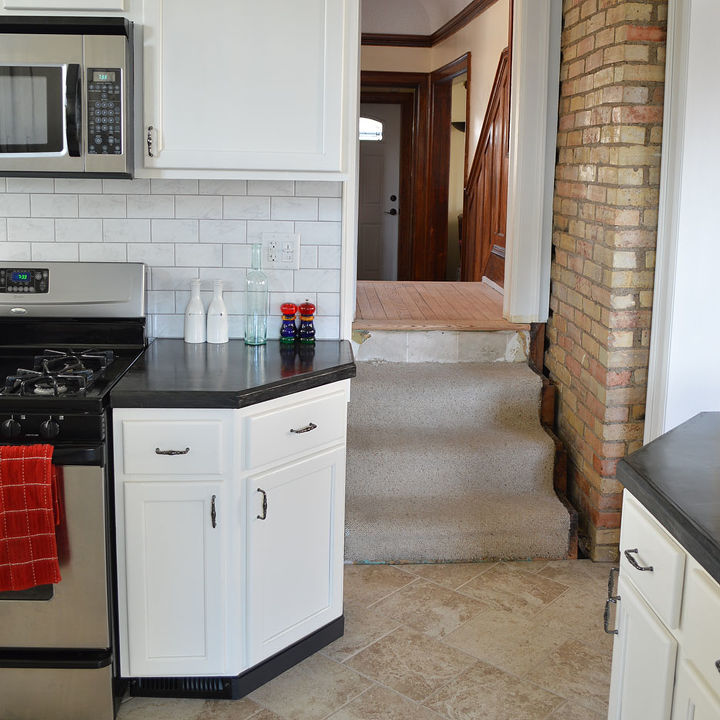
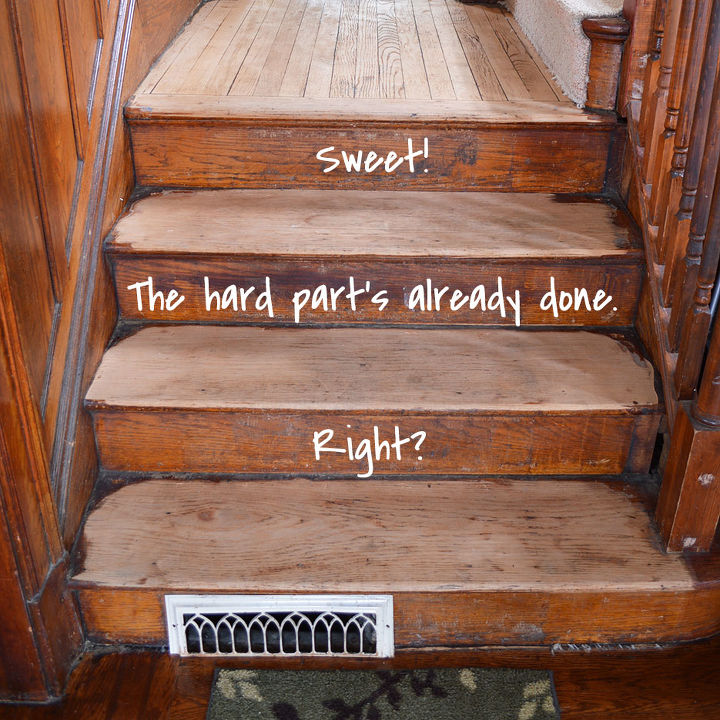
The kitchen stairs, before.
At first glance, this looks like a pretty straightforward project. Step 1: Rip up carpet. Step 2: Strip and sand stairs. Step 3: Stain/poly the treads, and paint the risers. But, like everything else we do around here, it turns out that there were a few more steps than I planned on. Let's start with the big problem -- the gap.
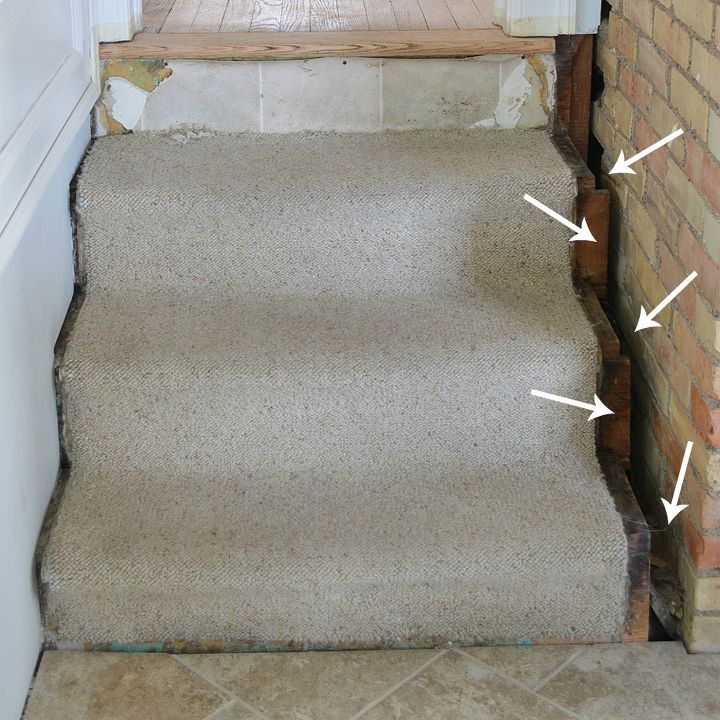
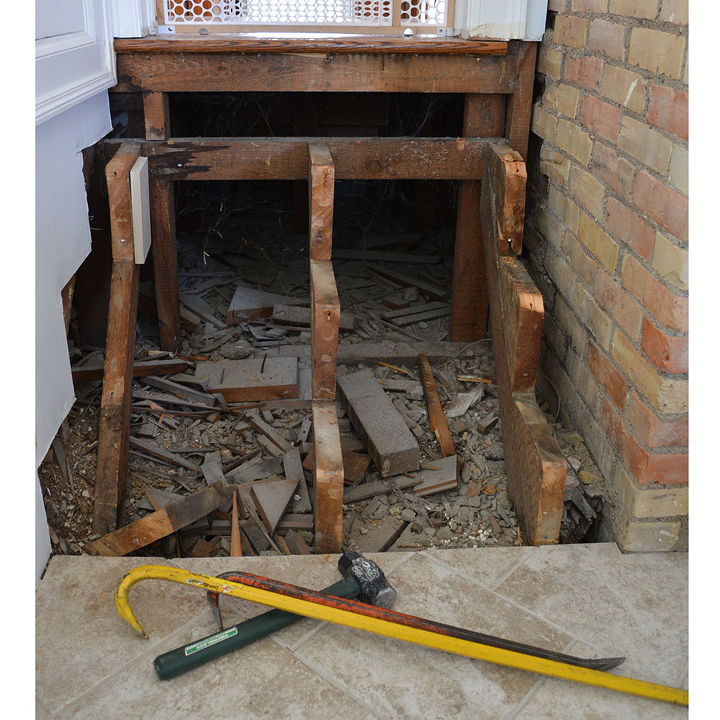
Looks like the stairs stop a little short.
Even before ripping up the carpet, I knew that the treads and risers on this section of the stairs would have to be completely replaced. I guess the wall that used to cover the chimney -- the wall that we tore out -- also covered up this 2-inch gap. Since I had no intention of rebuilding the wall, my only option was to replace the stairs with longer pieces. So really, this project was derailed before it even got started. Which made me think (because there is something wrong with me), why not make it a bigger project?
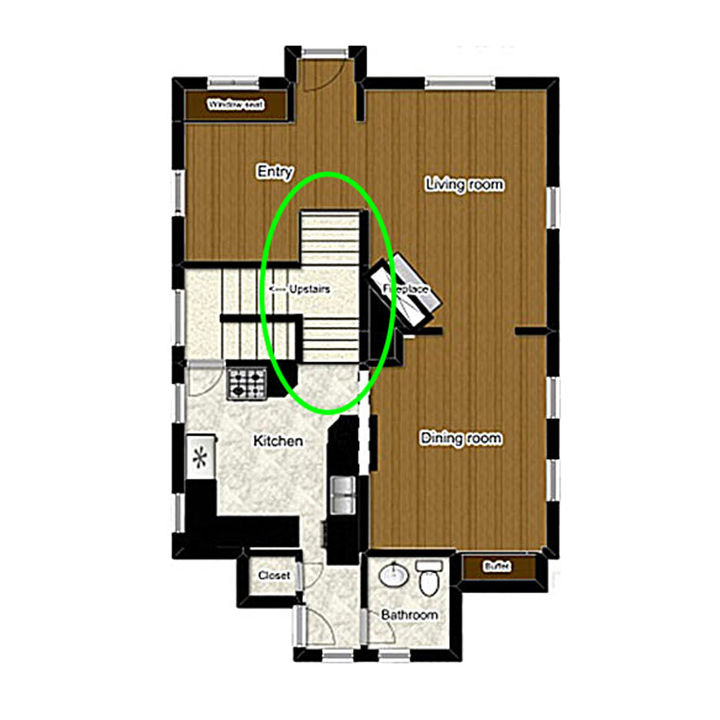
The stair hump in the middle of the house.
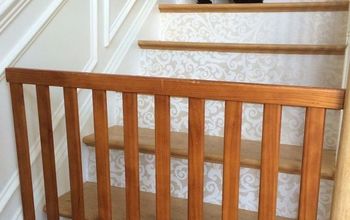
We have a hump in the middle of our house -- a stair hump. Removing the carpet from ONLY the kitchen stairs would have looked weird. So why stop at the kitchen? I decided to rip out the carpet over the entire hump. The good news is, when I pulled up the carpet from the entry-side of the stairs, I discovered that the treads underneath had already been stripped. Score!
That's like winning the old-house lottery. Stripping floors is the hardest, messiest part; after that, it's just finish-sanding and staining. However, my celebration was short-lived. I discovered holes that needed to be patched, and my meager woodworking skills were soon called into action. You can read more about that here: http://www.sarahsbigidea.com/2014/05/hump-day/. It took me over a week to figure it all out (here: http://www.sarahsbigidea.com/2014/05/hump-day-part-deux/), but eventually I finished the non-kitchen side of the stair hump.

Refinished stairs in the front entry.
And then I could move on to the meat and potatoes. I tore into those kitchen stairs with pleasure. They were the last remaining evidence of a massive kitchen renovation, and I wanted them gone.
"Fixing" the kitchen stairs.
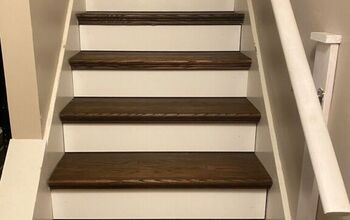
It only took me ONE DAY to tear out the stairs and replace them with the new, longer parts. One single day. That kind of speed is unheard-of around here. And to make things even better, I had pre-finished the treads and risers weeks ago. So once they were installed, all it took was a little touch-up paint for the risers and one more coat of polyurethane for the treads. And this project -- and the entire kitchen renovation -- was D.O.N.E.
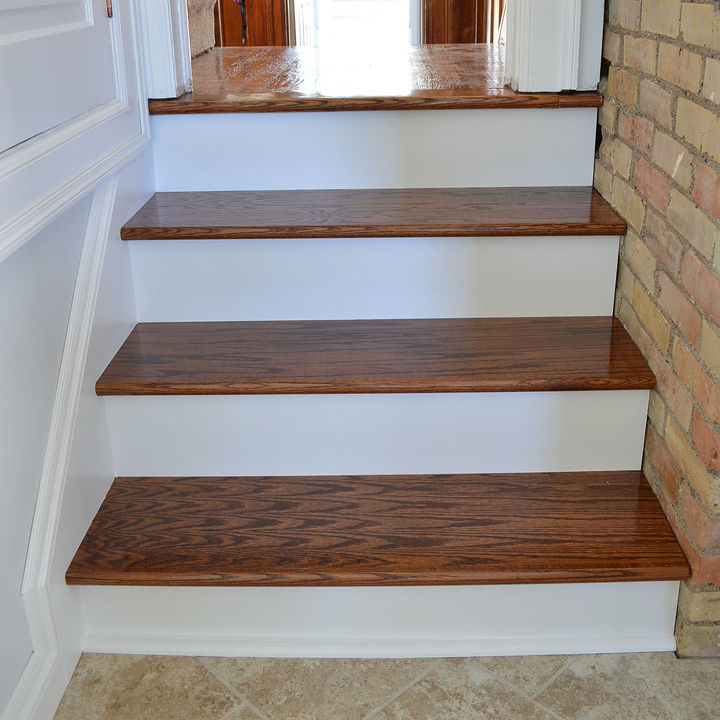
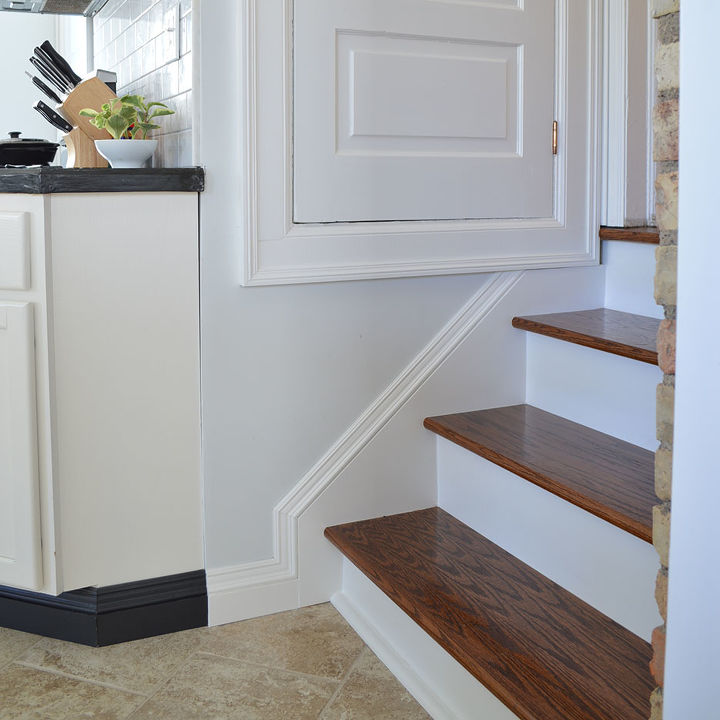
The new stairs, sans gap.
The kitchen stairs, after.
And that, my friends, completes this renovation. Stop by my blog soon to see some amazing before-and-afters. You won't believe the transformation!

Want more details about this and other DIY projects? Check out my blog post!
Comments
Join the conversation
2 of 64 comments
-
Great Job!
-
Awesome! Hope you removed all the garbage pieces underneath the stairs & sealed the stairs. I’m paranoid about creepy, crawly things!


Frequently asked questions
Have a question about this project?
Have you thought about whitewashing the brick wall in your kitchen to match? I bet that would look amazing.
Do you find the stairs slippery with the new finish?...ie people with
sock-feet??
the steps came out beautifully, but what are you going to use to cover the holes between the bricks and the wood?