


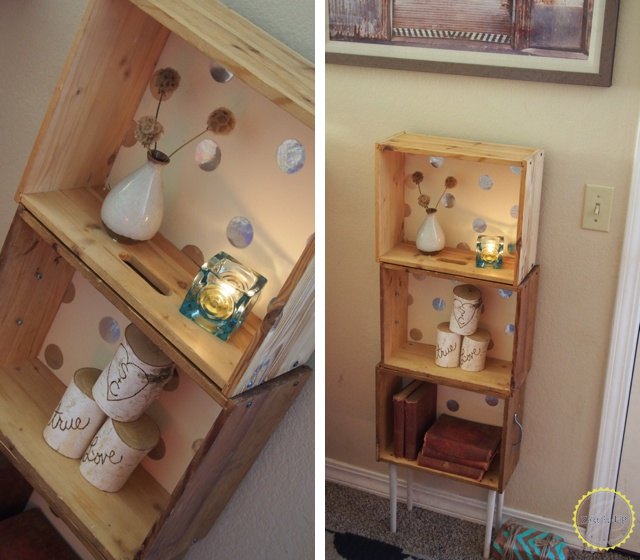
A Polka Dotted Drawer Bookshelf

Since life never REALLY slows down for us women, we decided to share our latest post that we wrote for Allthingsthrifty.com. For a cute project, I created a sweet little bookshelf. I had a couple of drawers that I had been using off-and-on for organizational purposes. Since they were made out of solid wood, I got to thinking. Why not give them a more permanent residence in my home. I have been loving all the Anthropologie styled decor pins that I have been eying for a while now. So, I decided to try my hand at creating something with that vibe. So, here we go!
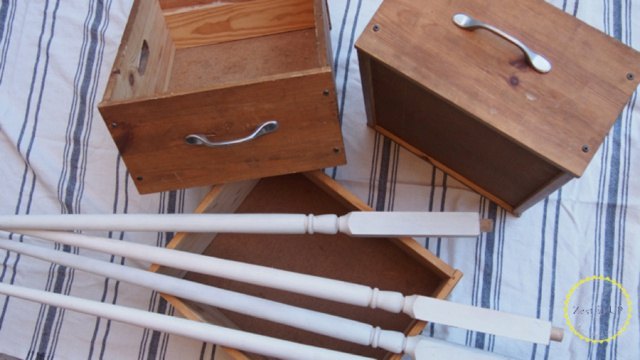
Fortunately, Sam and I almost never pass up a good set of spindle legs at our favorite store, Restore. If it is not familiar to you, Restore is an awesome building supply thrift store run by Habitat for Humanity. These babies were so cute, and we got them for about $5. Score!
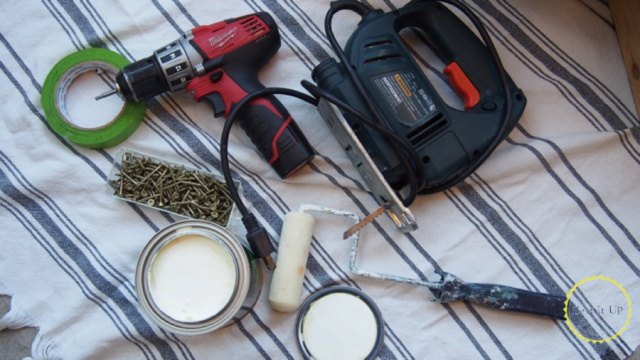
Project Supplies:
- wood drawers
- spindles
- paint
- paint tape
- rollers
- drill
- screws
- saw
- Mod Podge
- wrapping paper
(Confession: I started the project with this super compact electric saw, but moved onto using my chopsaw, as the cut was way easier and cleaner…I needed the cut clean, as you will see later.)
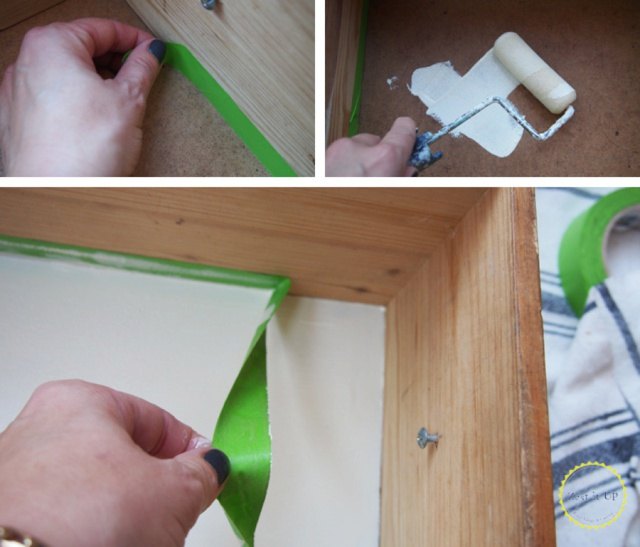
Step One: time to paint! I went for a super neutral cream paint in a satin finish for good durability.
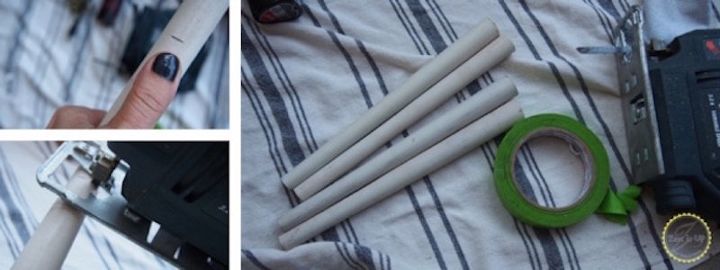
Step two: while the paint is drying, it is time to cut the spindles. I know, it may seem totally crazy to cut such cute spindles. Crazy! However, I have excellent reasons, lovelies. 1) I wanted a clean, almost modern look. 2) I did not want a bookshelf that was resting on four foot legs…too wobbly and ridiculously out of proportion. 3) By cutting the bottoms and using them for this project, I still have the cute spindle tops for another project. Yay! Two project from the same spindles. Happy day!

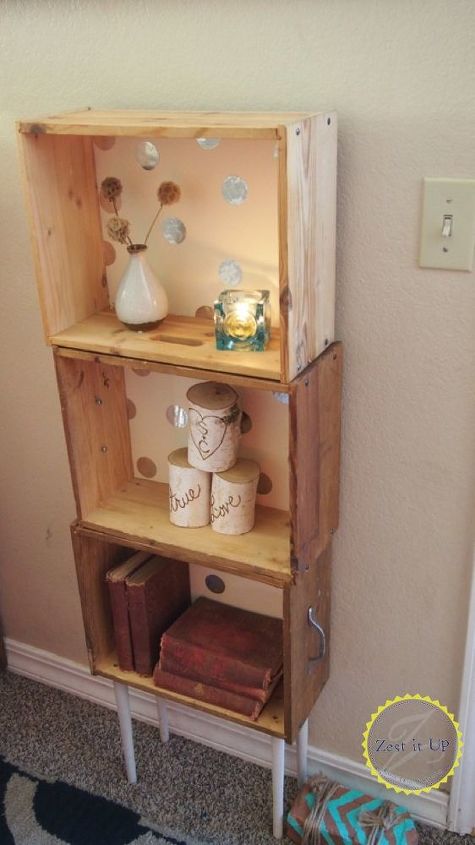
Step Three: Using a drill, I simply attached the legs to my bottom drawer. Two things to note here: this is obviously why I needed to use a chop saw, so that the ends would be even and smooth, and (very important) I attached the legs to the side of my drawer. This bookshelf is going to be created by stacking the drawers on their sides.
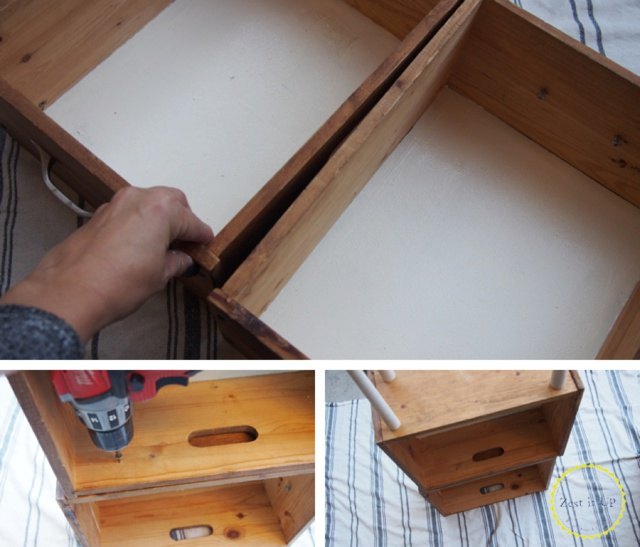
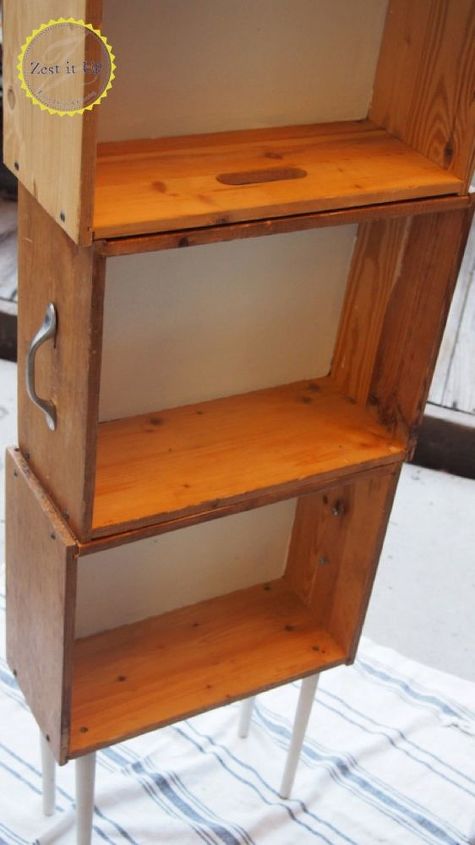
Step four: Time to stack! I used wood screws and a drill to attach the shelves from the bottom, so that I would not see the screws when the bookshelf was upright. Important thing to note here, drawers have little lips on the ends due to the way they are constructed. I used this element to make my piece even more charming by creating a super subtle staggering effect.
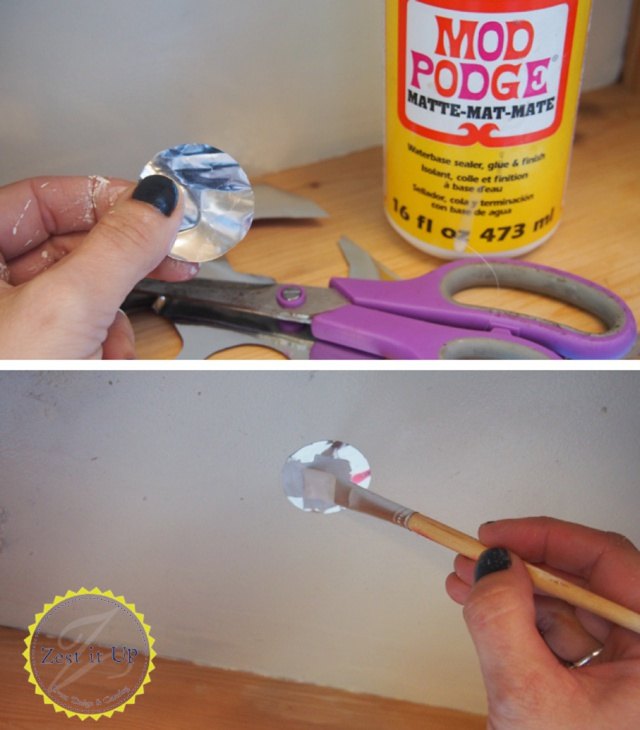
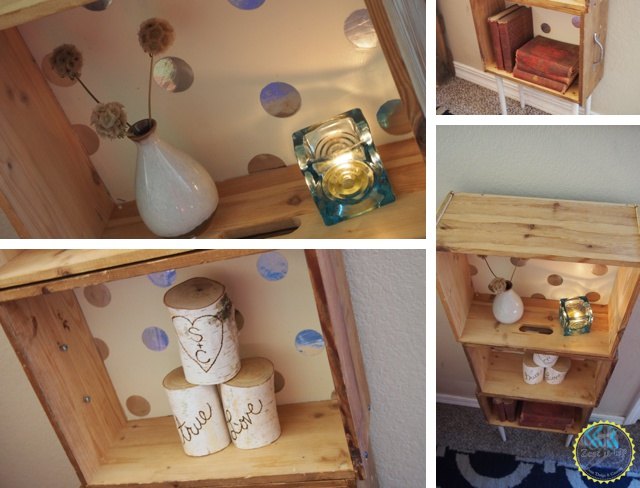
Step five: Things are looking great! Time to add some more detail with Mod Podge and some silvery foil wrapping paper that I had left over from last Christmas.
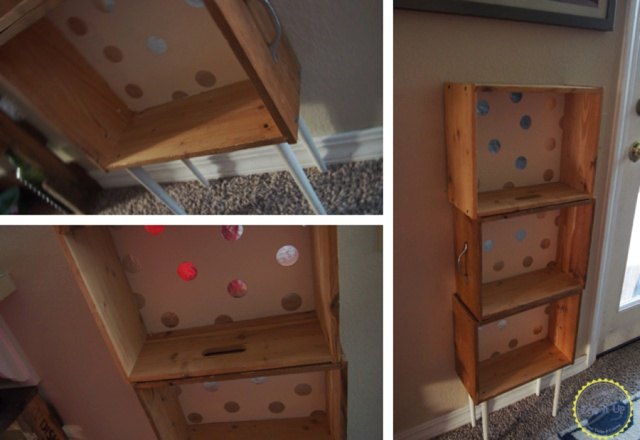
Step six: Sit back and enjoy the efforts! It turned out so cute!
Hope you are inspired!
Time to turn some trash into treasure!
XOXO,
Sam & Chanda
Resources for this project:
See all materials


Comments
Join the conversation
-
Well done!
-
Nice !! I love that look for the drawers … I put some castors on two that I had and rolled them under my bed with shoes and they worked great for that


Frequently asked questions
Have a question about this project?
Cute idea. How "tippy" is it?
I love this and want to do it but my concern is stability. It looks as though it would fall over rather easily because of the legs being so close together. Did you do anything to address this at all?
Could you do the same with crates?