


DIY Patio Sign
I am always looking for ways to spruce up my outdoor space. I love a good DIY project that lives in the backyard like this one, this one and this one. Today I’ll be showing how to create a gorgeous sign that you can hang in your yard or even in your home.
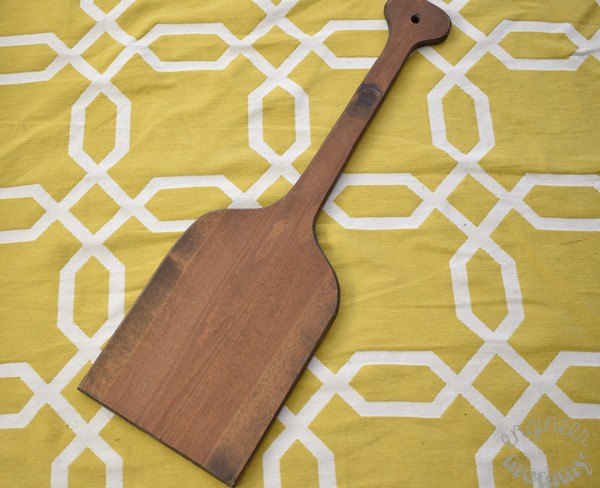
It all started with this wooden piece from the thrift store. What is it used for? I really have no idea, but I love the unique shape and the smooth wood. I figured that a little paint could really bring it to life!
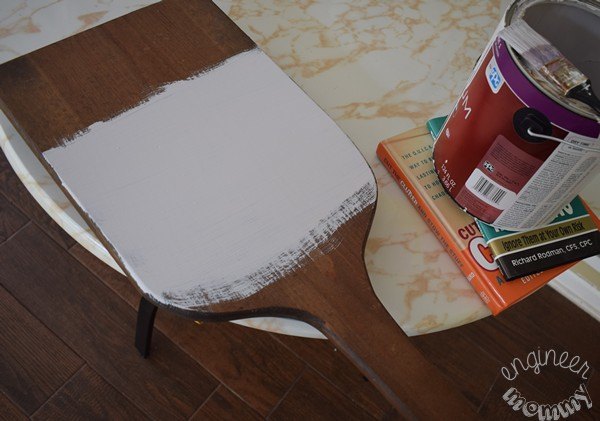
I then painted the center section in white paint. I didn’t bother making sharp lines because I knew I would paint over (using painter’s tape) afterward.
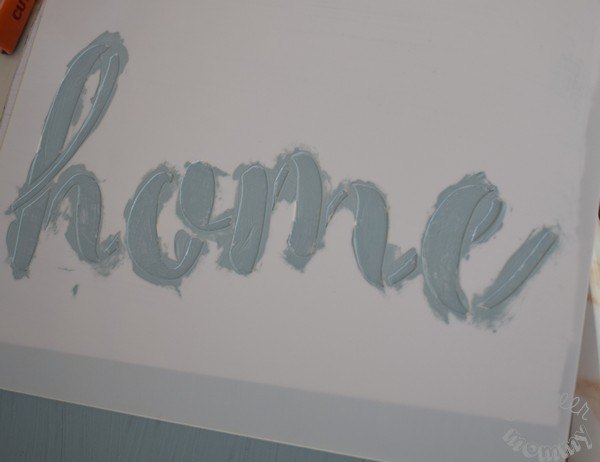
Once the white paint was done, I laid down some painter’s tape and painted the top and bottom of the sign with matte blue paint. P.S. I used this exact paint on this project (an old favorite)! Then, I used a stencil from Stencil Revolution (see other projects I made using their stencils here).
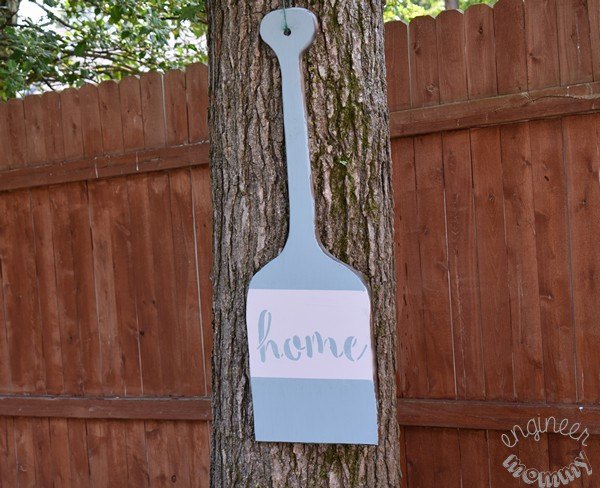
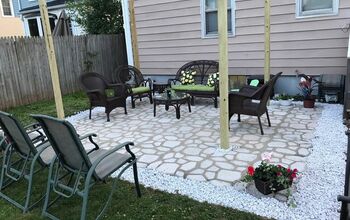
Here it is hanging in my yard. I simply hung it with some twine from a branch. Oh, and I did spray it with some clear glaze before hanging it. A little extra protection from the elements!
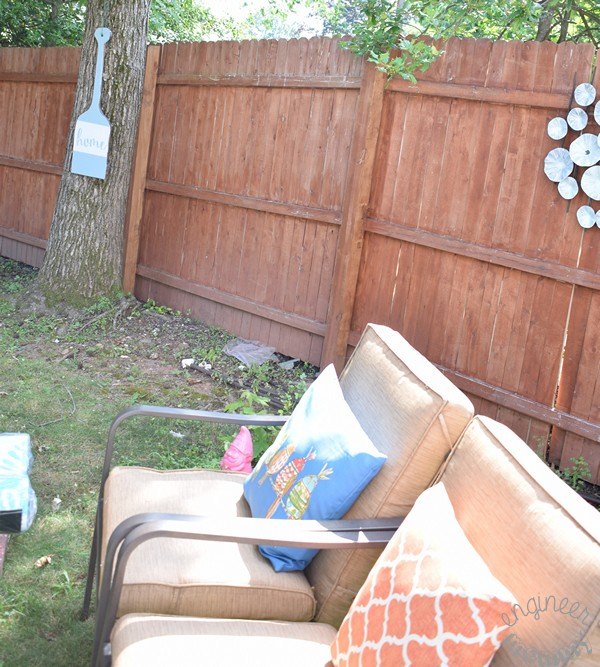
I love what it adds to our outdoor living room! It add a bit of whimsy and a bit of charm! I would call this project a success for sure. For more tips & pictures, please visit the blog post below.


Frequently asked questions
Have a question about this project?