


DIY Simple Wood Picture Frame
Hi, it’s Brittany from Our Home Made Easy! I am passionate about sharing easy DIY projects around the house for other busy families.
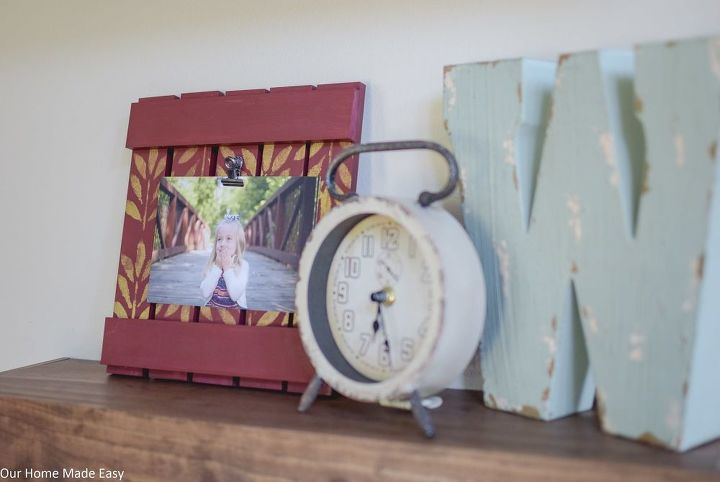
Today I wanted to share how you can make a cute & quick wood picture frame with almost no power tools! It makes for an inexpensive gift or perfect for changing with each holiday.
You can see the full tutorial on OurHomeMadeEasy here.
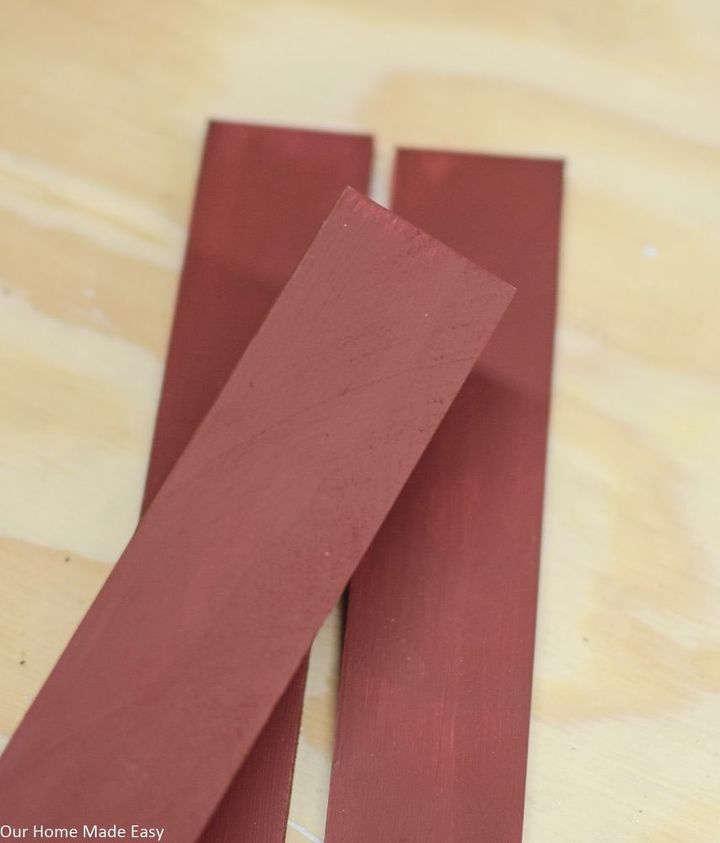
Using a miter saw, cut 5 strips of wood 9″ long. These are your vertical slats. Next, cut 2 pieces 8 3/8″ long to be your horizontal slats “holding it all together.”
Then paint all sides of the wood strips with acrylic paint.
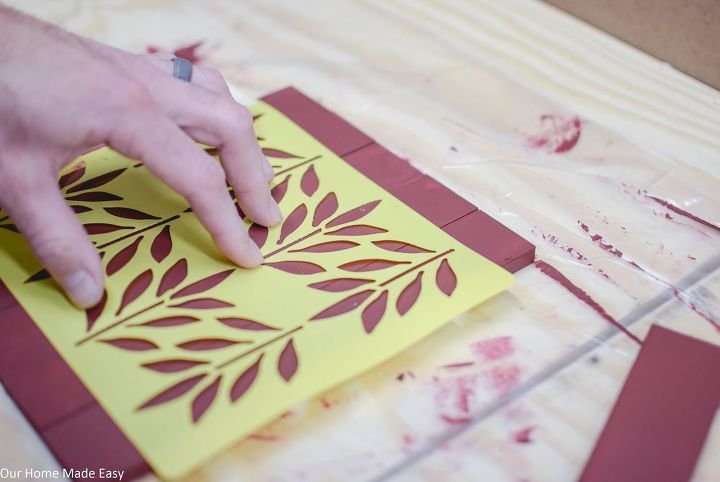
Line up the vertical strips together.
Place your favorite stencil on top of the 5 strips and paint a coordinating color with a stencil brush (foam or bristle).
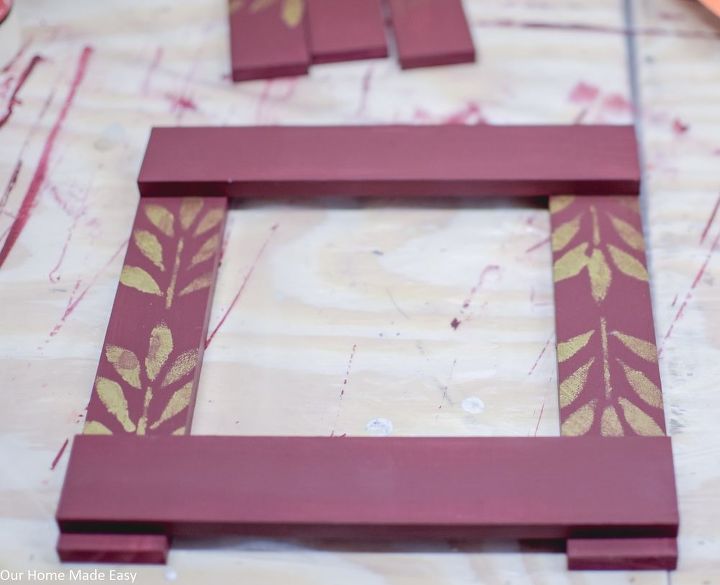
Once dry, glue the (2) 8 ⅜” strips to (2) 9” flush to the end of the 8 ⅜” strips, about ⅜” up from the bottom of the 8 ⅜” strip, leaving a little lip around the top & bottom.
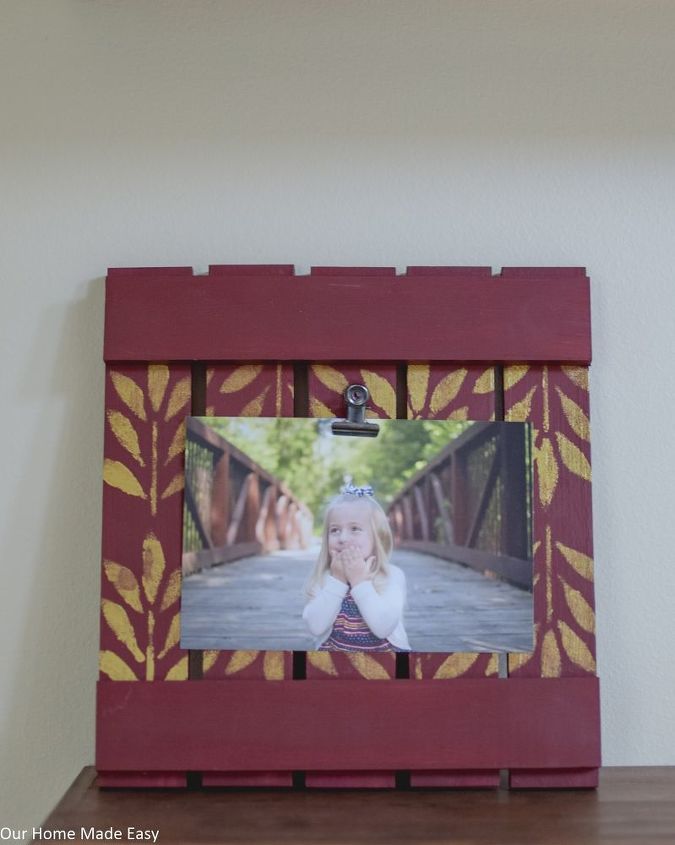
Super glue on the photo clip.
You could add a small dowel rod for holding the frame upright or glue on alligator clips for hanging it to the wall. Right now it's leaning against our wall.
Thanks for checking out our wood picture frame tutorial!
Find more easy projects on our Facebook page, www.facebook.com/ourhomemadeeasy !


Frequently asked questions
Have a question about this project?