


A Table From Plain Jane to Glamour Model

by
Denise Hardy
4 Materials
$29
2 Days
Easy
I've been kept very busy over the past few weeks painting several pieces of furniture for a very dear friend - in fact she has kept me busy over several months with painting lots of furniture and decorating her apartment. Something I may say is exactly what I enjoy doing.
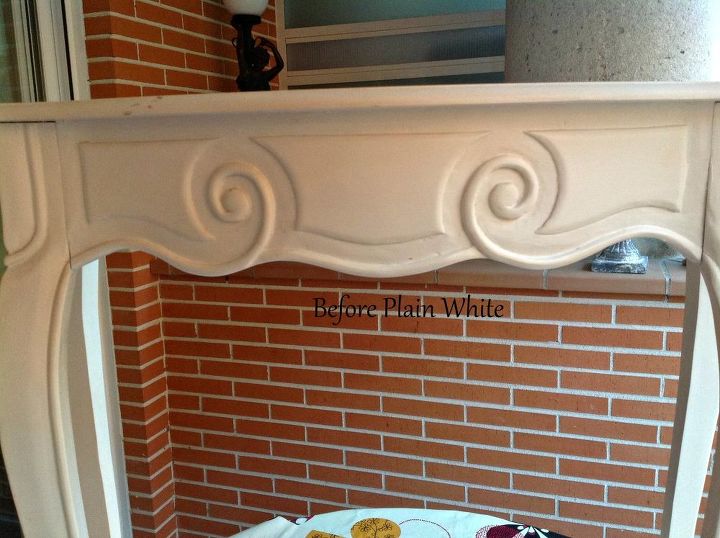
Today I am showing you how to take a white small 'Plain Jane' table and turning her into a 'Glamour Model'. I hope you like it 
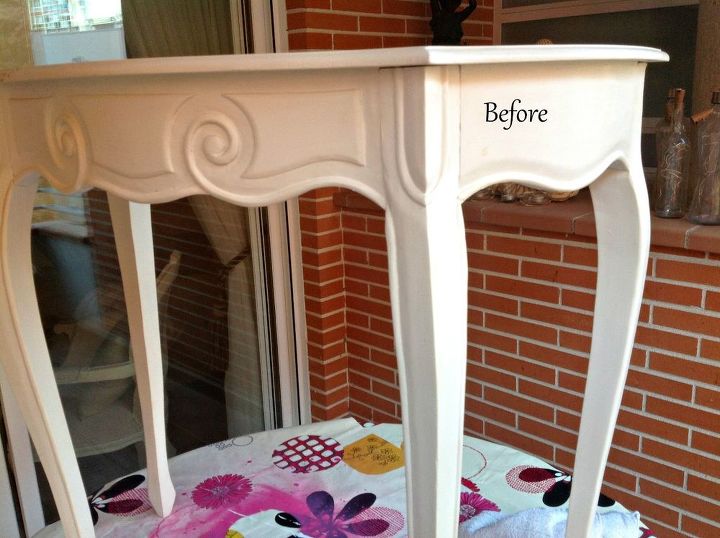
First of all I only needed to clean it with soapy water and a dry cloth as the table was in very good condition. My friend only wanted something different instead of just plain white. I had already painted her walls and the white of the table did not really look very interesting.
I had already painted and changed the look of some other pieces of furniture for her so it was just to make all of her furniture look a little less stark. Therefore I decided on the 'glam' look.
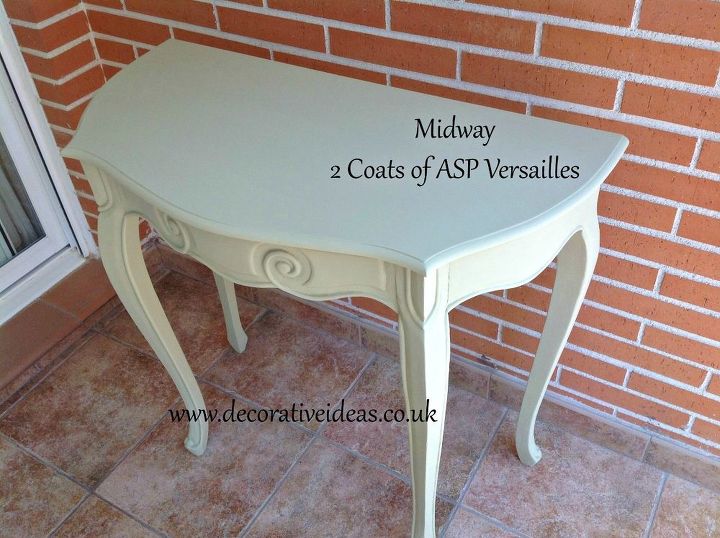
I decided to use Annie Sloan's 'Versailles', which is a pale green for my base coat and used two coats.
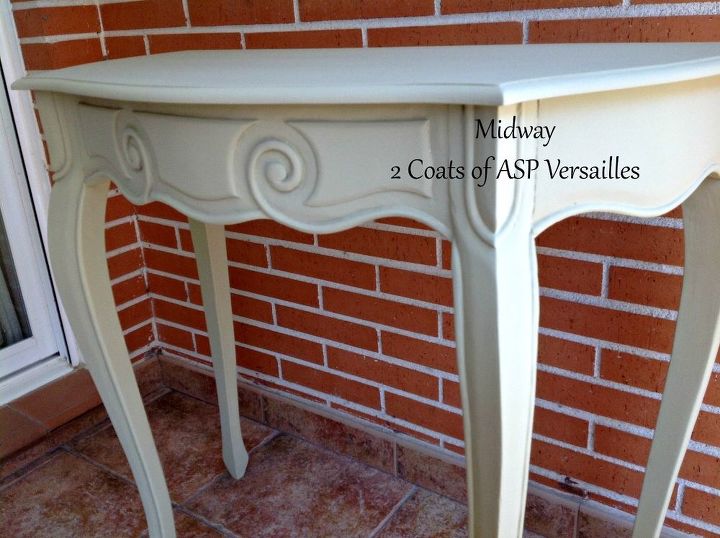
Slightly sanding in between coats. I then left the paint drying overnight
I like to use a round brush when I'm working with fiddley pieces of furniture - it is easier to work with than a flat brush.
TIP - when using Chalk Paint I personally like to add small amounts of water. As all Chalk Paints I have used are rather thick and when it is watered down it flows much easier and personally it looks and feels better. Just go sparingly with the water, as you don't want to go too overboard with the water so add little by little. You can always add but you can't take out!! It is much preferable to have two thin coats than one thick!
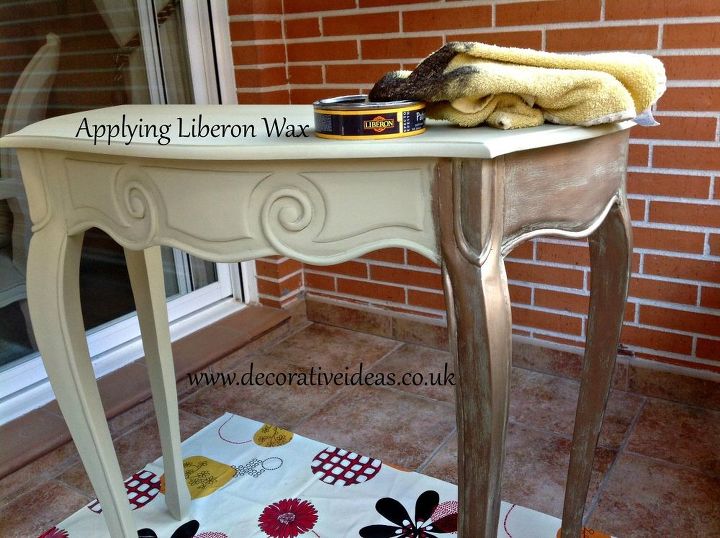
The next step to bring the table from it's 'Plain Jane' look to 'Glamour' I used Liberon Wax in Bronze. Using an old rag I rubbed the wax onto the table - covering it quite well all over. Keep dabbing your cloth into the wax bit by bit - don't put too much on your cloth.
I always start with the legs and other parts of the table - leaving the top until last. I suppose I like to leave the top until last because it's the largest 'whole' piece to deal with and you use longer strokes - the rest is more 'fiddley'.

A close up of the legs
Once the wax has been completed all over - wait for about 10 minutes. You will need another old cloth to give her a nice sheen. So... go over all of it just rubbing until you feel that it's nice and smooth.
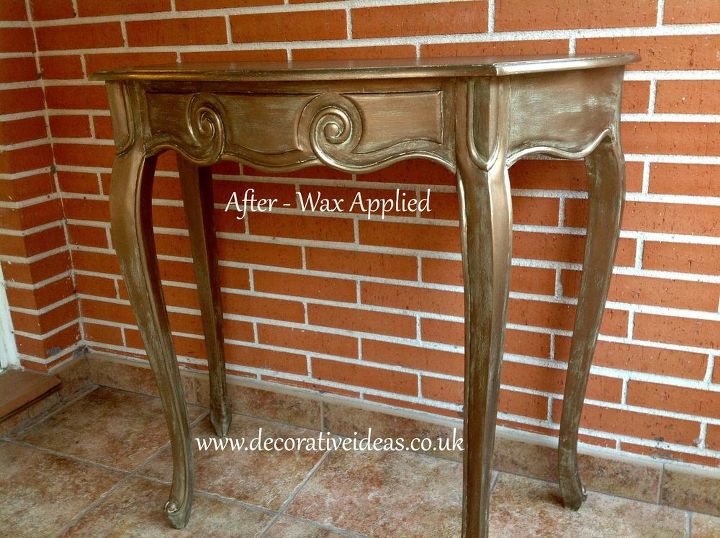
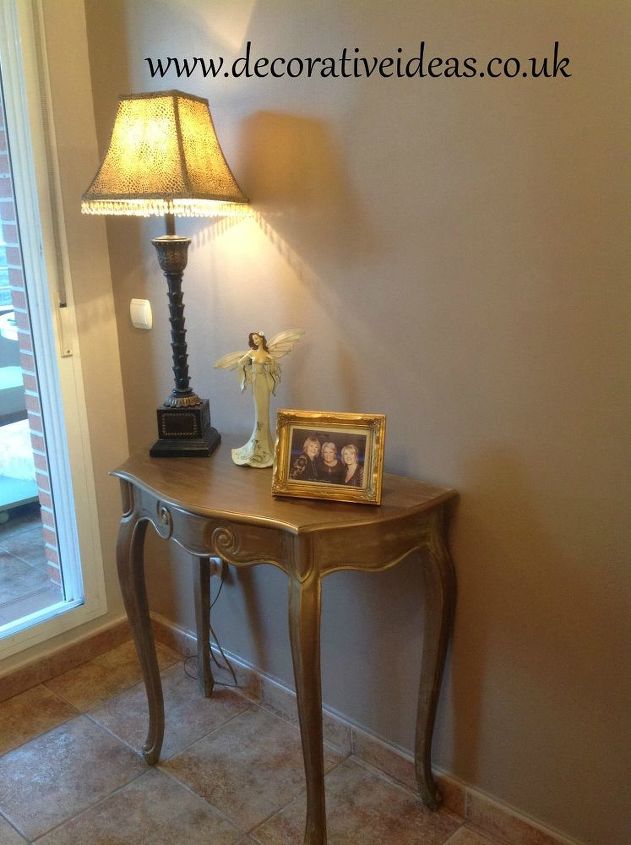
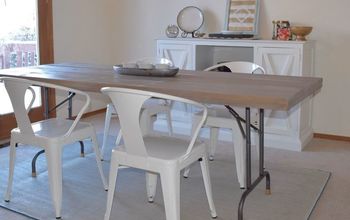
Here she is all 'glammed up'

A Close Up - I will perhaps now overload you with a few 'After' photos.
I painted this outside on my friend's balcony and took some photos on there and then took it inside to take a few more so you could actually see it 'in situ' in her lounge hence quite a few photos
hence quite a few photos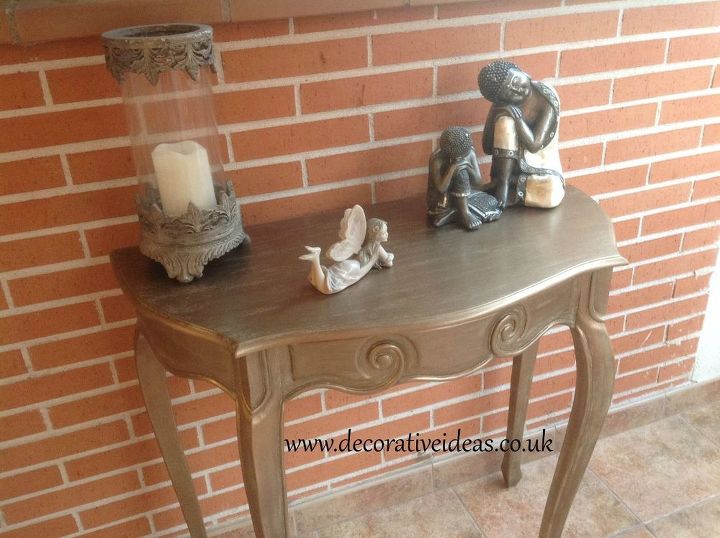

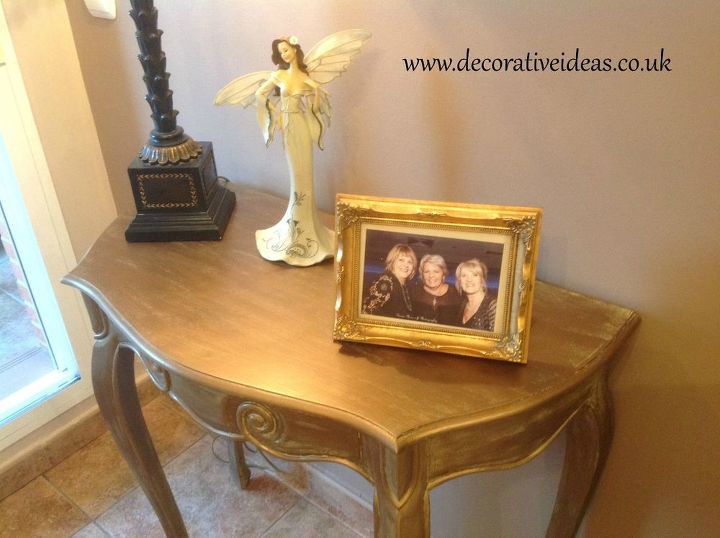
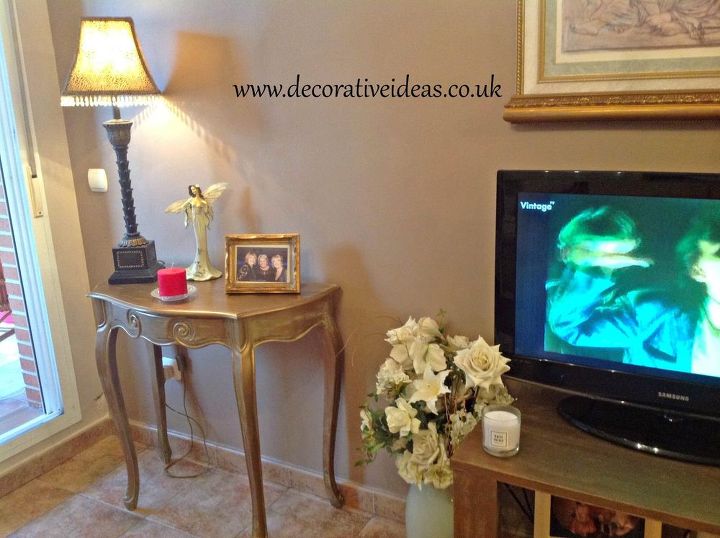
Whoops - sorry I left the TV on - hubby was in there watching it lol 
I think the colour looks great against the colour of her wall - hope you like it too?
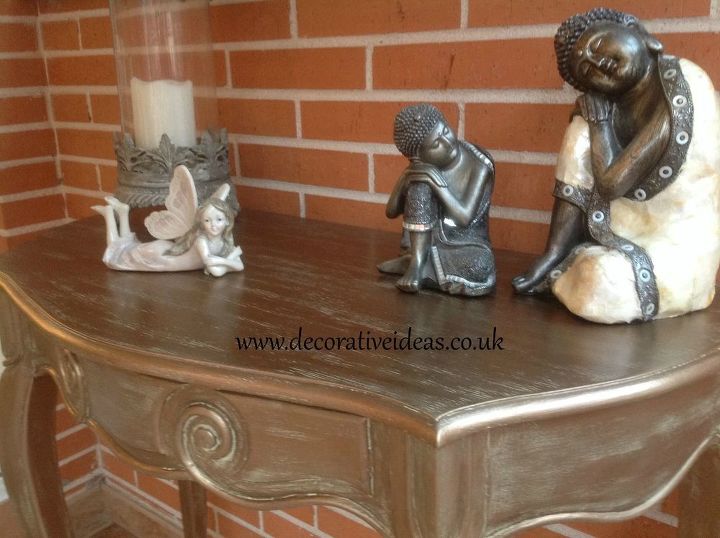
And... I think I will finish with this one - I love the buddhas and the little fairy girl I bought for her because it reminds her of her Grand Daughter 
PLEASE NOTE - I already had the paint and the wax from another job - so materials did not cost me anything for this one. But if you have to purchase the paint and wax, it would cost approx. $29
ASP for a 4oz project pot is $14
Liberon wax $14.50
And... you can use old cloths for this job
Comments
Join the conversation
2 comments
-
This looks so gorgeous!!
-
Thanks Wendy very nice of you to say so :)


Frequently asked questions
Have a question about this project?