


DIY Blackout Curtains
Blackout curtains aren't cheap. Nor do they always match your decor. Why not DIY?
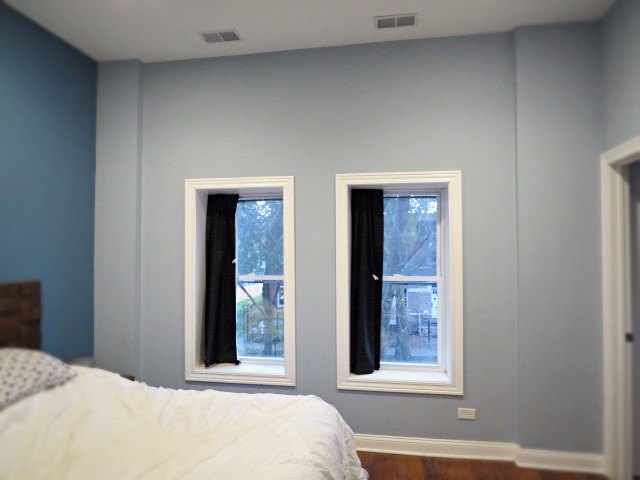
For a different residence, I purchased these boring black blackout curtains from Target and when we moved, they came with us. But obviously they're nothing special.
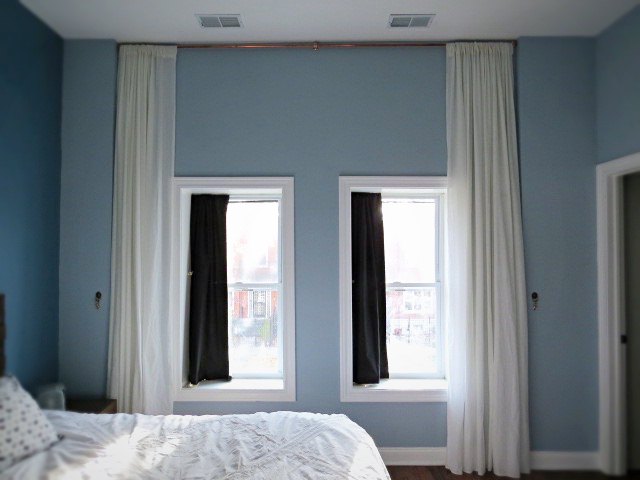
I since added these awesome DIY floor to ceiling gauzy curtains for about sixty bucks which caused an uproar on Hometalk -- well not the curtains, but that I had both black ones pushed to the left. Sorry for making everyone's OCD go into overdrive, I didn't do it on purpose.
But still, the black ones in general weren't cutting it, despite letting us sleep.
So that's when I decided to make my own. And if you keep it simple, even a non-sewing expert can make custom curtains for a tension rod. I swear!
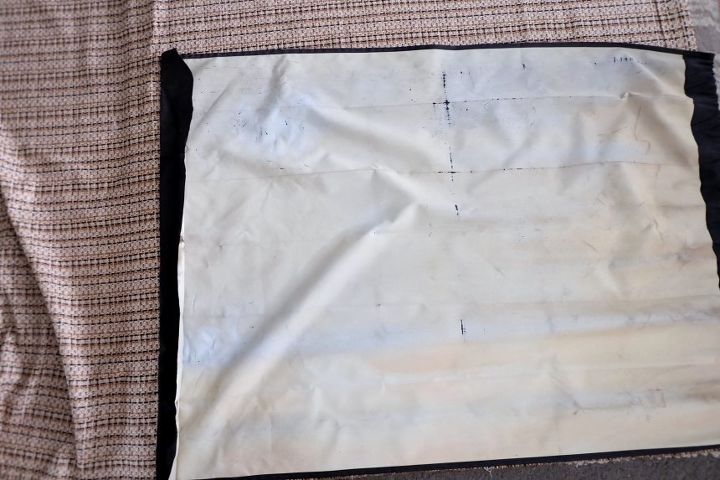
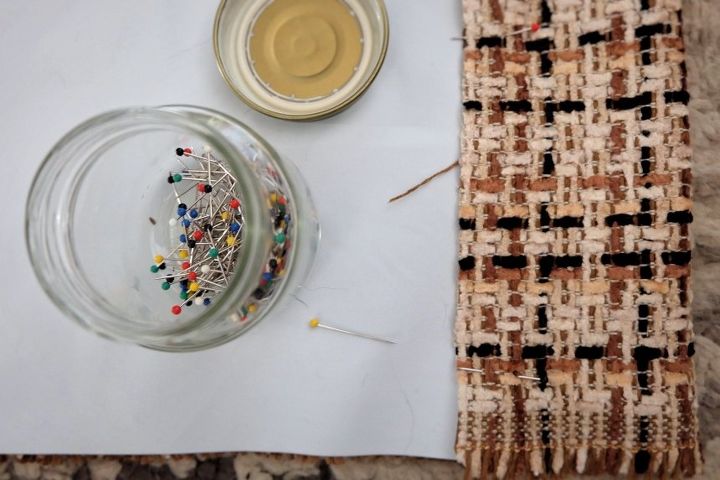
At the fabric store, pick up some inexpensive blackout vinyl, or even order it online. While at the store, pick out a fabric that suits your style. Don't worry if it's not an appropriate type of fabric -- mine is upholstery but I loved the fabric so who cares. Rules schmules.
Because each window frame was a different length, I used the hemmed curtain as a template to guide me.
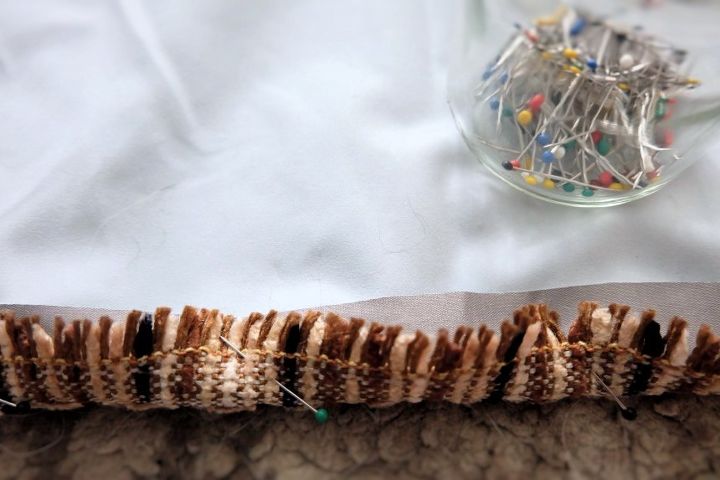
Cut both the vinyl and your fabric of choice, fold over some hems with the blackout vinyl inside the main fabric, and pin.
By the way, be sure to add 1.5 to 2 times the amount of fabric window-width-wise for a more professional look when closed. So if your window is 24" wide, use 36" to 48" of fabric.
Your side hems can be 1/2" to 1", or whatever you're comfortable with. On the bottom, do more like 2".
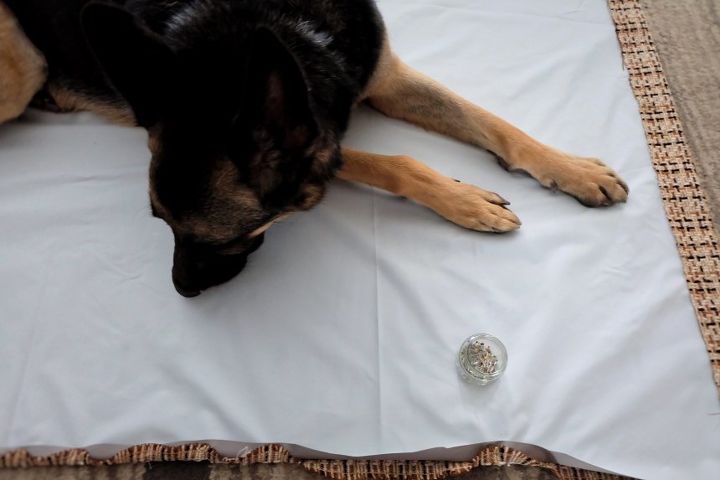
That's when I inherited extra assistance. He's so helpful, I know.
Be sure to swing by my blog, Flipping the Flip, to read more about this project, about Finn my trusty furry assistant, and lots of other fun stuff!
But for the top hem, aka tension rod pocket, go more like 3"-4". Here I went about 2.5" to 3" and it was a little tight.
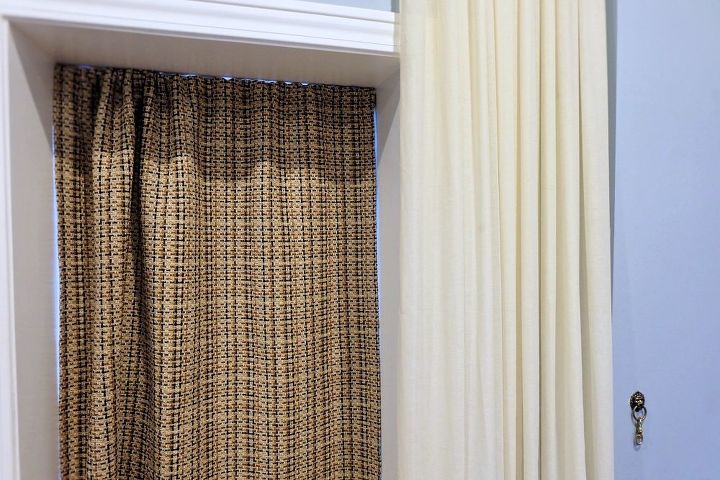
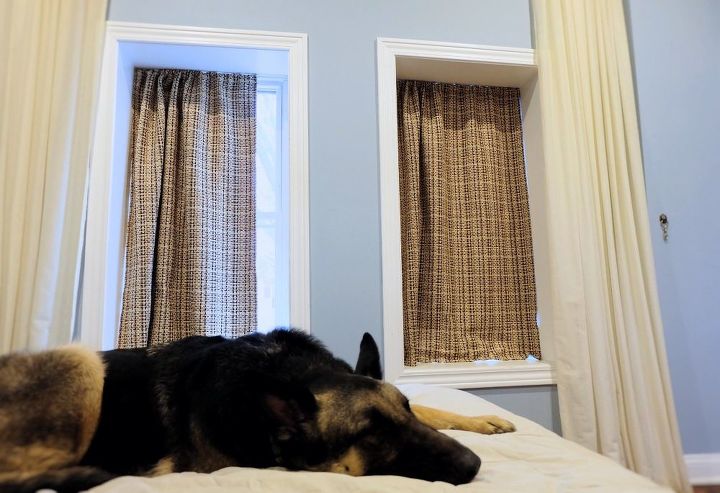
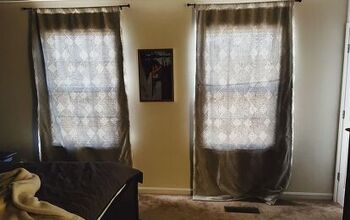
Push your new fancy DIY curtains that you're so proud of onto your tension rod, and voila, brand new blackout curtains that fit your style and keep the light at bay!
He's everywhere I want to be.
For more on this project, be sure to click the link below!
Resources for this project:
See all materials


Comments
Join the conversation
-
Very pretty and great idea!
-
Your too funny. They look great n I like thinking out of the box with fabric as well.


Frequently asked questions
Have a question about this project?
Your helper is very cute, how would we ever get something done without them to hold it down from flying off?
Wouldn’t it have been simpler and cheaper to just used the original black out curtains as a liner with your choice of fabric?
does anyone know what makes blackout curtains 'blackout'? I applaud what you did - so simple. I am in SC and have need of 110" size so you can imagine how expensive that would be for 14 windows. While I have a good quality drape(s) up now, they are not totally blackout so just wonder what is it that makes them blackout? Anyone?