


How to Insulate Your Garage Door and Replace the Door Seal
Insulating your garage door is easy and makes the space more comfortable in summer and winter.
An often neglected area of the garage is the condition of the bottom seal on a garage door.
Replacing the seal on the garage door is a DIY that can be accomplished by most homeowners.
Maintaining the seal is important to keep out bugs, snakes, water, and to help keep hot air out.
While we were working on the seal, we decided it would be a good time to add some simple insulation to the door to help with temperature control.
Want to see our latest projects? Sign-up for our weekly newsletter here!
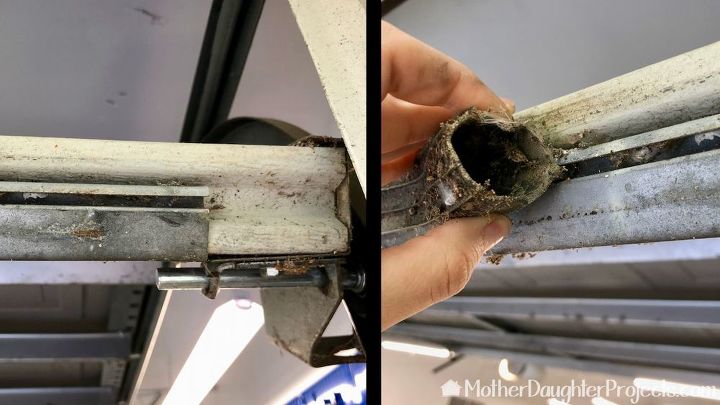
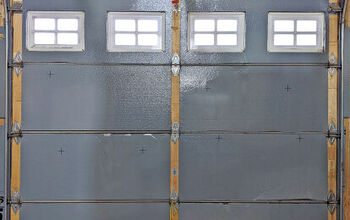
If your garage door seal looks like this and doesn't go across the entire garage door, it may be time to replace it!
It's easiest to search online for a replacement, which is what we did as we could not find what we needed locally. Order from a company with an easy return policy just in case what you ordered doesn't fit.
We ordered from The Home Depot because online orders can be returned to our local store (ours fit so no return was necessary). Not all garage doors are the same, so be sure to find a replacement that closely matches your current one.
You'll need to find a seal that matching the one you're wanting to replace. Here's a link to Amazon to get you started.
For your convenience, there are links to the products we use in our projects from Amazon as well as The Home Depot. (Mother Daughter Projects is a participant in the Amazon Services LLC Associates Program, an affiliate advertising program designed to provide a means for sites to earn advertising fees by advertising and links to Amazon.)
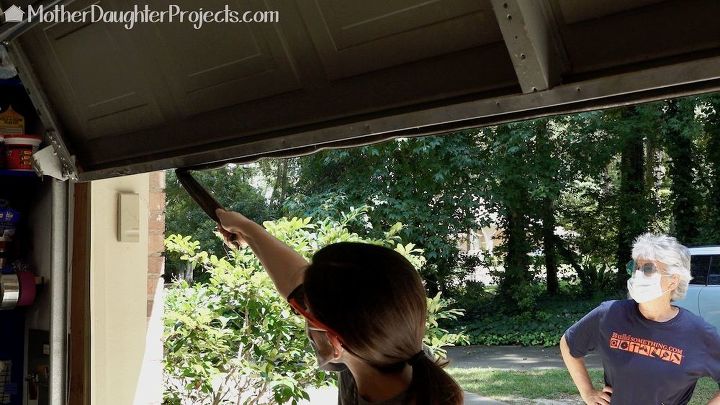
First thing you need to do is remove the old seal. It's a dusty, dirty job so use a mask. We simply pulled the old one out of the track.
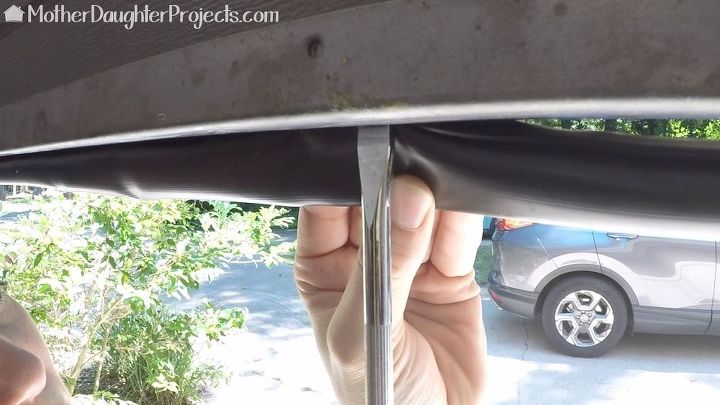
We had a little trouble getting the new seal to stay in the track using the instructions provided with the replacement. We found that pushing it into the track with a flat head screwdriver worked quite nicely! Once you get to the end, cut off any excess.
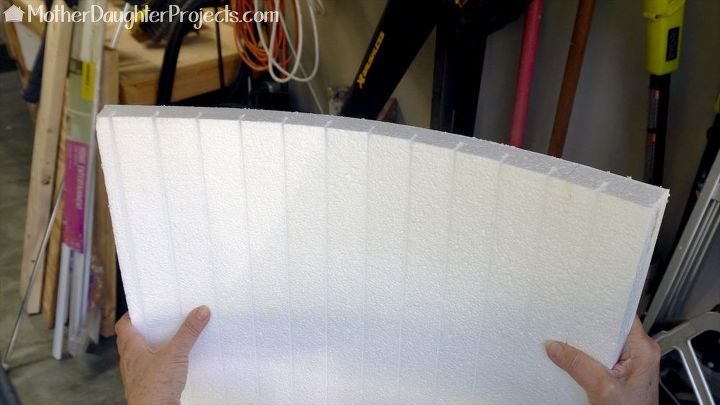
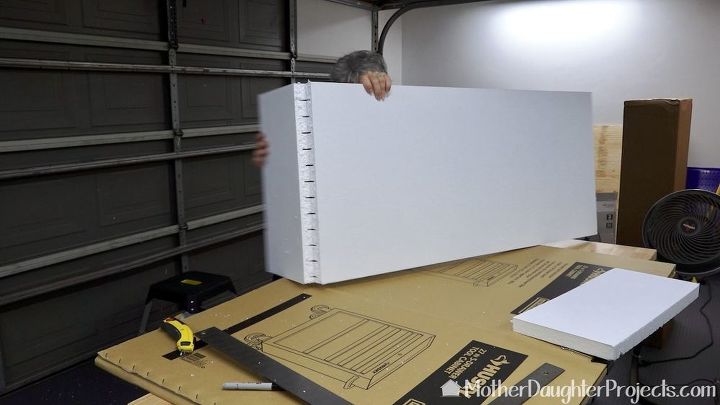
With the new seal in place, we moved on to installing the insulation. This is a product designed especially for garage doors. It's flexible on one side and the other side has a tough coating. The flexible side is installed facing the garage door.
See more examples of garage insulation panels here.
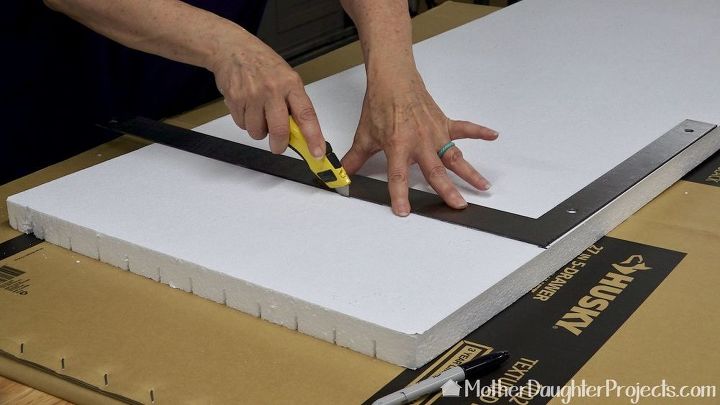
Each piece was marked to fit and we used a utility knife to cut through the piece.
Once cut, we bent it to fully separate the pieces.
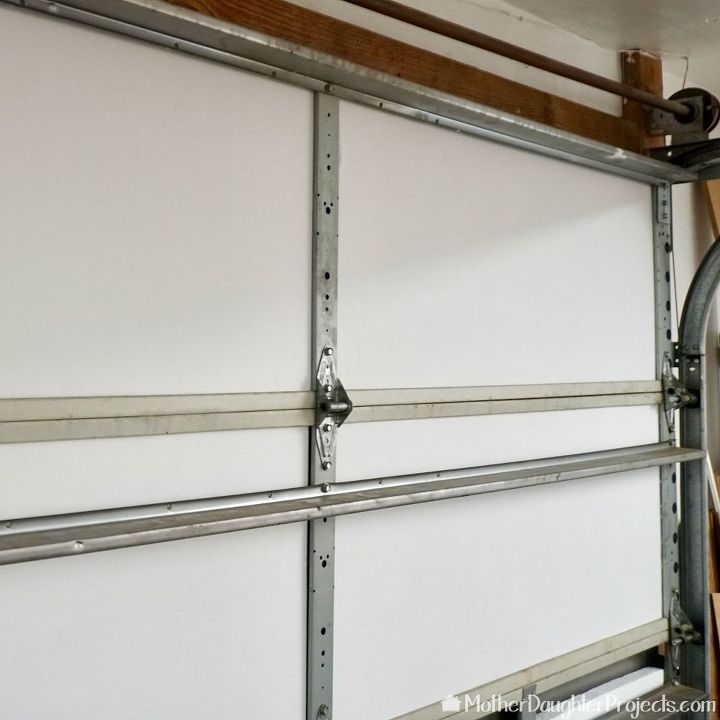
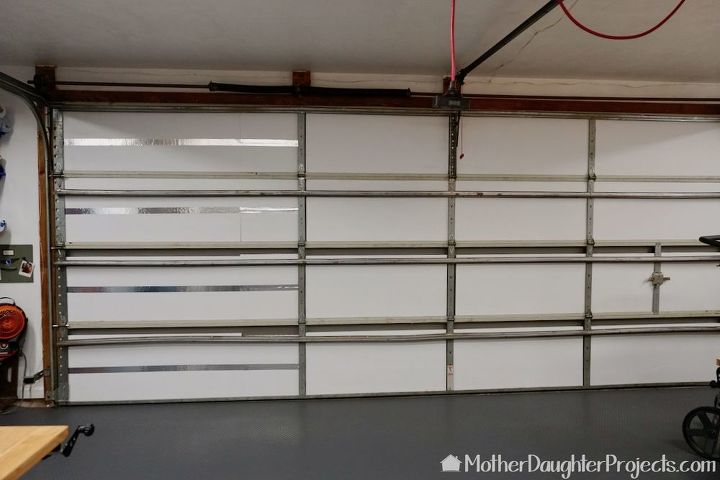
The pieces are flexed a bit and put into place. The panels are held in place without any extra fasteners.
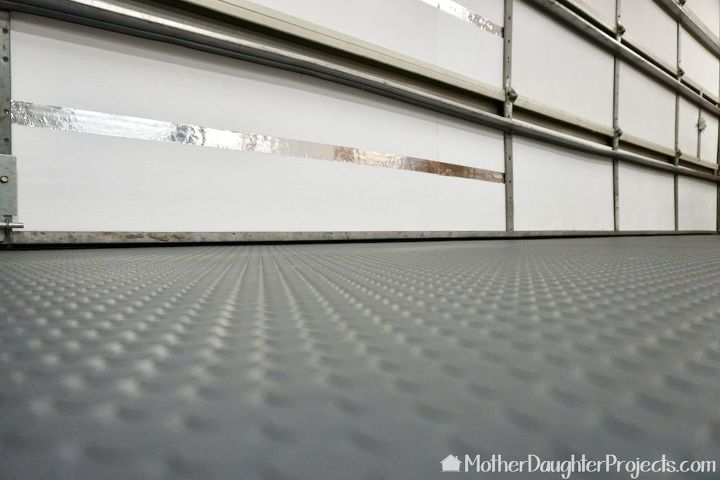
All done! That aluminum tape is covering the seam where we had to piece the panels.
Resources for this project:
See all materials


Comments
Join the conversation
-
Awesome job!
-
Be aware that if you do this to a manual garage door (no opener), there will be increased weight.


Frequently asked questions
Have a question about this project?
Love this..but since I don't have a garage I had another idea for this ?? Could I use them as insulation behind my skirting for my mobile home?
Priced reg. insul.skirting and its Pricey$$..So I'm just thinking outside the box here..Any ideas anyone has ..I'm listening..
Thanks
Jaxs
Any suggestions on fixing gap on sides of garage door
We have a garage door that rolls over at the top. I would love to know if there is any way to insulate this type. It receives the full Eastern sun and we live in the sub tropics, so gets very hot.