


How I Winterized My Cheap Garage Door

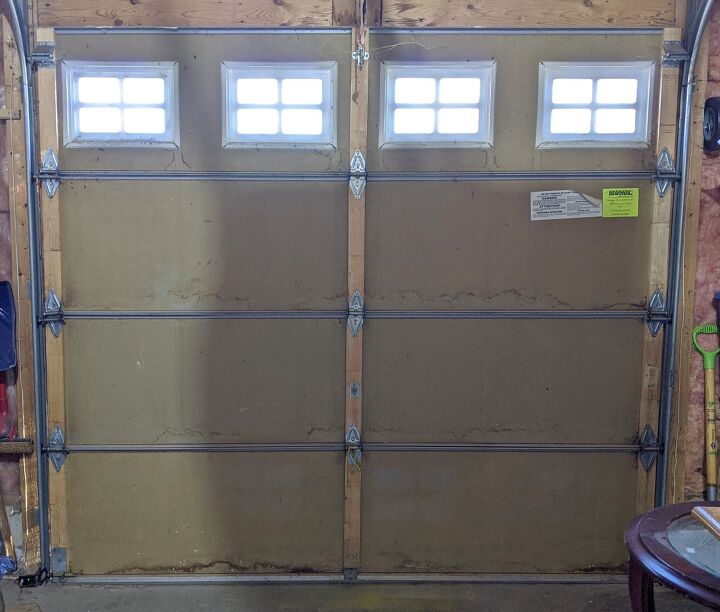
My garage door is very cheaply made, it’s basically hardboard (which is the thin material at the back of bookcases). The garage also isn’t heated. I use it as a workshop, but during the winter it’s pretty much useless, due to the cold temperatures. The temp inside the garage is the exact same as outside. I’m about to work on a pretty big painting project, which requires a minimum of 12° C (53.6 F) for the paint to properly dry and cure, so I decided it was finally time to invest in a new insulated door! I got the quotes, all set to order…but…they were looking at an install date of March 2022! Whomp whomp.
Since I’m stuck with the crappy door for another cold Canadian winter, I decided to winterize it. But I will forewarn you, this post is about functionality and comfort, NOT beautification!
Best sealing tape!
Bottom Seal
To rewind a little, last year snow was coming in underneath the door and forming snow drifts inside the garage. I bought the rubber strip to replace it, but when I tried to remove the old one, I realized the door was not put together properly. I won’t bore you with the details but the bottom line is that was not going to work. So instead, I cut away the old rubber track and applied three layers of foam tape, the wide, thick stuff that is meant to line your truck when you put a camper on there. It’s called ‘Camper & Truck Panel Foam Air Sealing Tape.’ Surprisingly, it worked really well! A few times last winter the door froze to the cement as it was lifting and I though “Uh oh, that seal is coming off for sure.” But it didn’t!!! Impressive.
But over the past year the foam had compressed and there was another small gap, so I added one more layer of foam. Now the bottom is sealed tight again.

The Door
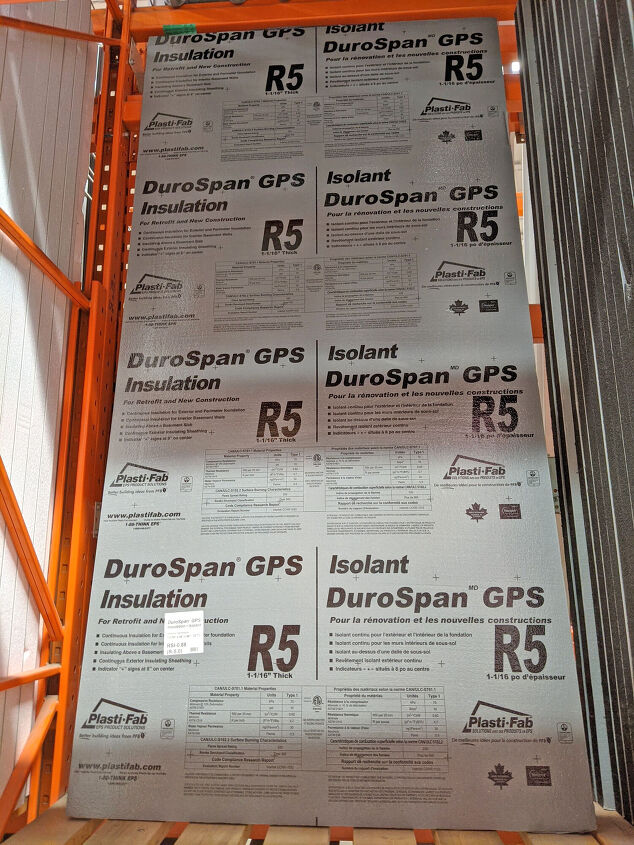
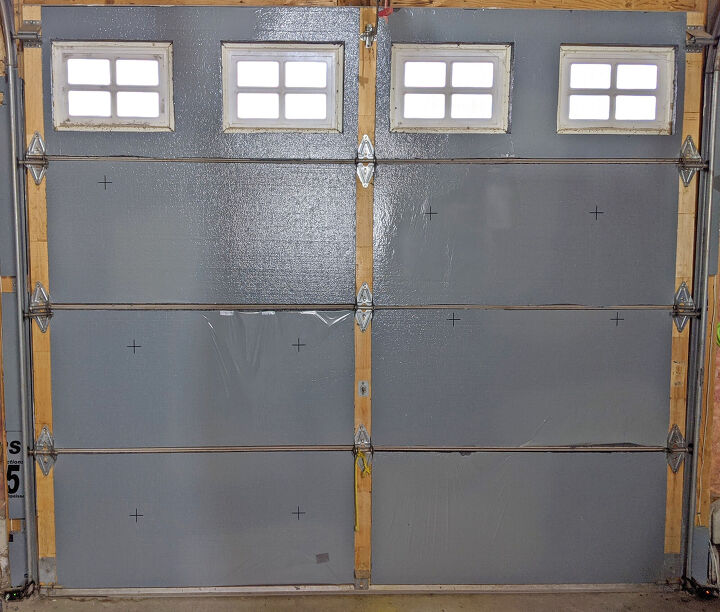
I measured the panels inside the door, as well as the depth (the distance the metal ledges stuck out around each panel). I decided to go with polystyrene insulation sheets. I found two types at Home Depot at 1” depth, but I went with the one with a higher R-value (the higher the R-value the better the insulation).
I needed two panels to fill my door and because the full sheets would not fit in my car, a really nice young man at HD helped me cut them into pieces. We cut them at 20” (the height of my garage door panels), three strips from each.

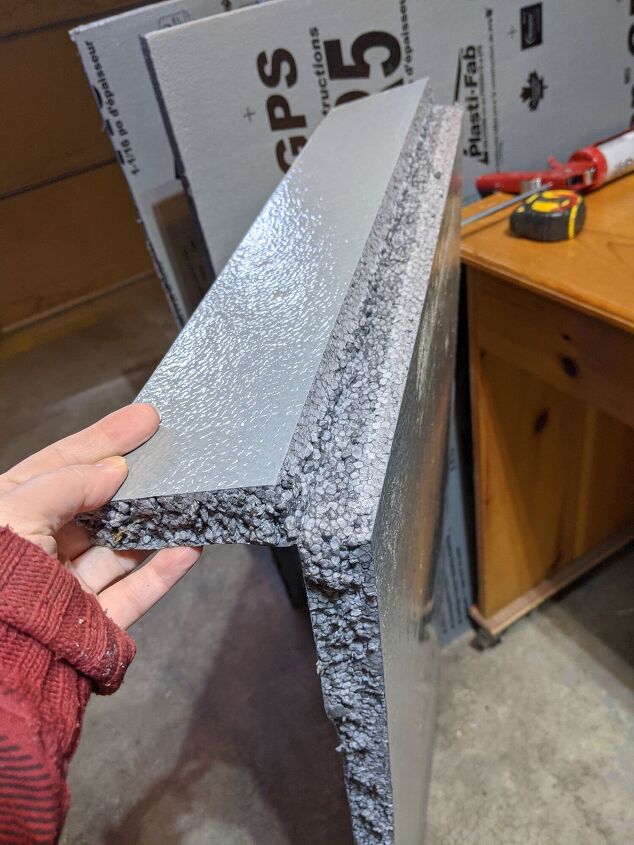
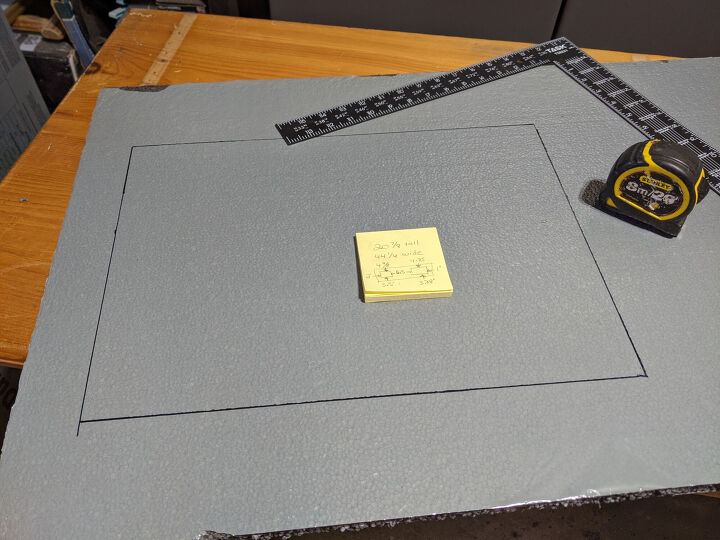
Because we had already cut to the correct height at HD, all I needed to do was trim each panel to the correct width. They are super easy to cut using a utility knife and a straight edge.
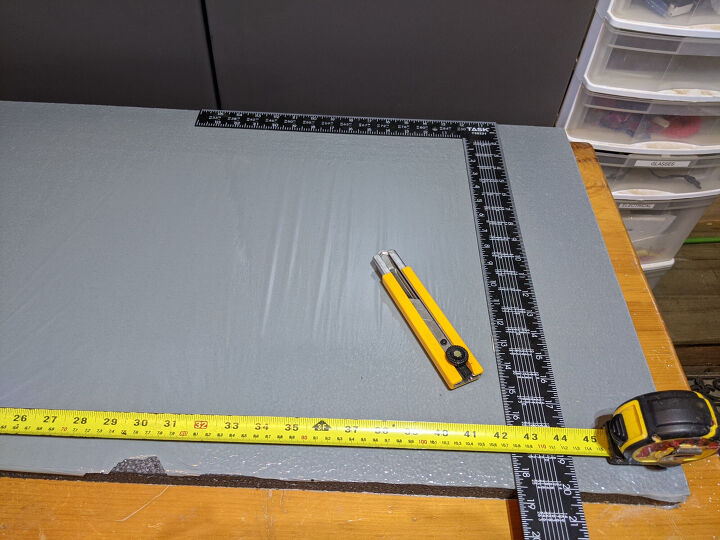
Once I sliced through I snapped the piece back and used the utility knife to cut the plastic backer on the opposite side.
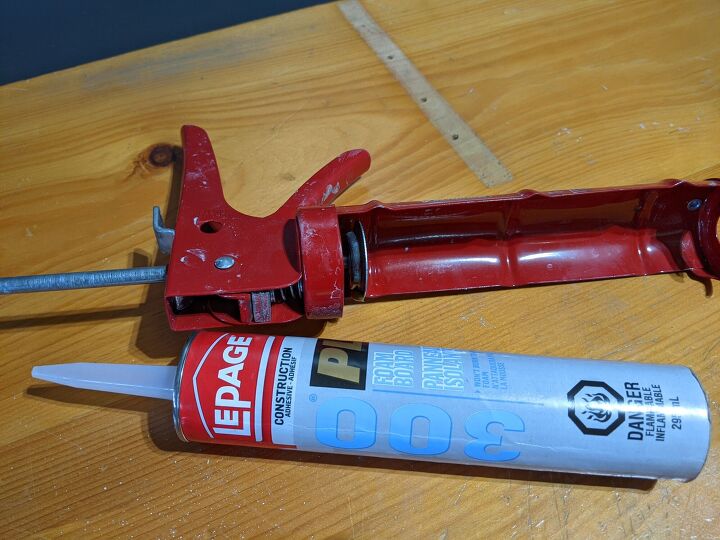
I glued the panels to the door, using construction adhesive for foam boards.
The cut pieces fit nice and tight into the spaces. I pressed on them to make sure they got a good adhesion to the doors. But not too hard, I had visions of me flying through the door like the Kool-Aid man if I pressed too hard.
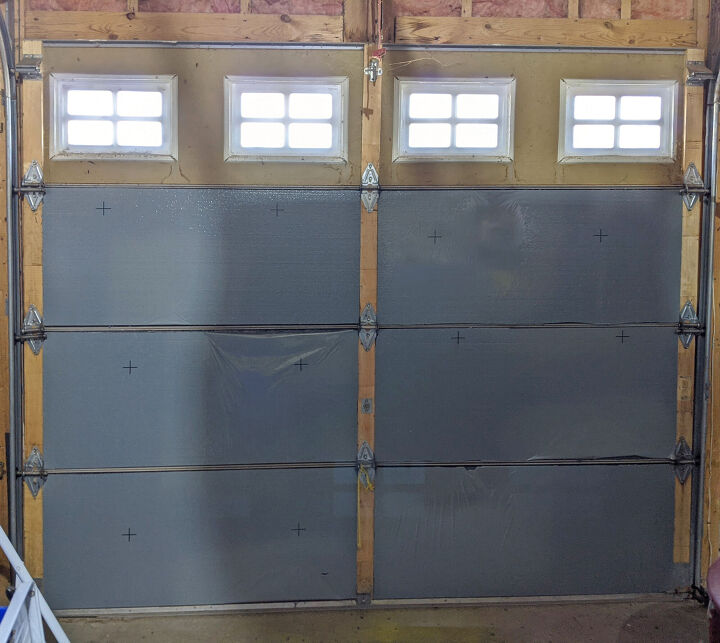
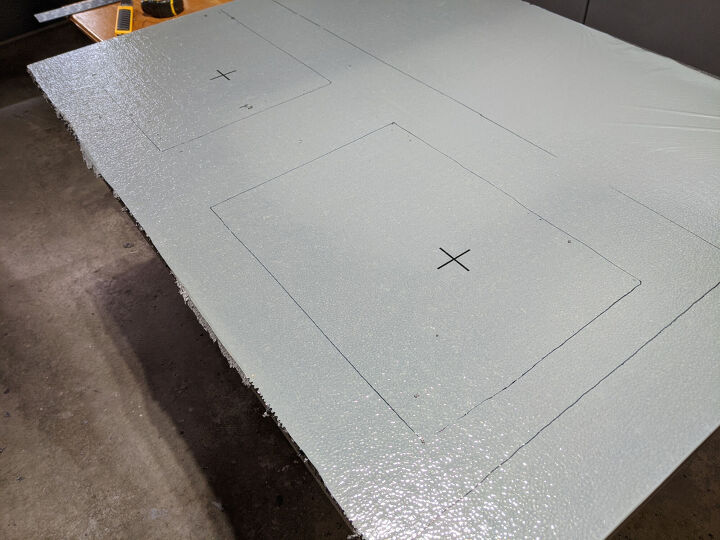
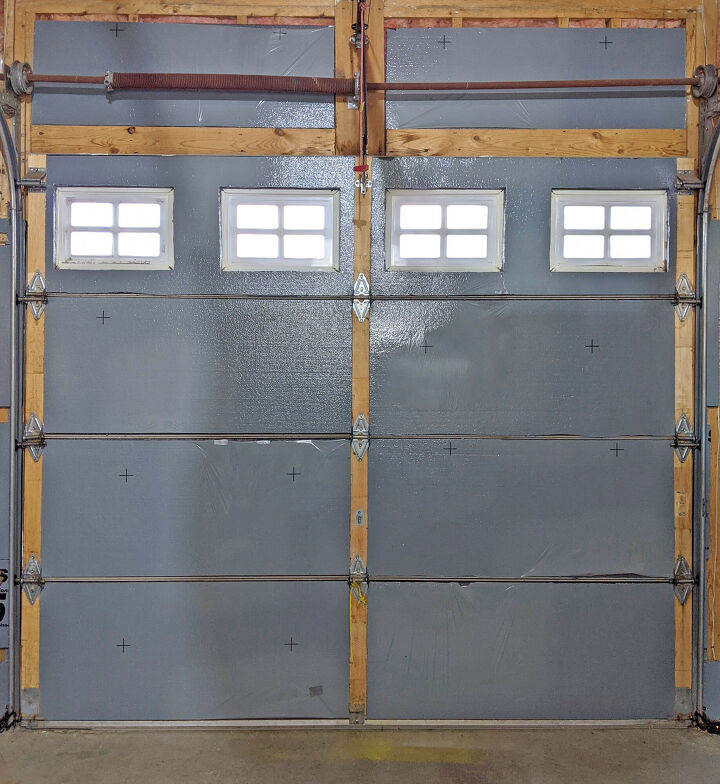
Next was the two top panels, which had windows. I measured out the panels and windows and cut my foam according to those measurements.
Once I had the first one done, I used it as a template to draw out my cuts for the second panel.
Sides of Door
I wanted to seal the sides of the door as well. I had tried using weather stripping, but it didn’t work and actually jammed the door. Since I knew I couldn’t use anything that would obstruct the door, I drew a pencil line where the edge of the door came in contact with the door frame.
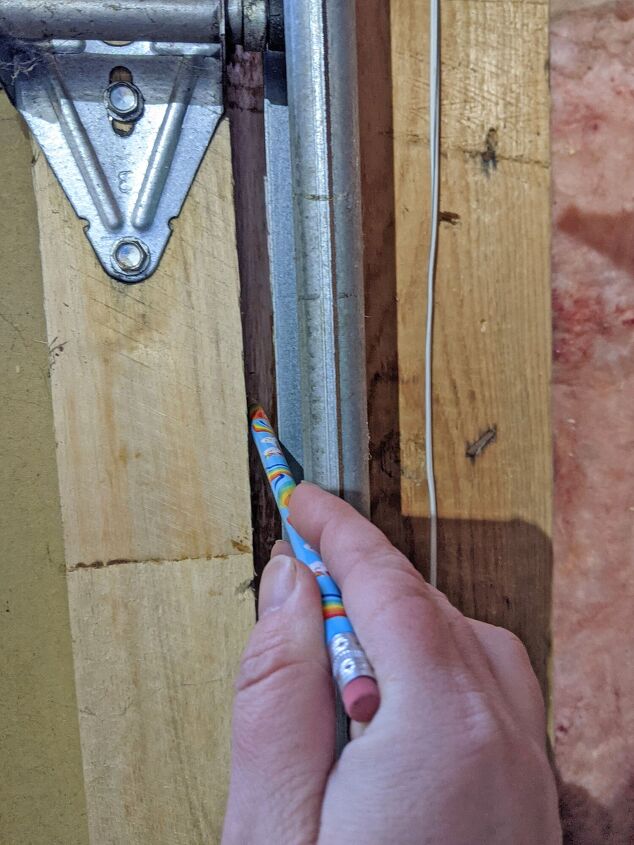
Then I attached strips of the leftover polystyrene underneath the door track, just a little outside the pencil line. It’s not a perfect seal, but it helps! I didn’t want to use glue on the door frame, because that won’t be replaced when I get a new door, so I used brad nails to attach it.

I had two pieces of insulation left over and wondered if they would fit above the door, to cover in the fiberglass insulation, and they were the perfect width!! I didn’t even have to trim them. They’re about an inch too short to fit perfectly to the top, but still much better than it was before.
And done!
I turned on the heater to see if I could get the temperature up to 12° C (for painting)…and it went up to 15° after a few hours!! At that point I switched off the heater. Roughly 12 hours later, my garage is still 9° warmer than the outside! In previous years, when I used a heater, the garage dropped down to the same temp as outside within an hour of shutting off the heater.
I’m very happy that I’ll be able to use my workshop over the winter months. It was a quick and easy project and well worth the effort. My only regret is that I didn’t do it years ago! It’s not pretty, but it’s functional! It was never pretty to begin with, so there's no loss there.
More Clever Ideas to Add Warmth to Your Home

Resources for this project:
See all materials


Comments
Join the conversation
-
In one home we had, when we moved in, there was pink foam on the garage door just like you did. Although I believe the door was made out of fiberglass. It was extremely heavy. I ended up removing the pink foam.
The garage was detached from the house and we only used it for vehicles, so a different situation.
Just a thought to consider.


Frequently asked questions
Have a question about this project?
Will this in any way help keep mice and bugs out? Or would it be even more inviting looking for warmth?
How do you remove it when you want to open in the summer
Thanks very much Valerie.
I forgot to mention:
The upper corners of my garage door opening are framed at a 45d angle, which formed an open triangle which was about 8" deep. (the width of the framing lumber)
I stuffed two layers of fiberglass insulation into each hole, then stapled a thick plastic sheet cut to fit, to seal the opening. The difference is huge! Those holes were like having two open windows in the front of my garage.
Will it be possible to add two layers of sheetrock to your walls?
Each layer has an R-value which contributes to the heat retention within your garage.
Also, cover the bare walls with a thick plastic sheet stapled in place and duct tape all seams, then add your sheetrock.
Mike